
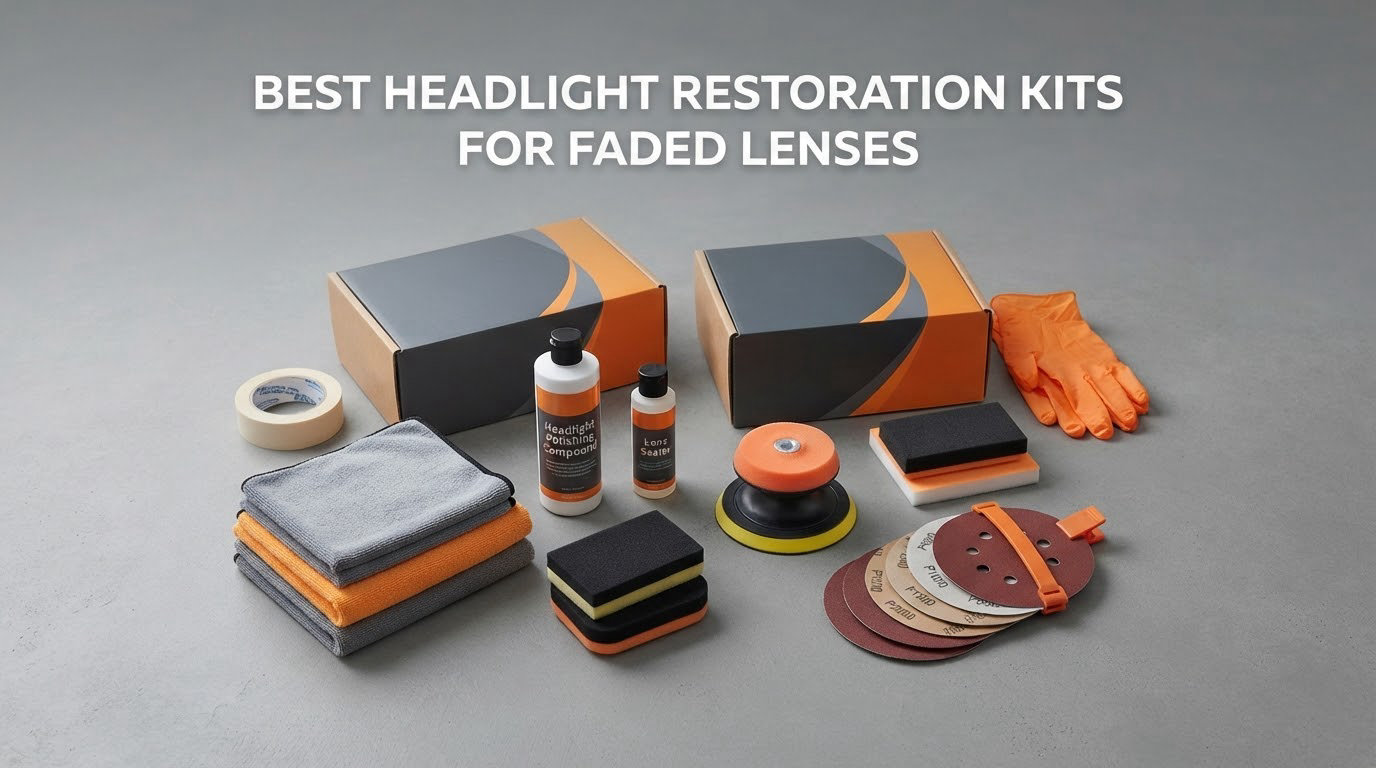
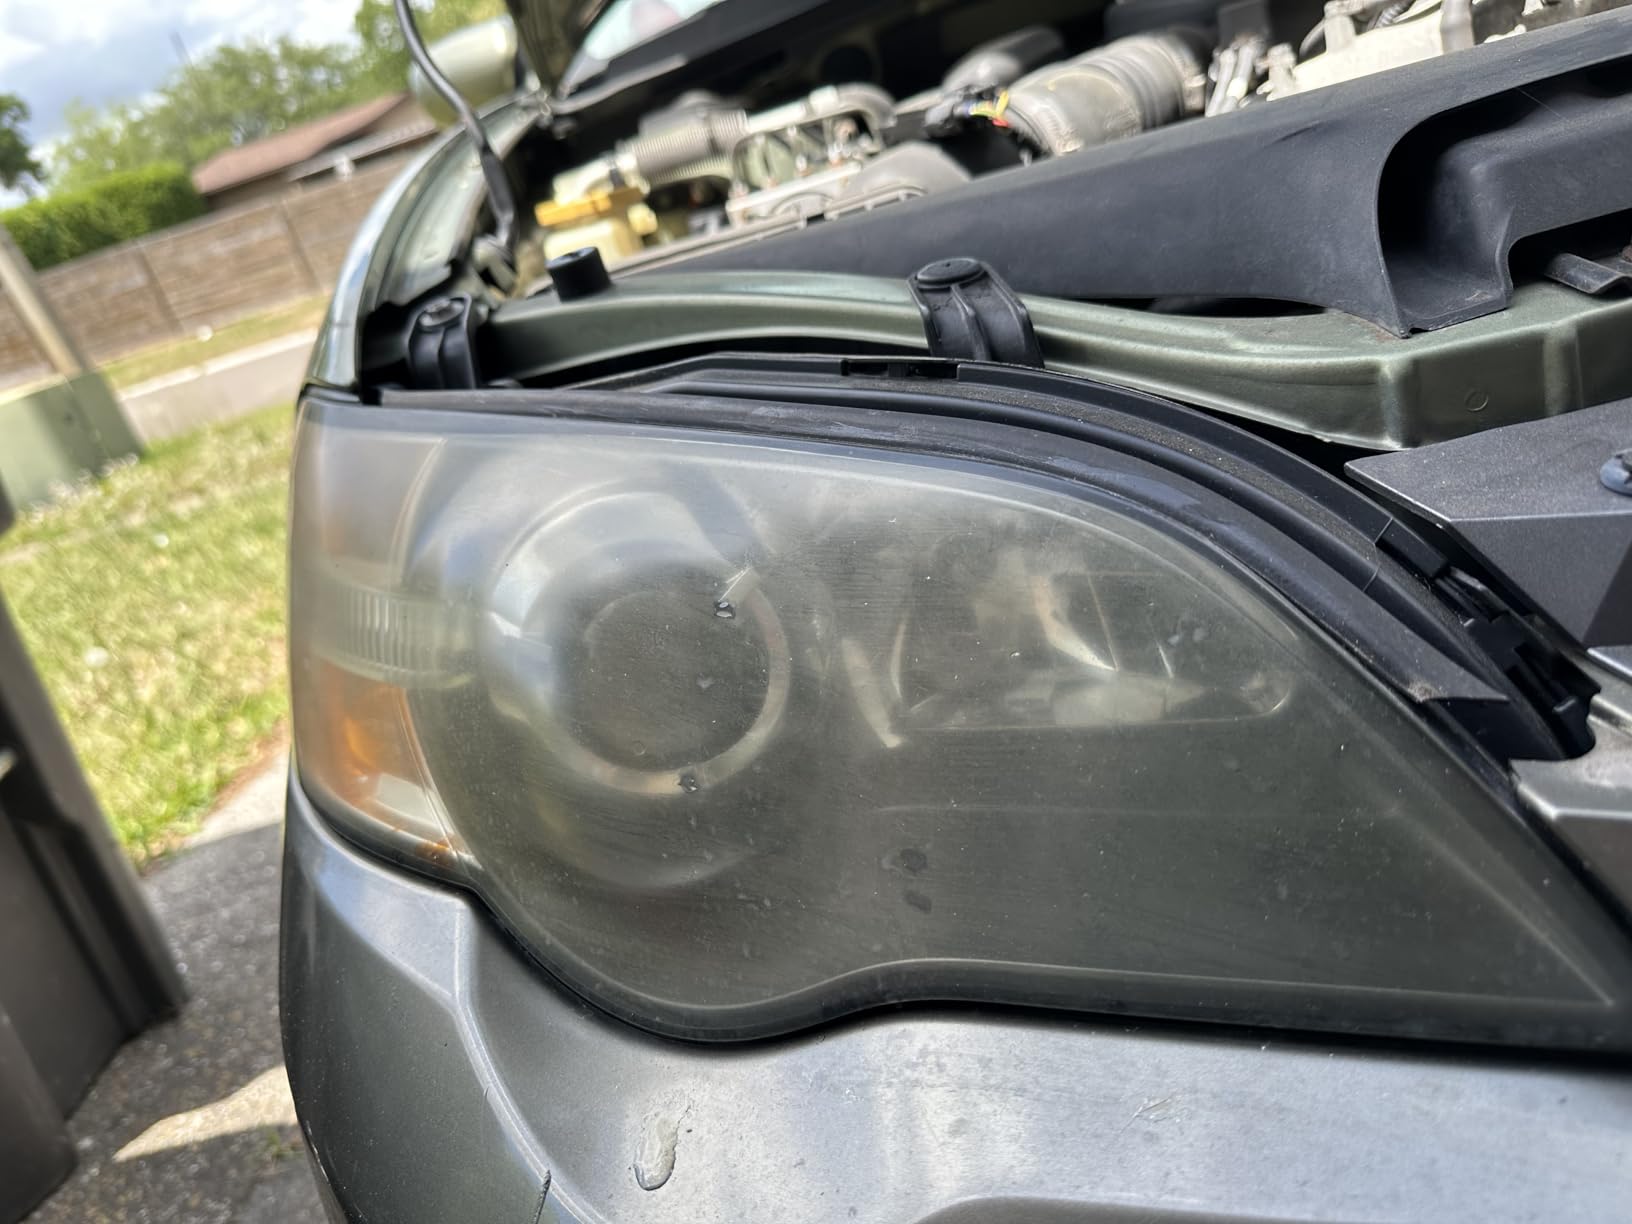
Polycarbonate headlight lenses do not fade because of a dirty windshield. They fade because ultraviolet light breaks down the plastic at a molecular level, and that yellowed, chalky oxidation layer scatters every beam before it leaves the housing. On a badly degraded car you can watch the cutoff line of the high beam disappear into a milky glow, and the glare you throw back at oncoming drivers gets worse as your own vision gets worse. That combination is a night driving hazard, not just a cosmetic problem, and in some regions a yellowed lens is enough to fail an inspection.
The CERAKOTE Ceramic Headlight Restoration Kit is the one I recommend first for most people. It is a three-stage wipe system that needs no power tools, and its ceramic coating chemically bonds to the bare lens instead of sitting on top, which is why the clarity holds for months rather than weeks. I went through twelve headlight restoration kits for this guide, weighing owner-review volume, rating distribution, what comes in the box, and the durability reports people post after a year of real weather. I also read through detailing and auto-mechanic forum threads, because the gap between what a kit claims and what it delivers in a driveway is where most buying guides get vague.
Two things need saying up front. First, no kit in this group can fix internal condensation, a faded or corroded reflector, a cracked housing, or deep pitting that has worked into the plastic itself. Those are replacement problems, and I cover the decision criteria further down. Second, the honest reason results disappoint people is the sealant step. A kit that only sands and polishes strips the factory UV layer and leaves a bare lens that starts re-yellowing from the moment you switch the lights on. Six of the twelve kits here include a real UV-protective coating. Six do not, and that single fact explains most of the difference in how long the result lasts.
Top 3 Best Headlight Restoration Kits for Faded Lenses In 2026

Cerakote Ceramic 10-Wipe Kit
- No power tools needed
- Chemically bonding ceramic coating
- 3 steps in about 30 minutes
- Covers headlights fog and brake lights

3M Headlight Lens Restoration 39008
- Drill-activated sanding
- 500 and 800 grit discs plus Trizact refinisher
- Rubbing compound and pad holder included

Sylvania Headlight Restoration Kit
- Repairs two lenses
- Includes UV block clear coat
- No tools required
- Purpose-built for fog and head lamps
The Best Headlight Restoration Kits in 2026 at a Glance
| Product | Specifications | Action |
|---|---|---|
| Cerakote Ceramic 10-Wipe Kit |
|
Check Latest Price |
| 3M Headlight Lens Restoration 39008 |
|
Check Latest Price |
| Sylvania Headlight Restoration Kit |
|
Check Latest Price |
 Meguiar’s Two Step Headlight Kit Meguiar’s Two Step Headlight Kit |
|
Check Latest Price |
 Mothers NuLens 07251 Mothers NuLens 07251 |
|
Check Latest Price |
 Clear Lights Tech 3-Wipe System Clear Lights Tech 3-Wipe System |
|
Check Latest Price |
 Wipe New HDL6PCMTRRT Wipe New HDL6PCMTRRT |
|
Check Latest Price |
 Vibratite 37-Piece Kit Vibratite 37-Piece Kit |
|
Check Latest Price |
 Pmbqifay Vapor Coating Kit Pmbqifay Vapor Coating Kit |
|
Check Latest Price |
 Rain-X 610153 Headlight Kit Rain-X 610153 Headlight Kit |
|
Check Latest Price |
 POLIWELL 24-Piece Kit POLIWELL 24-Piece Kit |
|
Check Latest Price |
 Turtle Wax T-240KT Turtle Wax T-240KT |
|
Check Latest Price |
How We Picked These Kits
Every kit here was judged on four things: the volume of owner reviews behind it, how tightly those reviews cluster around the top rating, what actually is in the box, and what people report about the result a year later. Rating volume matters because a headlight kit with a few hundred reviews tells you very little about consistency, and a lens is a part you only want to touch once.
Rating distribution told us more than the average alone. Two kits in this group average around 4 stars but have flat distributions, with meaningful shares of one-star and three-star reviews, which points to wildly different outcomes depending on how bad the lens was. The leading kits show a tight five-star cluster instead.
Forum threads on detailing and auto-mechanic boards supplied the durability data that product pages never give you. That is where the roughly one-and-a-half-year figure comes from, and it is also where the drilling heat warnings and the paint-scuffing complaints come from. Where a specific product was named repeatedly in those threads, I say so; everywhere else, I attribute the feedback to reviewers and let the review data speak. We run the same four-part screen on other categories, as our sewing kit reviews show.
I also weighted the box contents heavily. Kits that arrive with no UV protectant are incomplete systems, no matter how good the polish is, because the moment you finish sanding you have removed the layer that was protecting the lens in the first place.
1. Cerakote Ceramic Headlight Restoration Kit – Best Overall for Faded Lenses
CERAKOTE® Ceramic Headlight Restoration Kit, 10 Wipe Kit
Item weight 4.8 ounces
8 oxidation wipes, sanding kit, 2 ceramic wipes
No power tools required
About 30 minutes
Pros
- Clears heavy yellowing and clouding back to a like-new look
- No power tools so no risk of burning or nicking the lens
- Self-leveling ceramic coating with no streaks or brush marks
- One small box covers the whole three-stage process
- Clarity reported as holding for months
Cons
- Sanding step is slow on intricate headlight shapes
- Some lenses keep a faint yellow tint next to a factory unit
- Included gloves can be tight on larger hands
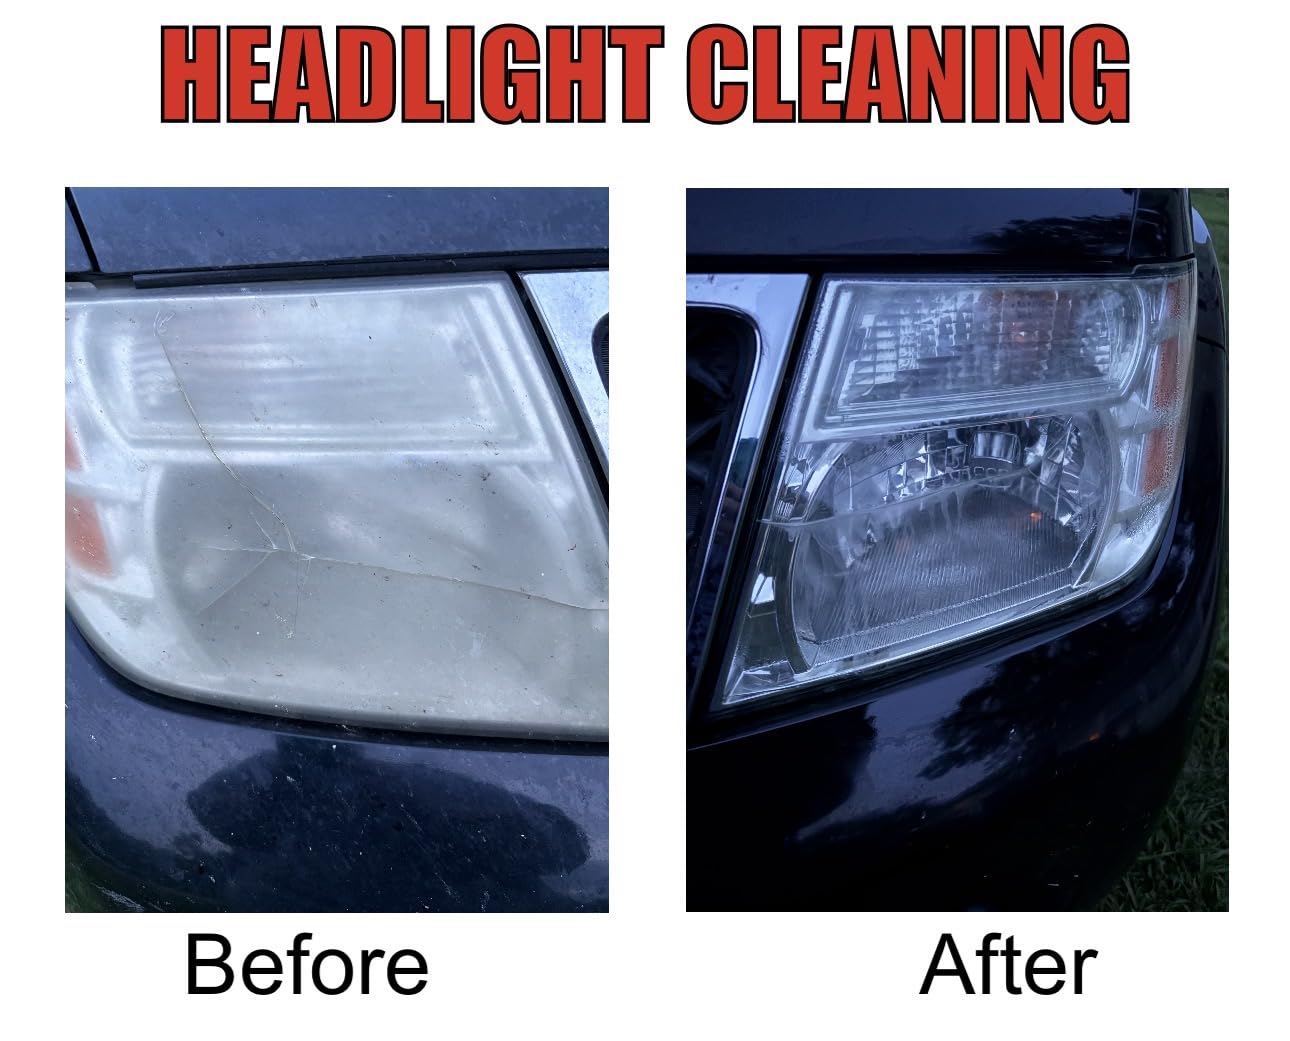
With 74k owner reviews and a 4.6 average, this is the most proven kit in the category by a wide margin, and the number of reviews is itself the strongest signal. Users consistently describe the same three-part arc: oxidation wipes to cut the yellow, a sanding pad for the stubborn haze, then the ceramic wipes that leave a defect-free, level finish with no streaks or brush texture.
The reason this kit edges out the alternatives is the third stage. The ceramic coating chemically bonds to the bare polycarbonate instead of just sitting on top of it, and that bond is what extends the life of the result. Detailers on the forums call this kit the go-to, with reports of clarity still holding after well over a year on cars that live outside in full sun.
What I like most is that there is no drill anywhere in the process. A spinning disc generating friction heat on a polycarbonate lens is the single most common way people damage an already-faded headlight, and this kit removes that variable entirely. If you have never done this before, that matters more than any amount of speed.
The real time sink is the sanding step, and it is not the wipes. On an angular headlight with a lot of grille trim nearby, working a small sanding pad into every curve takes real patience. Owners also mention a small typo in the printed instructions about sanding pad colors, and that some lenses keep a faint yellow tint when parked next to a brand new unit.
Who this kit suits
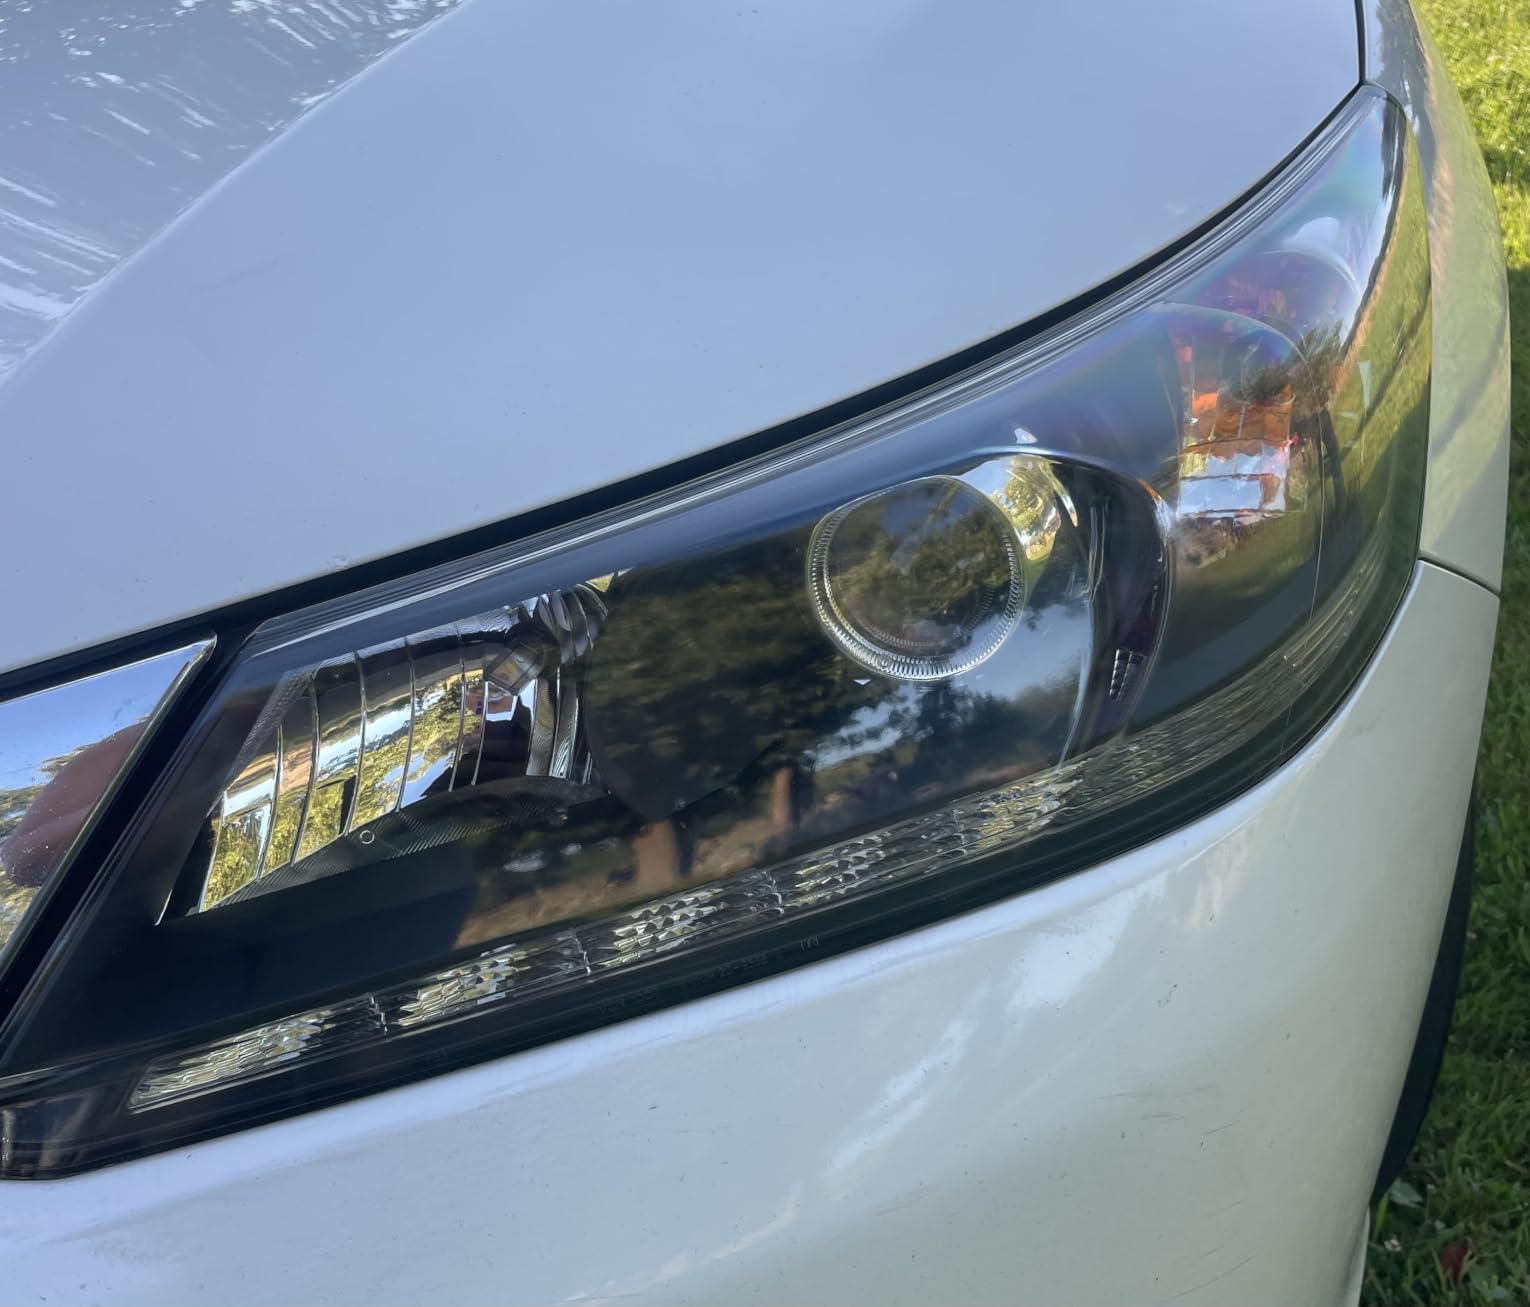
This is the right pick for a driveway job on a car you actually drive, where you want a full three-stage system without renting or owning a drill. It is also the safest choice for a first attempt, because nothing spins and nothing heats.
It handles everything from mild haze to lenses that have gone properly yellow and cloudy. Users treat fog lights and third brake lights with the same wipes, which is useful if you want the whole front end to match.
Who should skip it
Skip it if your lens has deep pitting or a crack running through the plastic. Sanding will not rebuild missing material, and you will spend an afternoon chasing a defect that sanding cannot fix.
Also skip it if you want a five-minute touch-up. The 30-minute claim assumes a clean, simple headlight and reasonable sanding discipline. Plan closer to an hour per pair, and keep the coating dry and undisturbed while it cures.
2. 3M Headlight Lens Restoration System 39008 – Best Drill System for Heavily Yellowed Lenses
3M Headlight Lens Restoration System, 39008, 1 Kit
Grit material aluminum oxide
500 grit discs plus 800 grit finishers
6.14 x 4.51 x 0.84 inches
1 year manufacturer warranty
Pros
- Produces genuinely clear lenses when the instructions are followed
- Box contains every component needed
- Discs work on yellowing and on rock-pitted plastic
- Good value against professional restoration
Cons
- No UV protectant included so lenses can re-yellow within a year
- Needs a household drill and about 30-40 minutes per light
- Careless pressure or speed can burn or nick the lens
- Some reviewers report masking tape no longer included
This is the kit to reach for when the lens is genuinely bad and you have a drill. The 3M system pairs six 500-grit three-inch sanding discs with four 800-grit finishing discs, a Trizact refining disc, an ounce of rubbing compound, and a pad holder, which is a complete abrasive ladder for cutting through heavy oxidation.
Owners report a real, dramatic before-and-after when the instructions are followed, and the discs are credited on both yellowing and rock-pitted plastic. Users on automotive forums single this kit out as one of the more effective options, with one reporting finishing a full pair in about an hour.
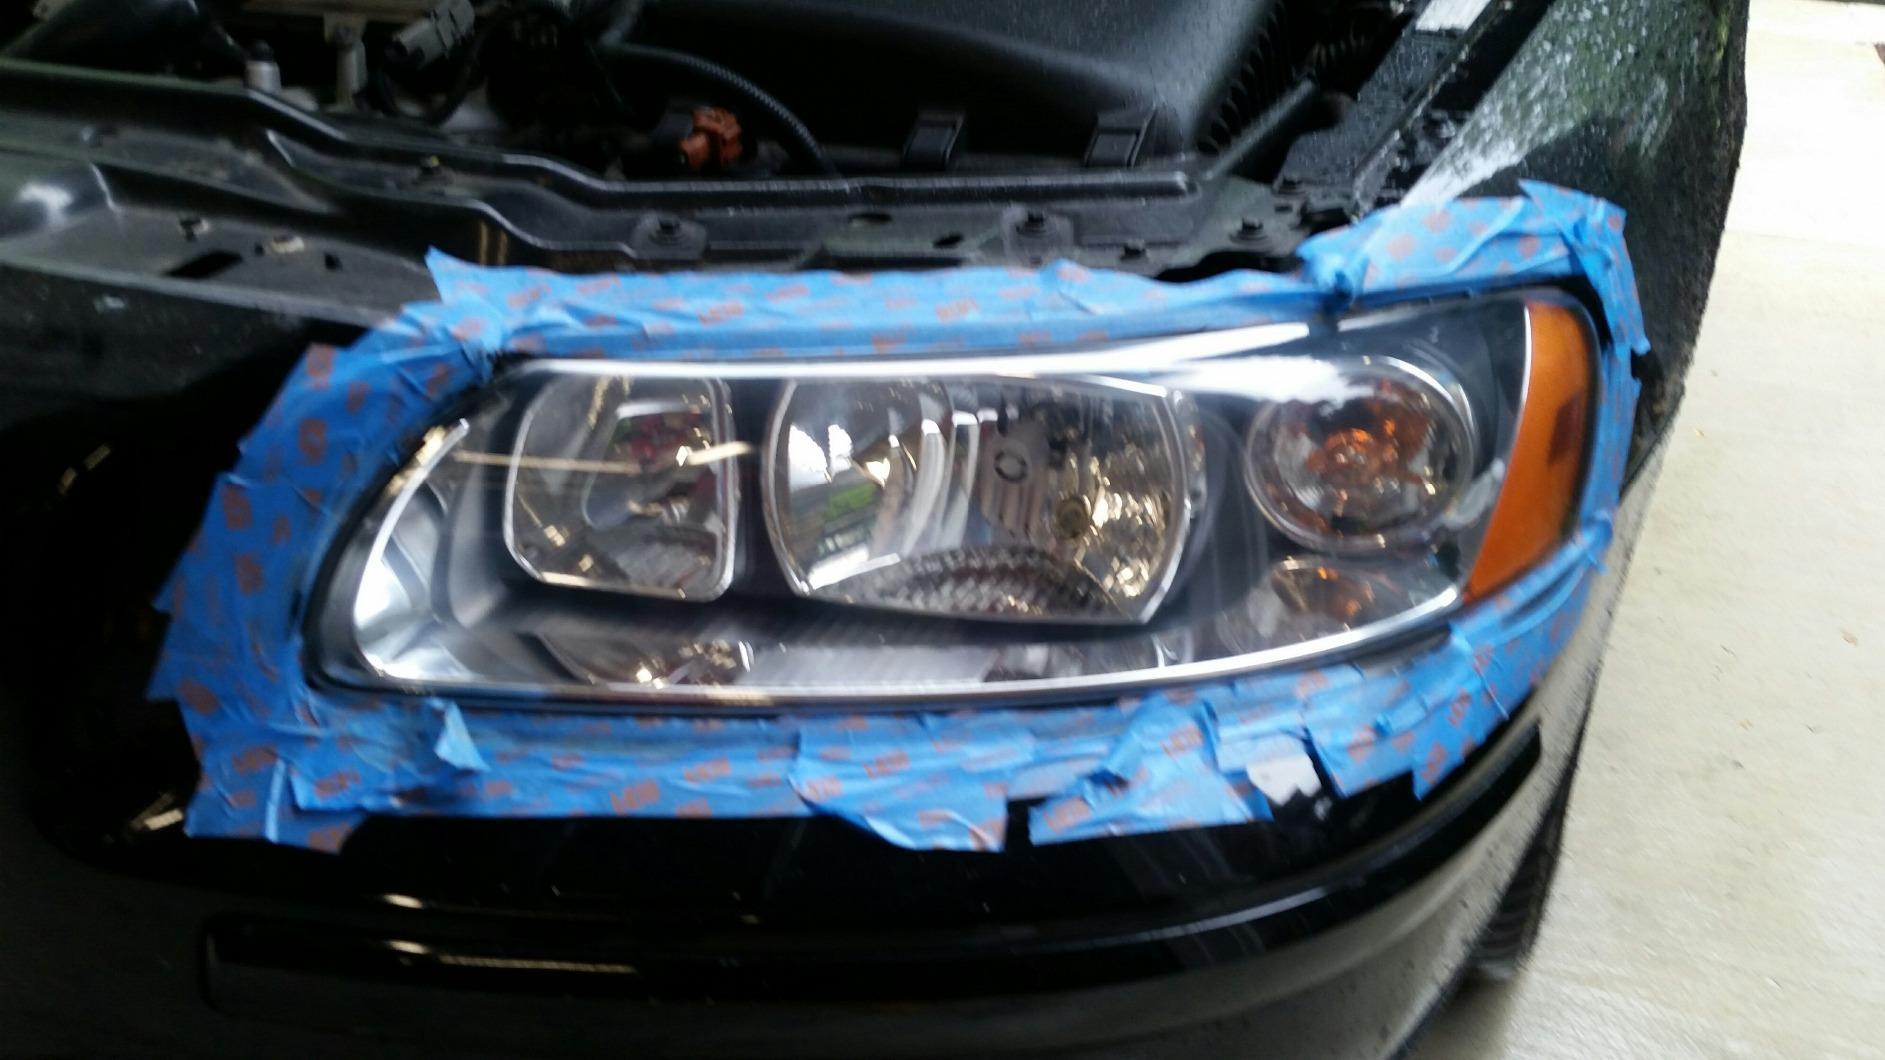
The important caveat is what the box does not contain. There is no UV protectant in this system, and that omission is the single most cited complaint across 33k reviews. What you get is a beautifully clear bare lens and no barrier against the sunlight that caused the problem in the first place.
So budget for a follow-up. Reviewers almost universally add a separate UV protectant or clear coat after finishing, and that extra step is what turns a temporary clarity fix into a lasting one. A minority of owners report disappointing results on severely oxidized lenses even after several hours of work, which tells you there is a ceiling to what abrasive sanding can recover.
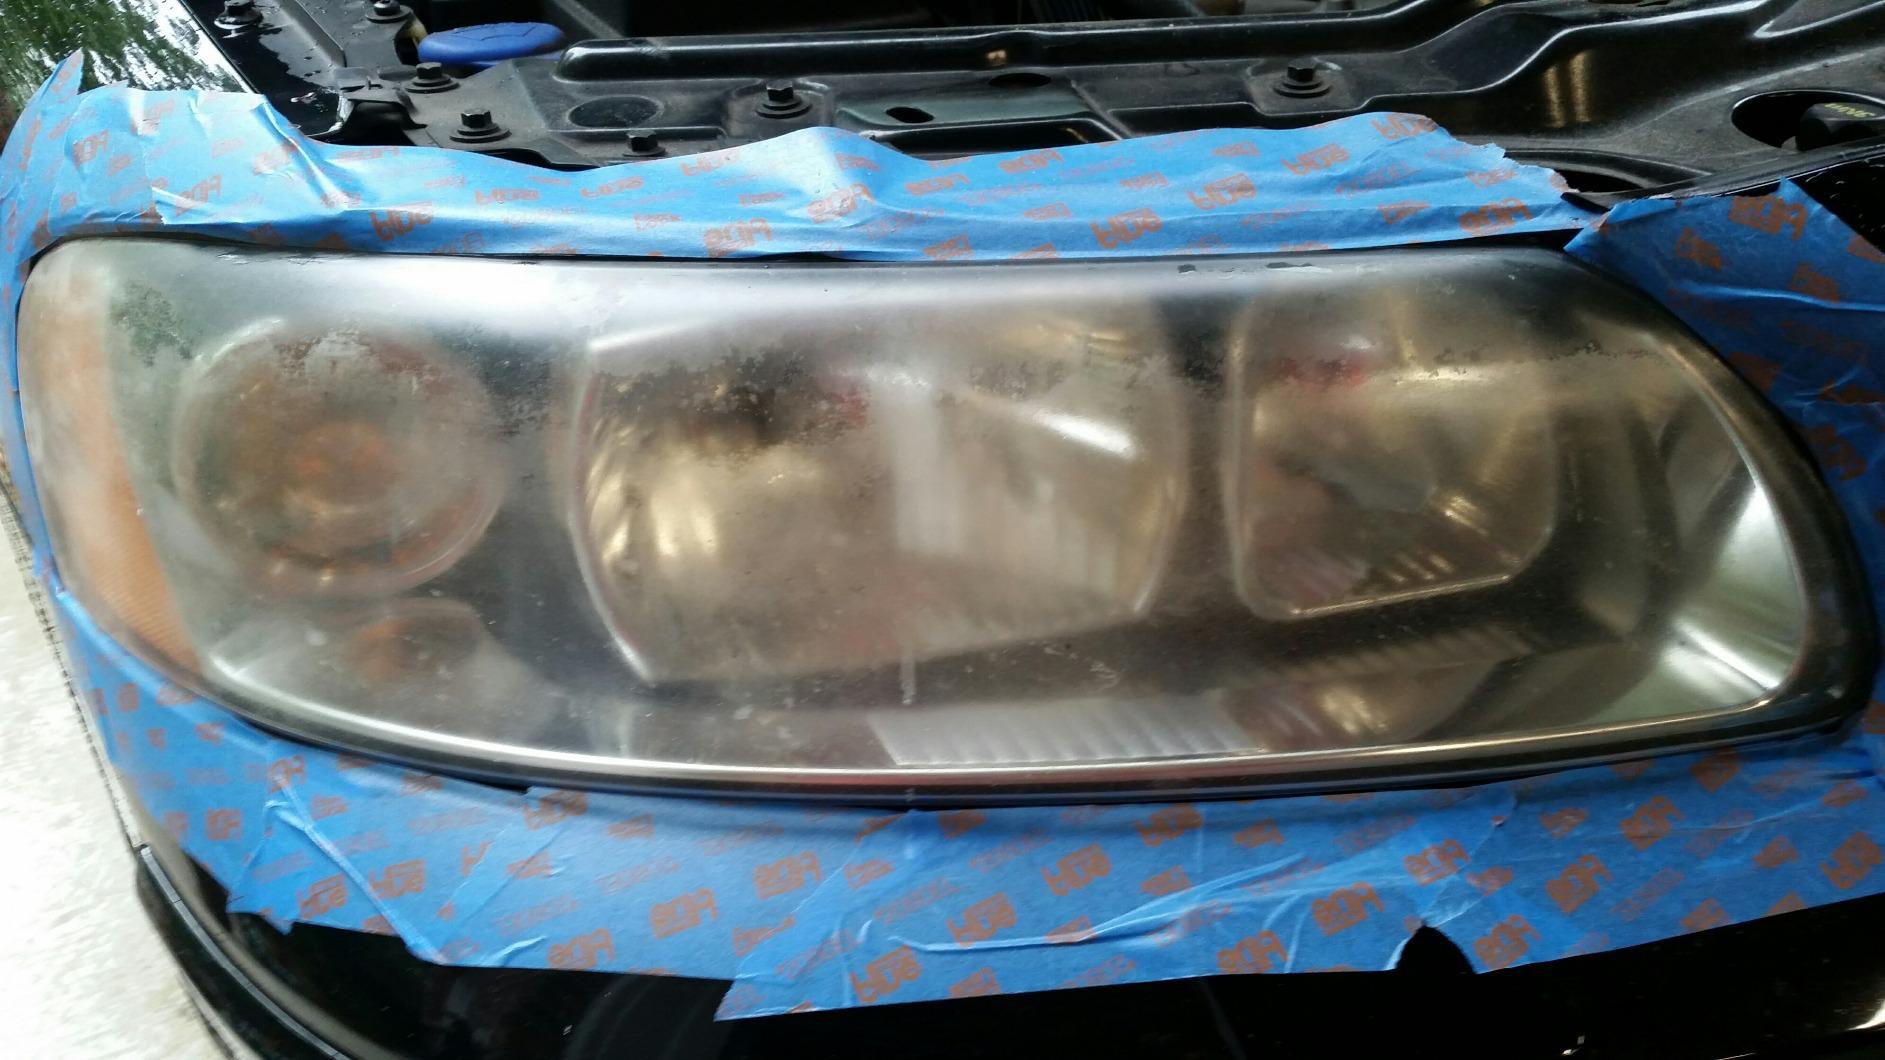
How to use it without damaging the lens
Keep the drill on its lowest effective speed and let the disc do the work. Forum advice is consistent on this: pressure and heat, not grit, are what burn marks into plastic and add fresh haze.
Use wet lubrication when you can and never linger on one spot. Move constantly, and work in small overlapping passes rather than grinding a single area.
Where it falls short
The missing sealant is the deal-breaker for anyone who wants a one-time fix. If you are not willing to buy a separate UV coating, this kit will leave you doing the whole job again within about a year.
It is also a drill-only workflow, so it is the wrong pick if you do not own a household drill or rotary tool and do not plan to buy one.
3. Sylvania Headlight Restoration Kit – Top Rated Complete System
SYLVANIA Headlight Restoration Kit, Restores to Like-New Condition
Item weight 0.96 ounces
8 x 2 x 6 inches
Surface activator, sandpaper, compound, UV clear coat
Covers two lenses
Pros
- Made by a lighting specialist with a long production history
- Includes a UV block clear coat so results are protected
- Hand application
- no power tools required
- Enough material to treat both headlights
Cons
- No detailed review text was available to draw on
- Tool-based clear coat needs careful application
- Best suited to moderate rather than extreme oxidation
Sylvania makes this kit under OSRAM, and the brand has been building lighting since well before headlight restoration was a retail category. That matters more than it sounds, because the kit is engineered around the same clear coat chemistry used on the lenses themselves rather than borrowed from a generic automotive coating.
Inside the box you get a surface activator, premium sandpaper, a clarifying compound, and a UV block clear coat, with enough material to repair two headlight lenses. The whole thing is hand-applied, so there is no drill and no heat to manage. It carries a 4.6 average across more than 25k reviews with a 76 percent five-star share, one of the strongest rating profiles in this group.
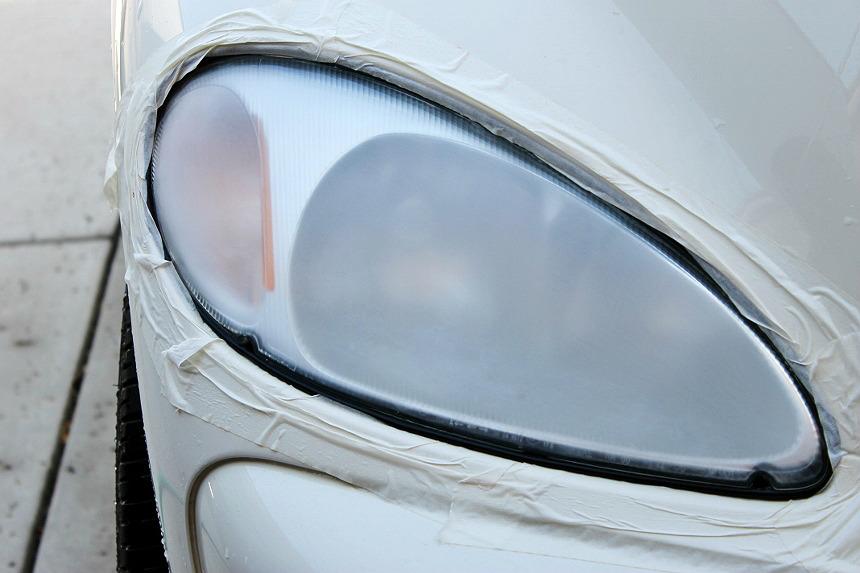
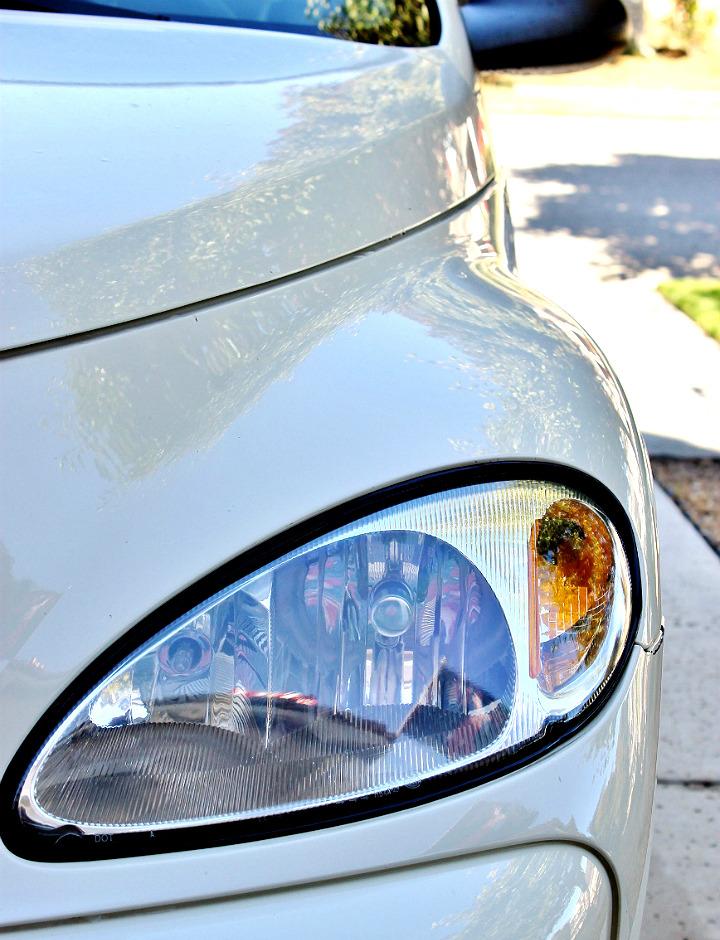
The distinguishing feature versus kits that only clean is that UV block coating. That fourth component is what keeps the restored lens from heading straight back to amber, and it is why this kit is a better long-term buy than a sanding-only system at a similar outlay.
What I could not verify in detail is the texture of individual owner feedback, because written review content was not available for this listing. That is why the rating and distribution matter more here than usual, and they are excellent.
Where this kit earns its place
It is the choice for someone who wants a complete, protected result in one box and does not want to think about sourcing a separate UV coating. For a family with two cars, or anyone restoring headlights and fog lights together, the two-lens capacity works in your favor.
Because it comes from an actual lighting manufacturer, it is also a sensible default if your car still has its original lenses and you want the finish to blend with the rest of the assembly.
Who should look elsewhere
On a lens with heavy pitting, a wipe-and-compound system has less abrasive capability than a drill kit with a proper grit ladder. Go to the 3M system or a multi-grit bundle instead.
The clear coat is tool-applied, so it rewards a steady hand. If you have never used a coating product before, practice on a fog light or an old lens in the garage first.
4. Meguiar’s Two Step Headlight Restoration Kit – Best Hand Polish for Uncoated Plastic
Meguiar’s Two Step Car Headlight Restoration Kit
Model G2970
Item volume 12.72 fluid ounces
No drill or sanding required
Coating claims up to 12 months of protection
Pros
- Very simple two-step hand process
- Coating fills in sanding scratches for a glossy lens
- Finishes a full pair in under an hour
- Familiar detailing brand with a built-in coating step
Cons
- Strips the factory UV layer so lenses may need redoing about yearly
- Residual haze can remain on heavily oxidized lenses
- Spray technique is unforgiving and overspray reaches paint
- Abrasive pads wear out with no spares included
Meguiar’s G2970 is the most conventional detailing approach in this group. Step one is a cleaning solution applied to included abrasive pads and hand-rubbed, step two is a spray headlight coating for UV protection. No drill, no power tools, no separate sandpaper, and a full pair of headlights in under an hour according to owners.
Enthusiasts on the forums single out Meguiar’s PlastX hand polish as a solid option for plastic lenses, and reviewers credit the coating step for doing something the abrasive pads cannot: filling in the fine sanding scratches so the lens reads glossy rather than merely clear. That is the difference between looking repaired and looking new.
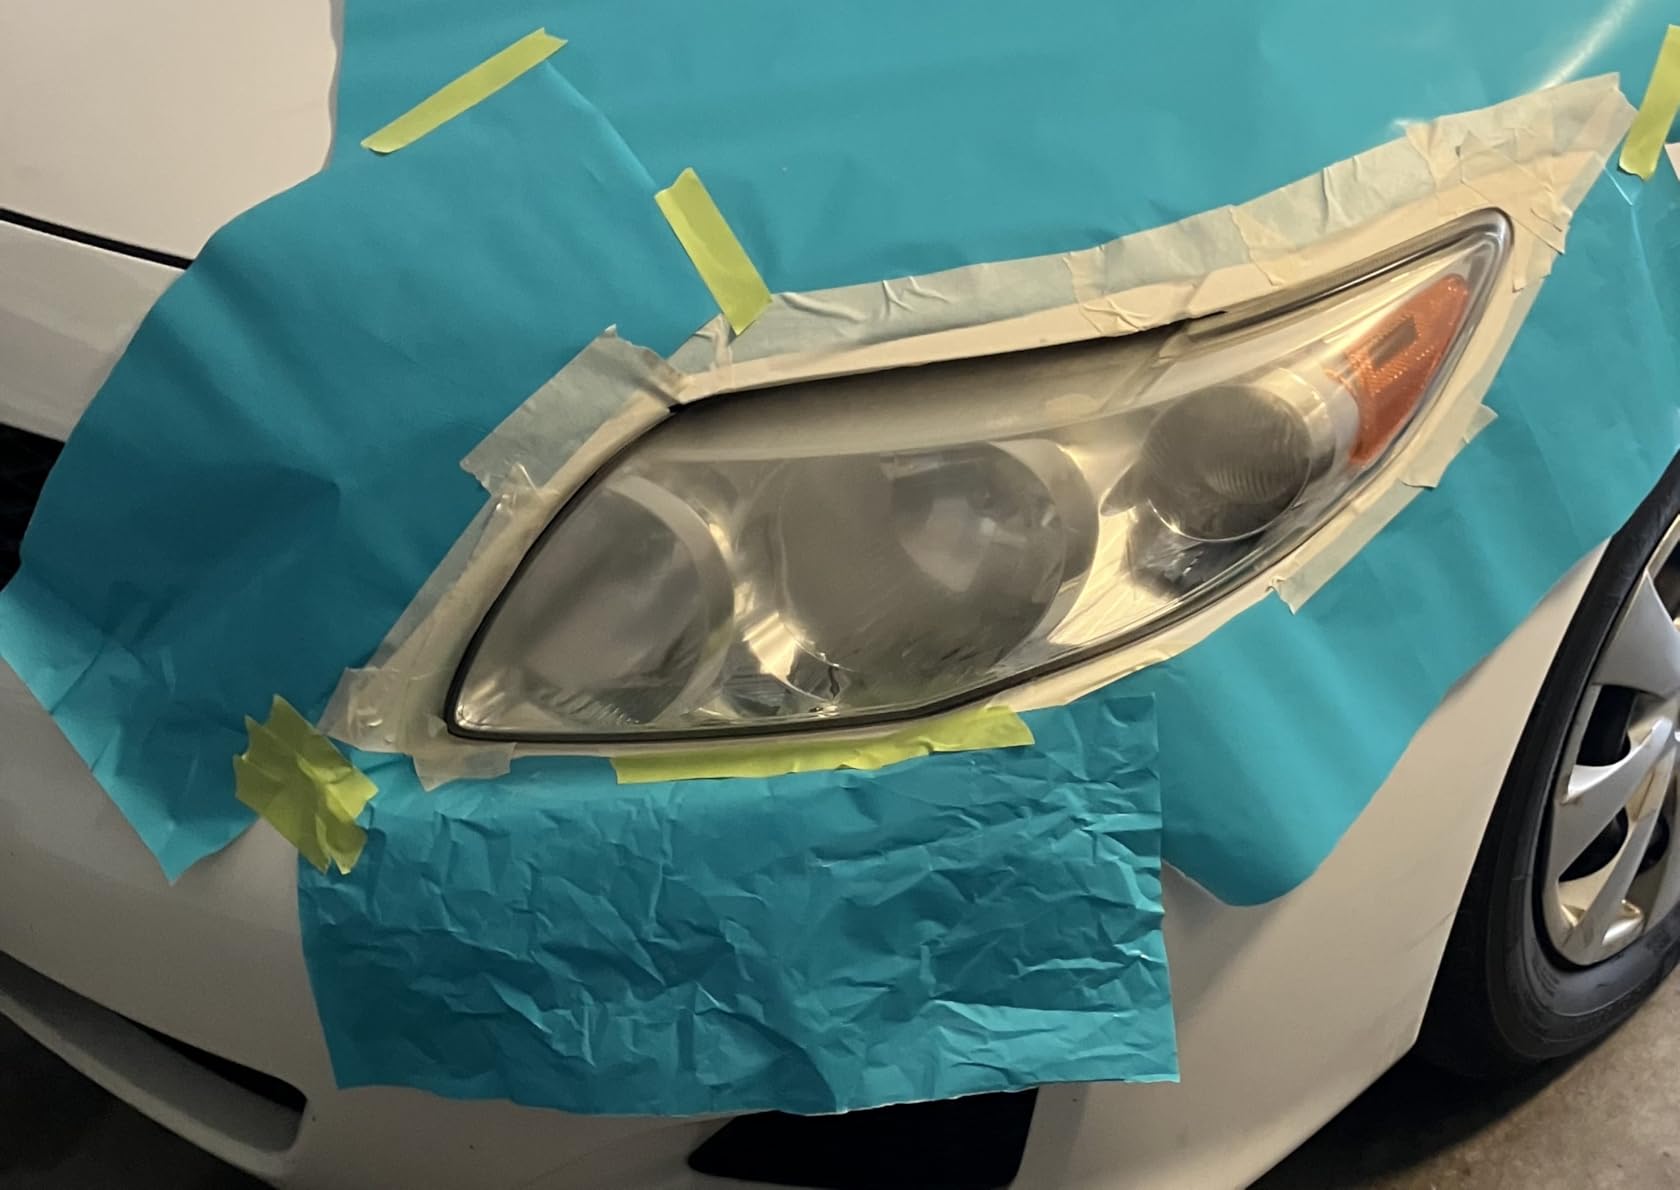
The coating claims up to 12 months of protection against re-oxidation, which is a real commitment on paper. What owners consistently warn about is that the process strips the factory UV protection layer, so even a great-looking lens eventually needs re-treating. That annual cycle is the deal with this kit.
Application technique is the other weak spot. Too much spray or too little leaves a filmy look, and overspray can reach surrounding paint where it is genuinely hard to remove. Mask generously and work in a ventilated space, because the aerosol is unpleasant to breathe.
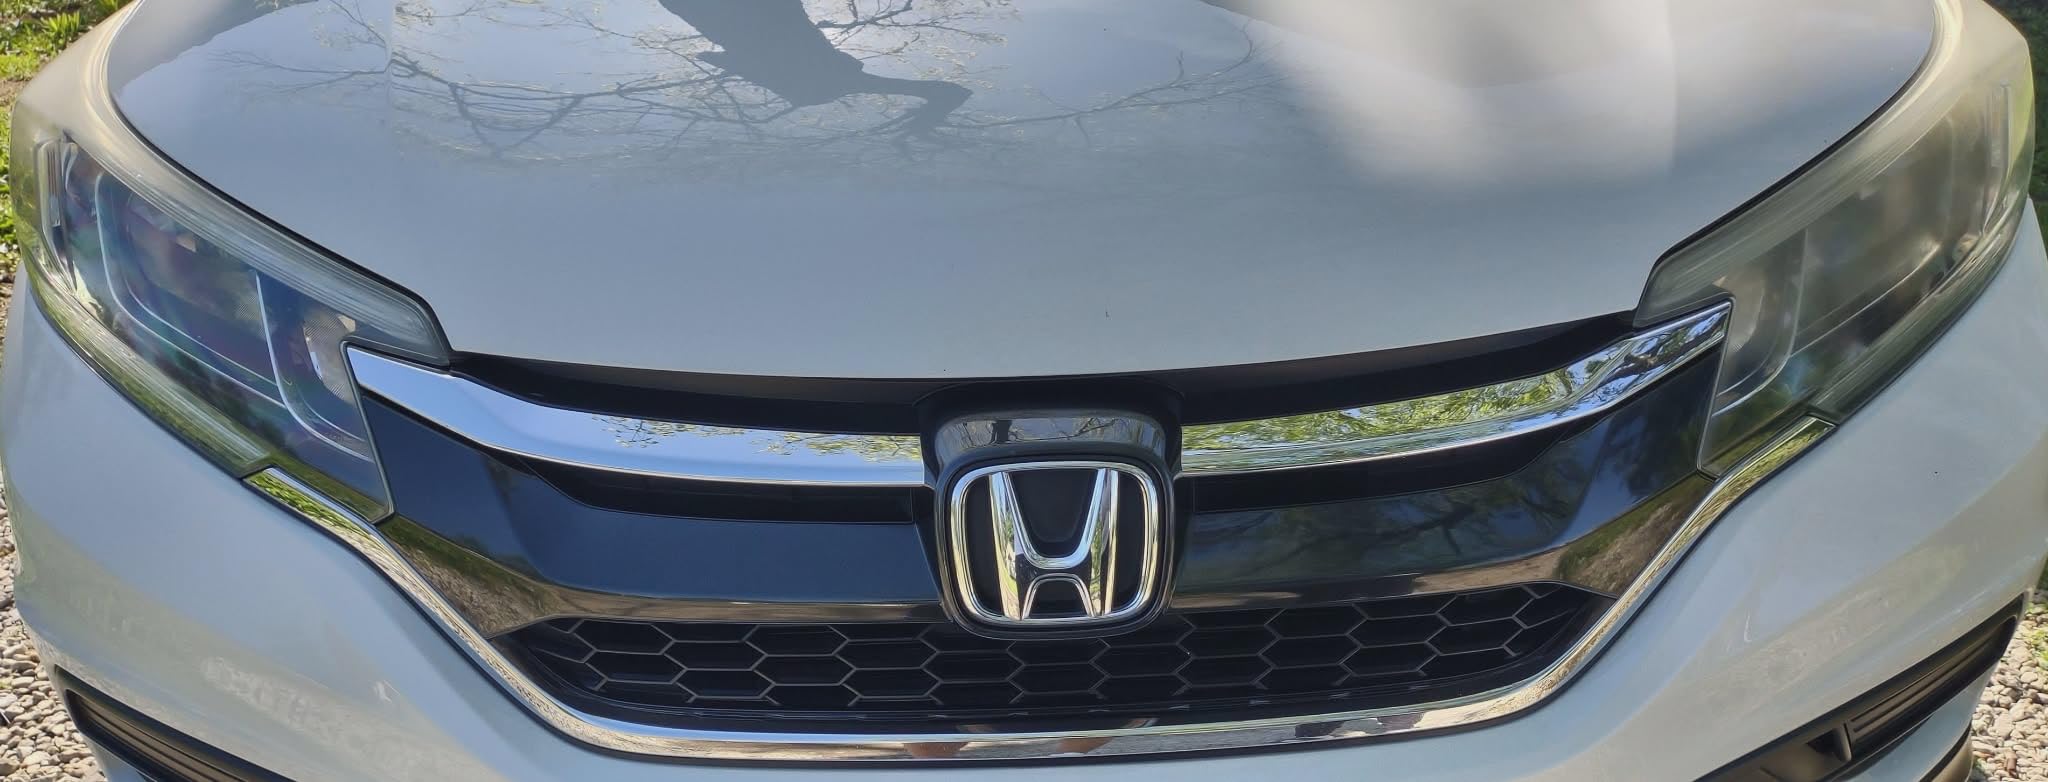
Who this is built for
Choose it for mild to moderate haze where a full sanding session would be overkill, and for anyone who wants nothing in their hands that spins. It is also the right kit for uncoated clear plastics beyond headlights, which is what the product is designed to address.
If your headlights are already reasonably clear and just look tired, this restores the gloss without stripping layers of plastic away.
Where it falls short
On severely oxidized lenses, reviewers report residual haze that stays no matter how long you work the pads. That is a limitation of a hand polish with no true grit progression, not a technique error.
You also get one set of abrasive pads and no spares, so plan on buying more if you have more than one vehicle or a badly degraded pair.
5. Mothers NuLens Headlight Renewal Kit – Best Single-Step Polish with Real Bite
Mothers NuLens Headlight Renewal Kit (07251)
Model 7251
Item weight 13.6 ounces
9.4 x 4.1 x 3.4 inches
PowerPlastic 4Lights polish with sanding discs
Pros
- Can produce dramatic results on very badly yellowed and pitted lenses
- Polish
- sanding discs and foam tool all in one kit
- Oxidation-inhibiting polymers slow re-oxidation
- About 15 to 30 minutes per light with a drill
Cons
- Box instructions are poor and the process is easy to do out of order
- Sanding disc binder can melt into plastic if not lubricated
- Not enough high-grit discs to finish two lenses properly
- No separate lens protectant included
The NuLens kit is built around a single-step premise: one PowerPlastic 4Lights polish, sanding discs, and a foam polishing tool that together handle light to moderate oxidation in one pass. That is a different philosophy from the multi-stage wipes, and it means fewer steps but less control over how aggressively the lens gets attacked.
Where it shines is genuinely bad lenses. Reviewers report dramatic restorations on heavily yellowed and pitted headlights, and the kit takes roughly 15 to 30 minutes per light with a drill. The oxidation-inhibiting polymers are a bonus that slows re-yellowing without needing a separate coating step.
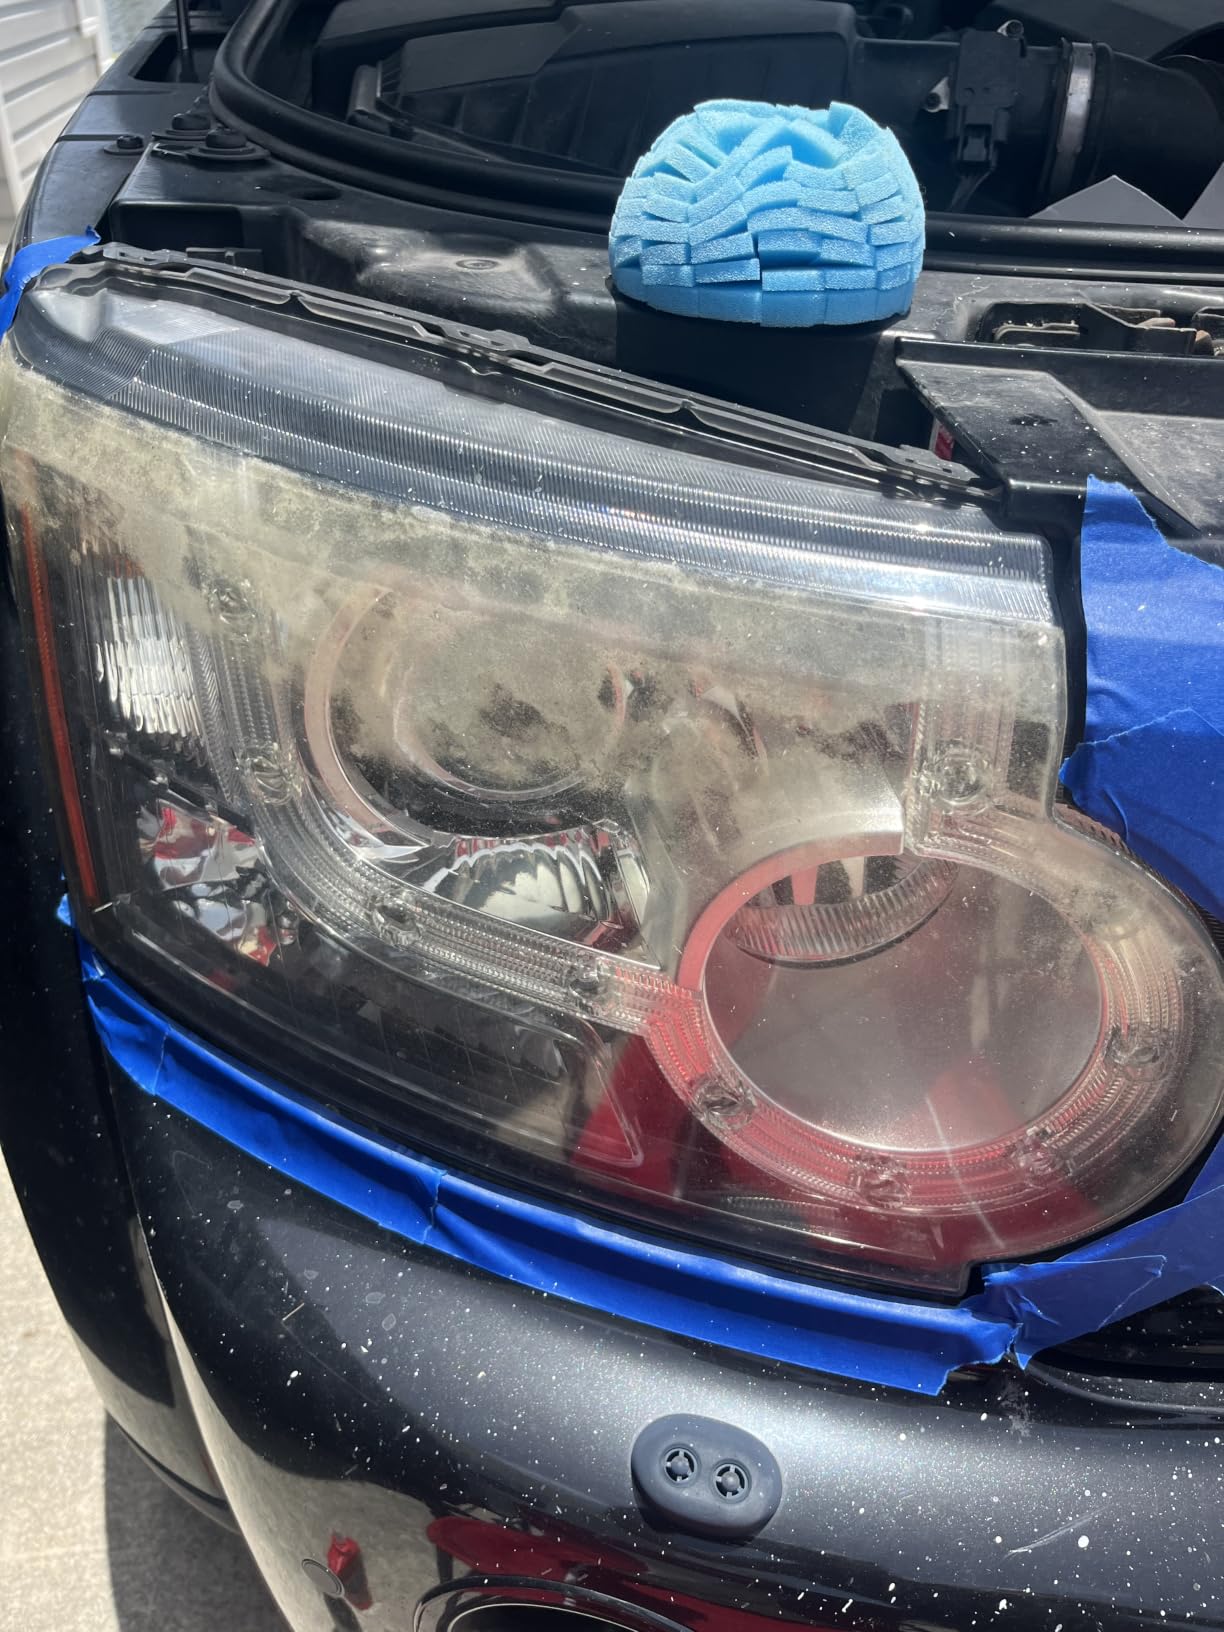
This kit also attracts the most detailed critical feedback in the group, and that 4.2 average comes from real operational complaints rather than noise. The most common one is the sanding disc binder, which can melt into the plastic and stain the lens or the surrounding paint if you run it dry. Lubricate constantly.
Second on the list is documentation. The box instructions are poor enough that owners end up doing the steps out of sequence, which on a one-step system matters a lot. There is also a supply problem: not enough higher-grit discs to finish two lenses properly, and no separate protectant in the box.
Who should buy this
Pick it if you have a rotary tool, a willingness to lubricate every pass, and a lens that is bad enough that a gentler system would disappoint you. The polish itself does more work than the abrasives in this kit.
Experienced detailers who already know the sequence get excellent results from it. If you are learning, pick a kit with clearer instructions.
Who should pass
Skip it if you want a protected finish. With no separate protectant included, the lens stays exposed after you polish it, and re-oxidation starts immediately.
Also pass if you are restoring both headlights of an older car. The disc supply is short for a two-lens job, and a rotary tool without lubricant will stain the paint.
6. Clear Lights Tech 3-Wipe System – Best Quick Wipe-On Fix
Clear Lights Tech, Headlight Restoration Kit – Headlight Cleaner 3-Wipe System, Helps Remove Yellowing & Oxidation, Helps Improve Headlight Visibility, Long-Lasting UV Protection.
Model RH1
Item weight 1.45 ounces
4 x 1 x 7 inches
2 cleaning wipes plus 1 UV coating wipe
Pros
- Simplest possible application with no tools or abrasives
- Compact kit that is easy to store and quick to use
- Coating wipe helps slow future yellowing
- Works on headlights and fog lamps
Cons
- Lowest average rating in this group at 4.0
- About 10 percent of reviews are one star
- Results are inconsistent depending on how bad the lens was
- Not a fix for pitted or cracked lenses
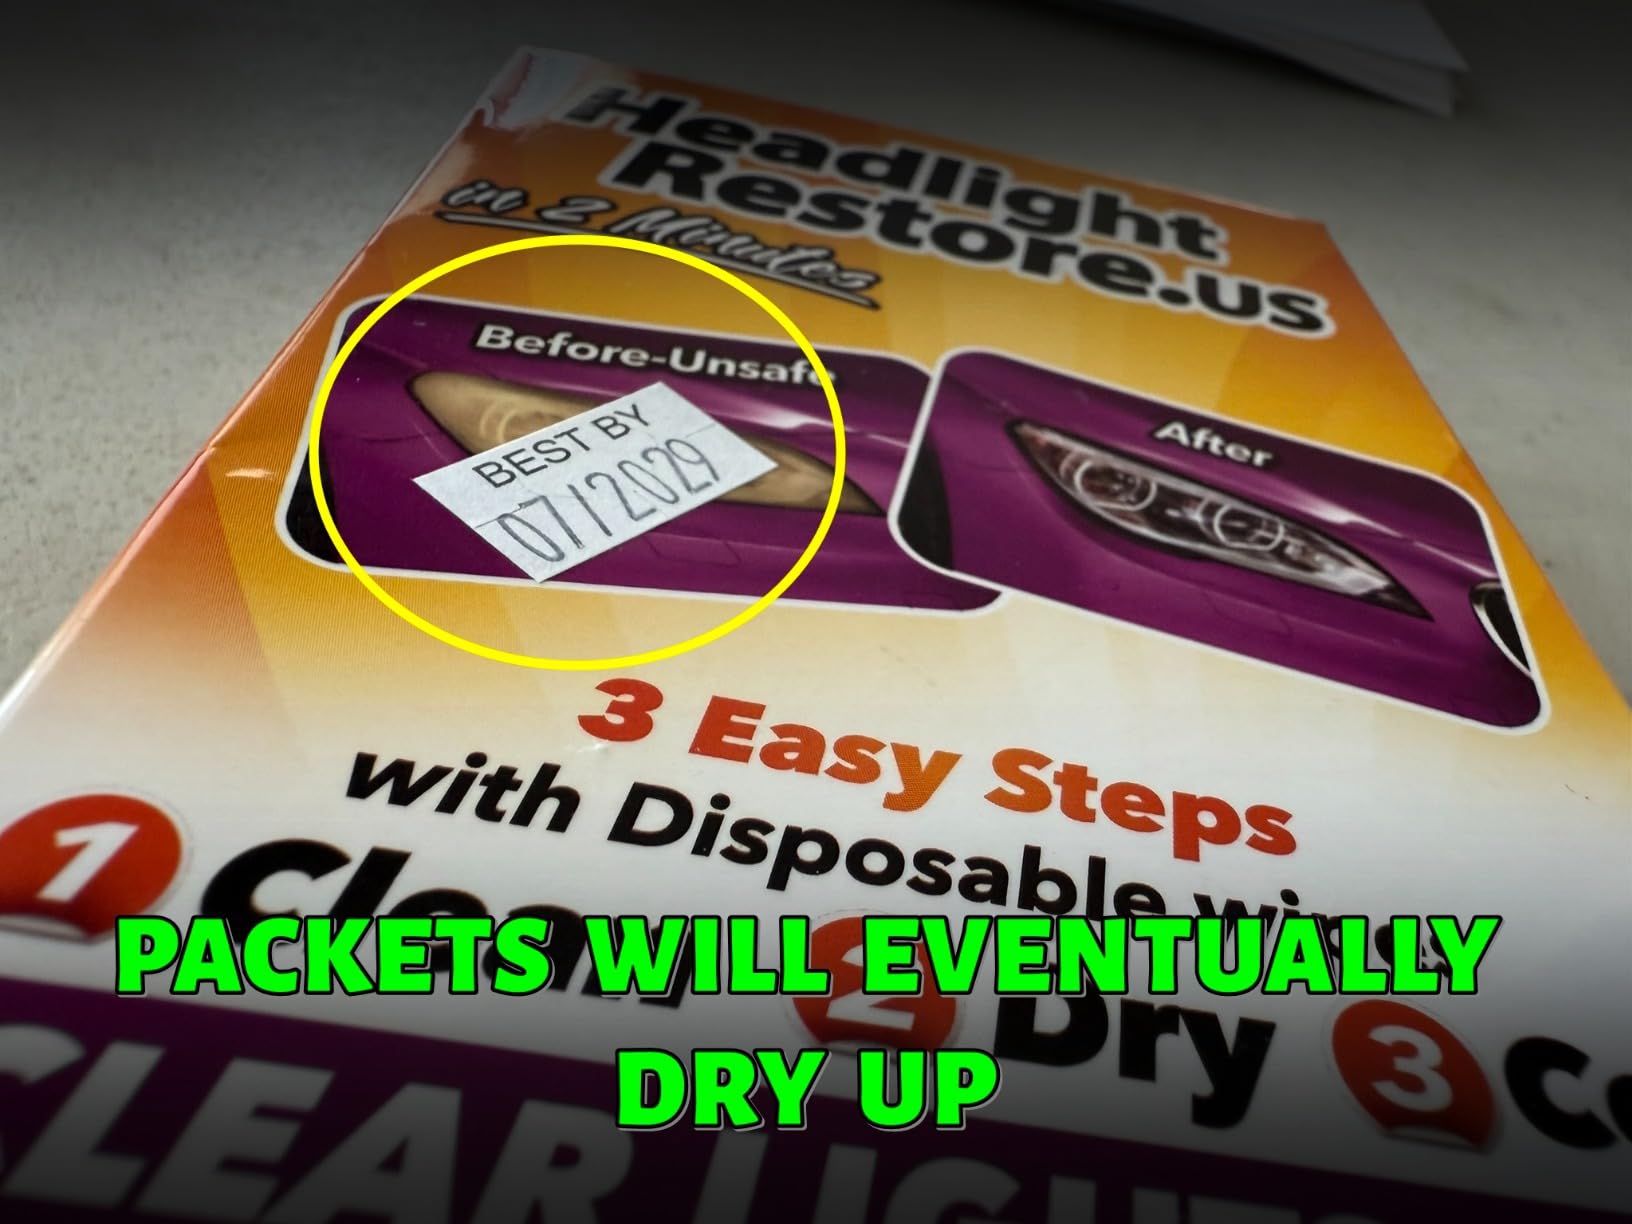
There are three wipes in this kit: two for cleaning and one carrying a UV-resistant protective coating. That is the entire process. No abrasives, no pads, no drill, no masking discipline beyond common sense, and the whole thing fits in a drawer the size of a deck of cards.
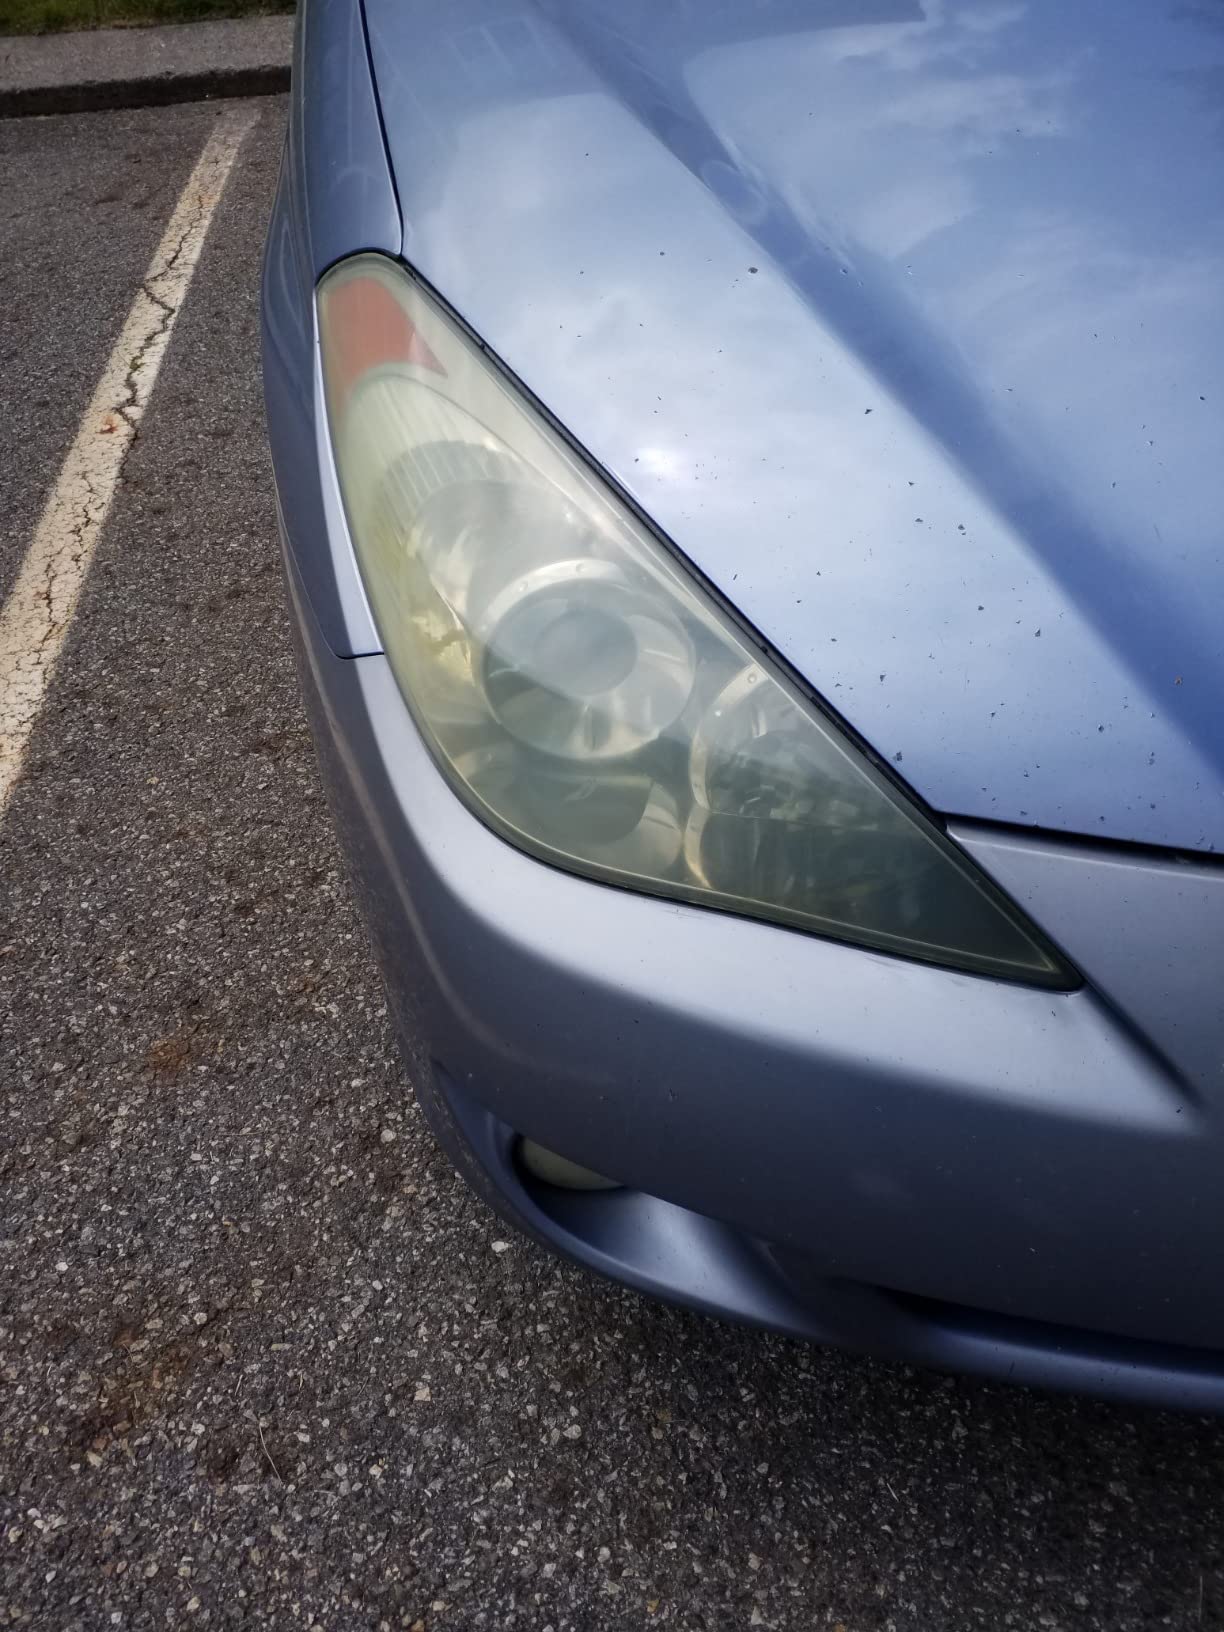
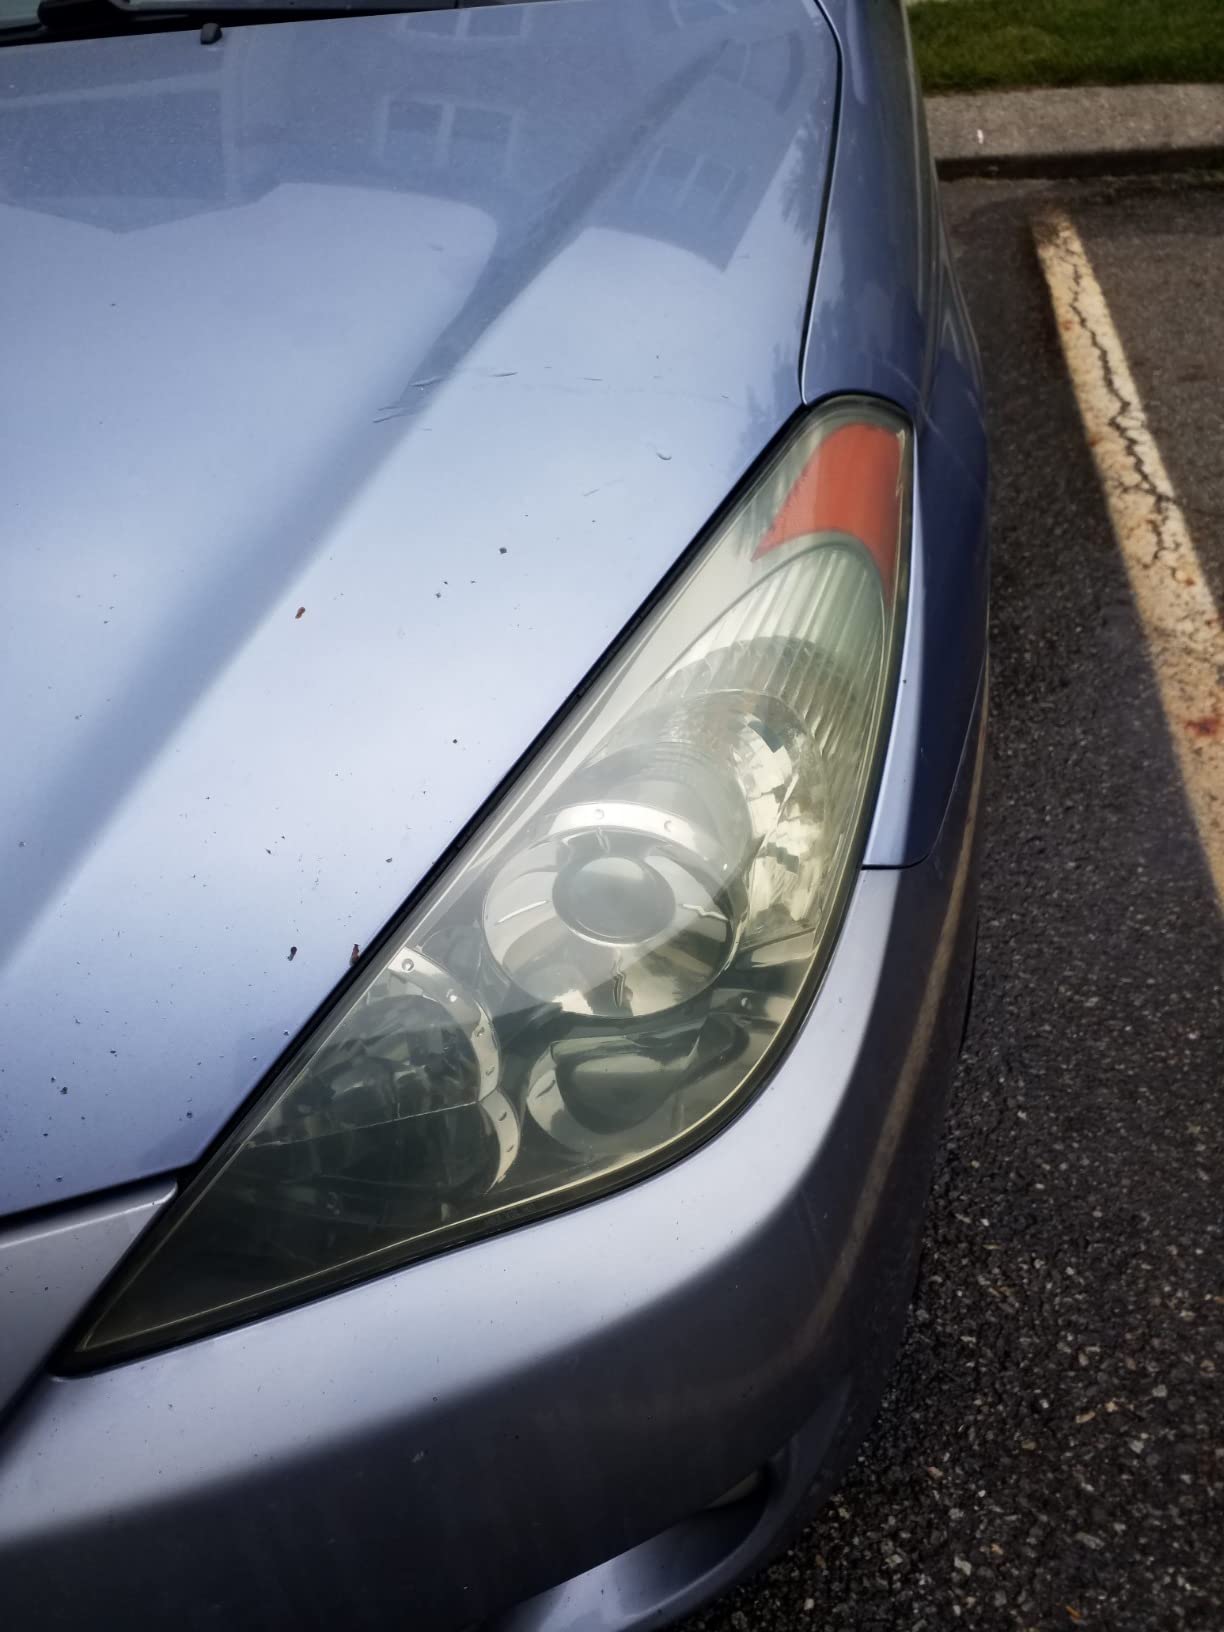
For a lens that is mildly hazy rather than properly oxidized, that simplicity is the whole appeal. There is no drill to rent, no grit sequence to learn, and no risk of heat damage. Owners also note that the coating wipe helps slow future yellowing, which is more than a plain cleaner offers.
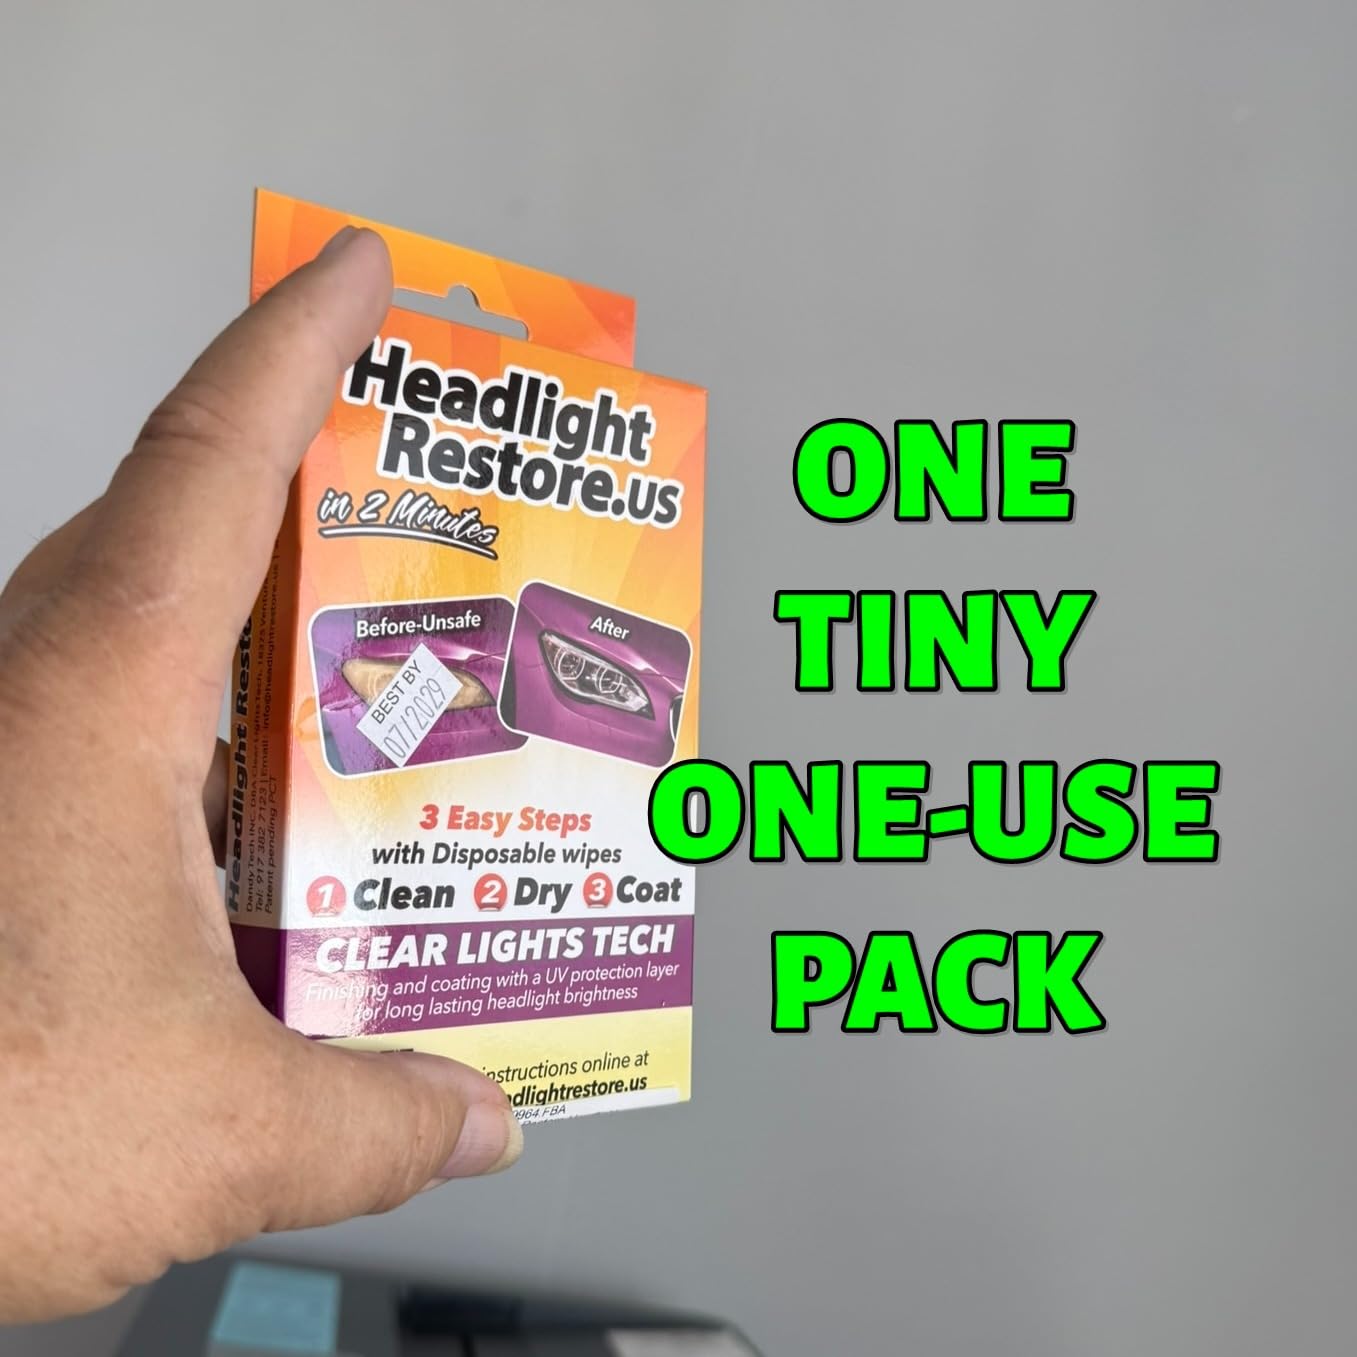
The limitation is the rating profile. A 4.0 average is the lowest of the twelve kits here, and the distribution explains why: 57 percent five-star, but roughly 10 percent one-star. That gap is the signature of a kit that works well on light haze and does very little on a badly degraded lens. The same kit gets a glowing review or a furious one, depending entirely on the starting condition.
Written review content was not available for this listing, so I am leaning on the aggregate distribution here. What that distribution reliably tells me is that this is a maintenance product, not a restoration product.
Best used on
A car that lives in a mild climate, headlights that went slightly cloudy rather than amber, and a weekend where you want a visible improvement in twenty minutes. The coating wipe gives it a little more staying power than a quick clean would.
It is also the natural follow-up to a full restoration. Wipe this on six months after you sand and polish, and you refresh the UV layer without redoing the abrasive work.
When to choose something else
Do not expect this to fix deep yellowing, pitting, or a lens that has been outside for a decade. The 10 percent one-star share is exactly that expectation gap.
If you have a drill and a weekend, spend the time on a proper system. The difference in the final result is large enough to justify it.
7. Wipe New Headlight Restore Kit – Best Waterproof Finish
Wipe New HDL6PCMTRRT Headlight Restore Kit
Model HDL6PCMTRRT
Item weight 90 g
2000 grit pad, sanding block, gloves, cloth
Waterproof, made in the USA
Pros
- Finishing wipe produces a genuinely sparkling like-new appearance
- Users report 85 to 90 percent restoration on badly hazed lenses
- One application typically holds for months
- Bottle covers several pairs of headlights
Cons
- Real work is 30 to 45 minutes of sanding
- not a quick wipe
- Solution has a strong odor and needs good ventilation
- Applicator cloth is single-use
- Can strip paint on contact so masking is essential
What separates this kit from the other wipe systems is the abrasive component. You get a 2000 grit polishing pad, a sanding block, gloves, an applicator cloth, and a finishing solution, which means it actually removes haze rather than dissolving it. Owners report restoration in the 85 to 90 percent range on badly hazed headlights, and the finishing wipe is credited with producing a genuine sparkle.
The waterproof claim is the differentiator. This kit is designed to hold through many car washes, and one application typically lasts for months. It is also universal fit, working on plastic or glass lenses across all vehicles, and it is made in the USA.
The marketing oversells the effort. Owners are emphatic that this is not the effortless fifteen-minute job the advertising implies; the real work is 30 to 45 minutes of sanding and polishing with the pad, and the wipe is the finish, not the fix. Set your expectations there and the product delivers.
Two practical warnings. The solution has a strong odor and needs real ventilation, and it will strip paint on contact, which makes masking tape non-negotiable. The applicator cloth is also single-use, so plan on disposing of it after each headlight.
Best fit for
Anyone in a rainy or snowy region who washes the car regularly and needs the result to survive the car wash. A finish that holds through many washes removes the main argument against doing the job yourself.
It is also a good bridge kit. The 2000 grit pad handles moderate haze, and the finishing solution gives a deeper result than a pure chemical wipe without a full drill setup.
Caveats to plan around
Ventilate properly and do not let the solution sit on adjacent paint. If you are sensitive to fumes, this is not the kit to work on in a closed garage.
And budget for extra applicator cloths. Single-use means one headlight per cloth, which is an easy detail to miss mid-job.
8. Vibratite 37-Piece Headlight Restoration Kit – Best Multi-Grit Value Bundle
VIBRATITE 37PCS Headlight Restoration Kit, 3″ Drill Sanding & Polishing Kit
37 pieces, model carkit37-PUV6
1000, 2000, 5000 and 10000 grit discs
Four buffing pads, backing pad, masking film
Two compounds and four UV liquid sachets
Pros
- Comprehensive 37-piece set with discs
- pads
- compounds
- UV liquid and masking film
- Wet sanding discs deliver genuinely clear results
- Enough supplies to finish roughly two cars
- Also works on taillights
- fog lamps and turn signals
Cons
- Included UV protective coating is smeary and hazy
- Instructions are vague or missing from the package
- Grit numbers are not marked on the discs
- Each disc needs several minutes per headlight
This is the consumables bundle. Thirty-seven pieces covering a full workflow: six waterproof sanding discs at 1000, 2000, 5000 and 10000 grit, four buffing sponge pads, a backing pad, a soft interface pad, masking film, two polishing compounds, and four protective liquid sachets. Enough material to finish roughly two cars, and it handles headlights, taillights, fog lights and turn signals.
The wet sanding discs are the component that earns the praise, and they deliver a genuinely clear result on well-used lenses. The four-step structure of mask, wet sand, buff, seal is also the right order of operations, which is more than several competing bundles manage.
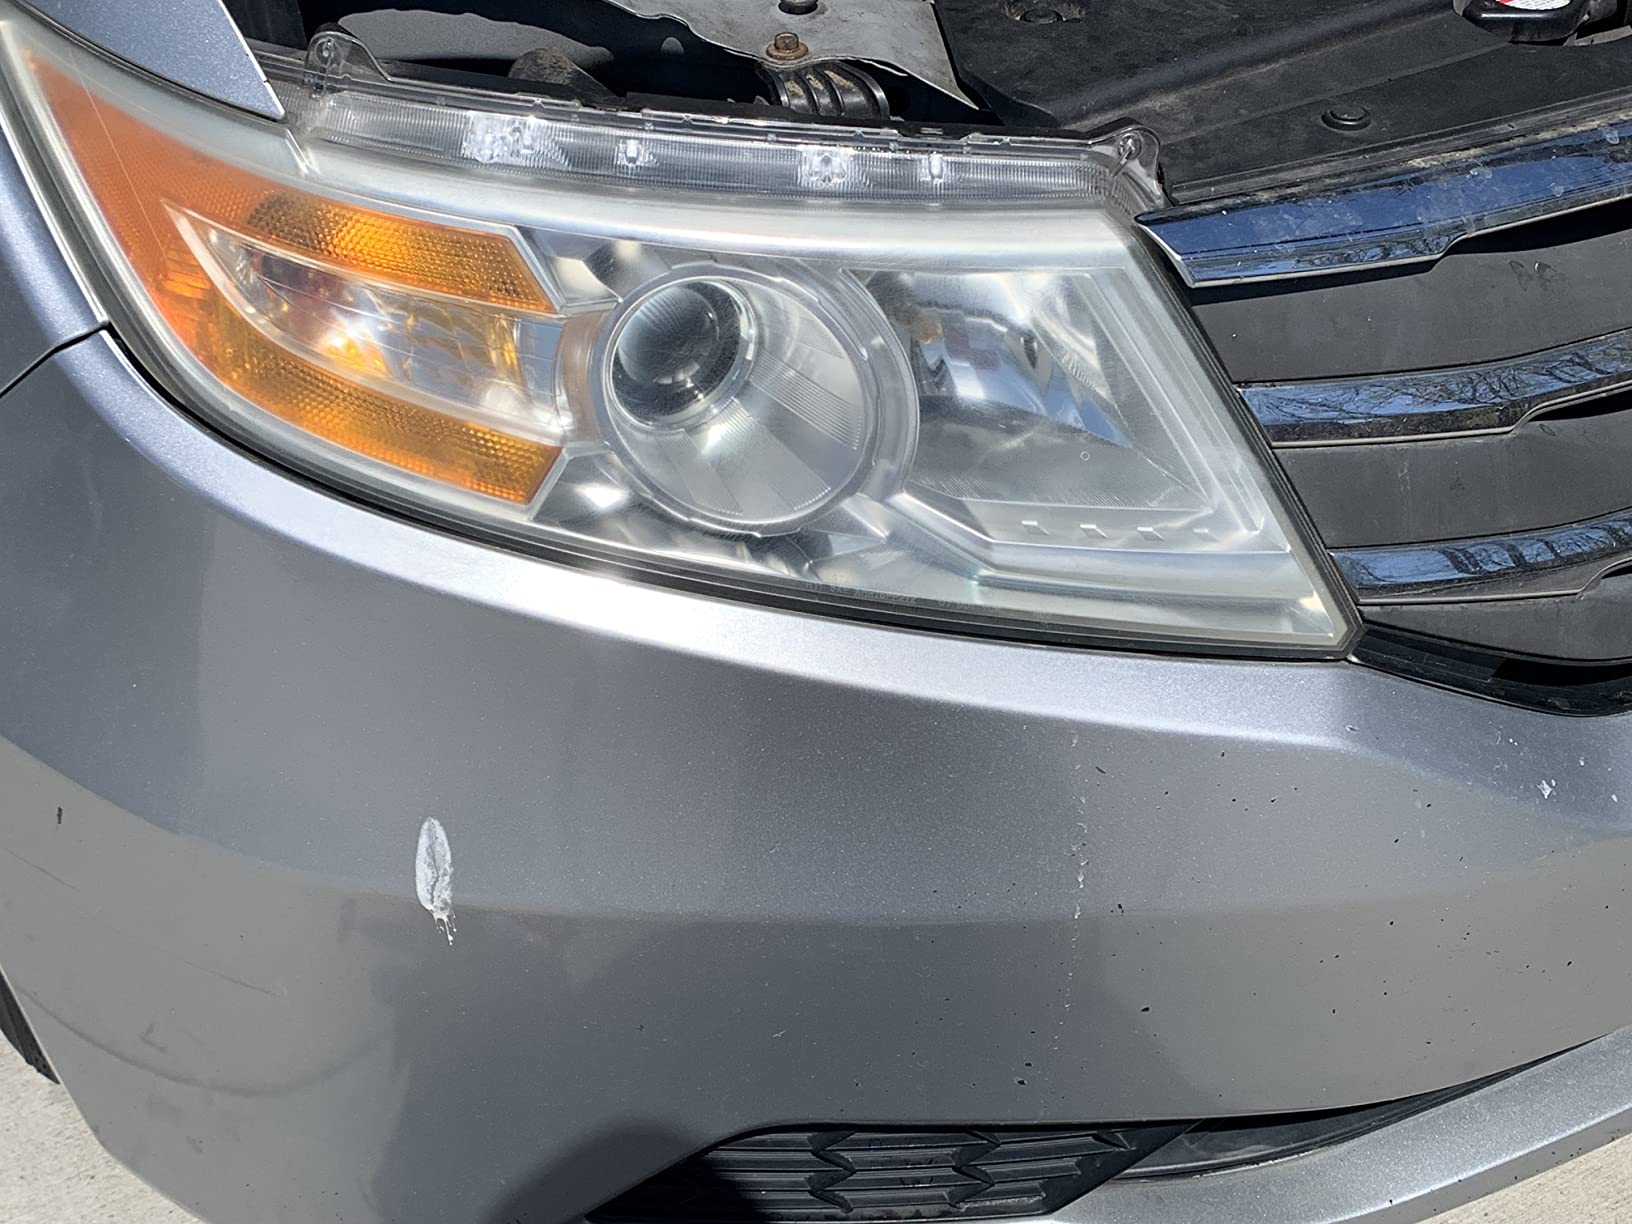
The most consistent complaint is the final UV protective liquid, which multiple reviewers describe as leaving a smeary, hazy film, and several recommend skipping it in favor of an off-the-shelf wax instead. My advice is the same: use the abrasives, source your own sealant. That is an easy fix, but it means this is not a sealed system out of the box.
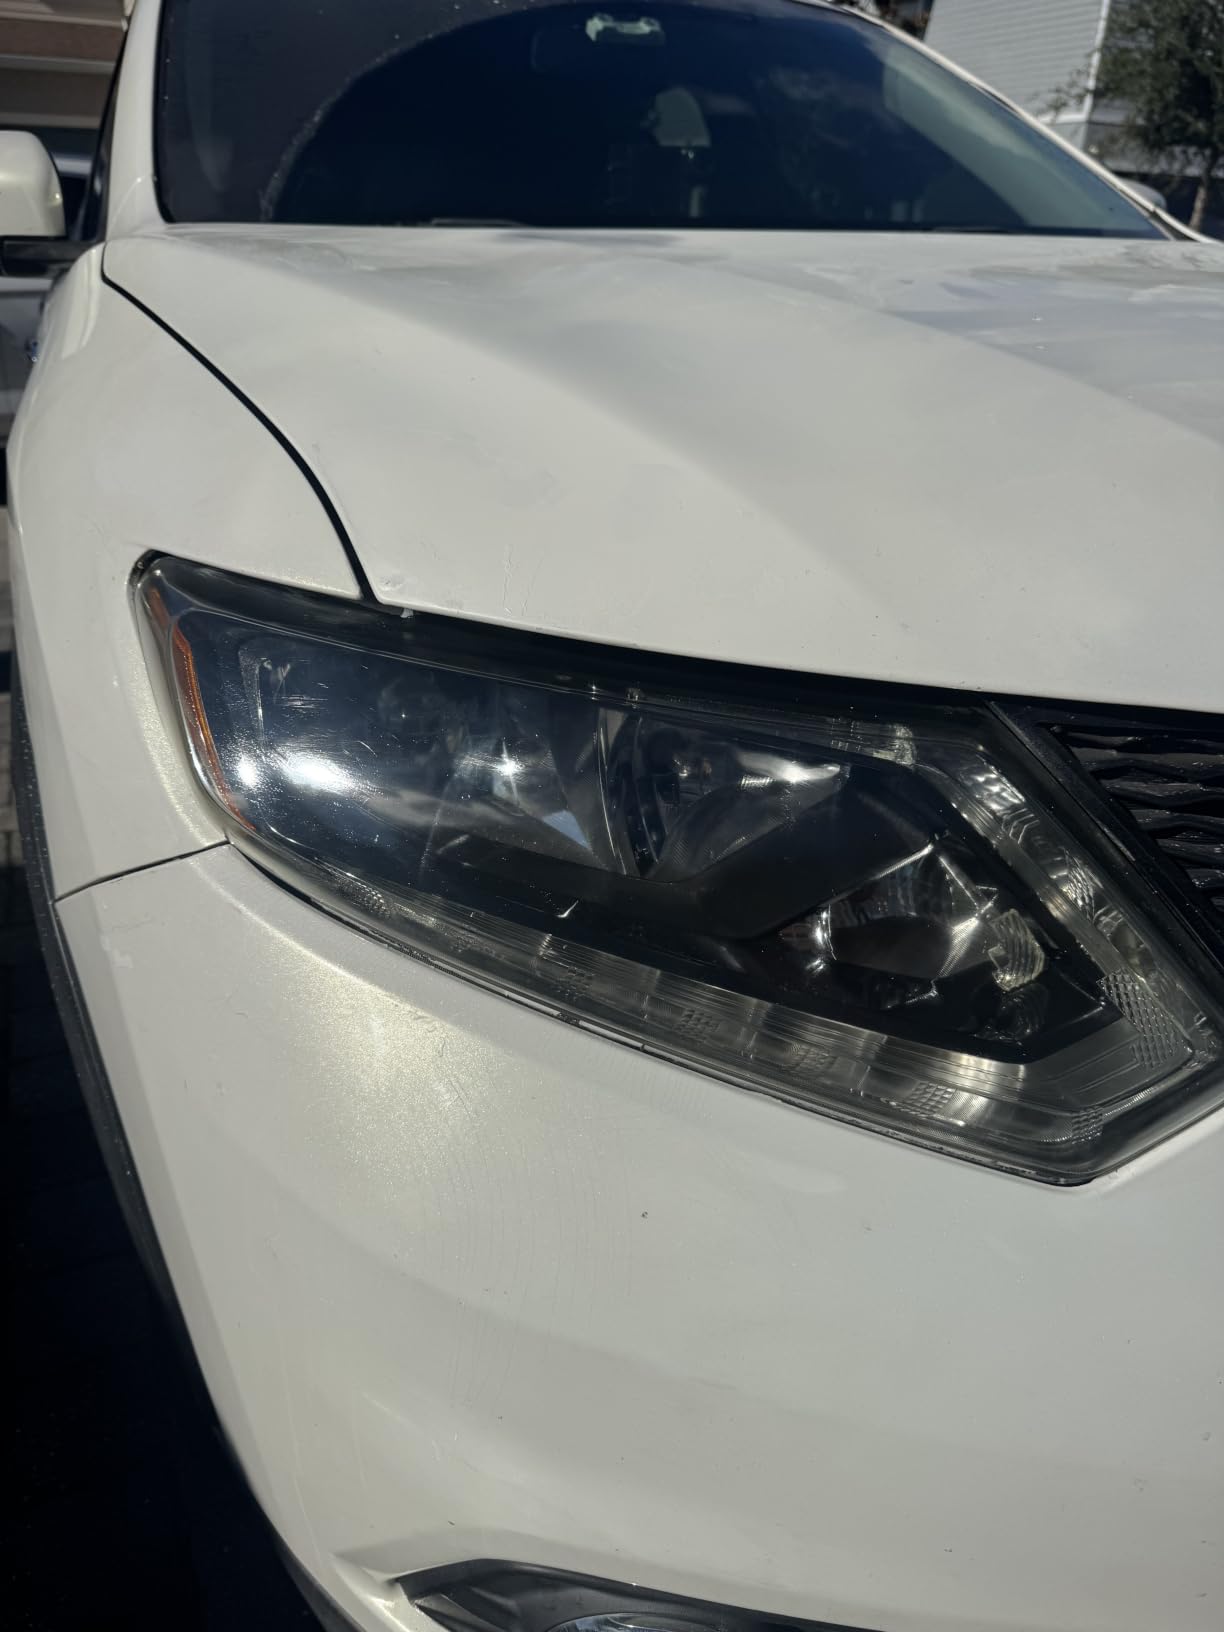
Documentation is the other gap. Instructions are hard to find or missing entirely, and the grit numbers are not marked on the discs, so you need to track the sequence yourself. The disc count is generous, but each disc needs several minutes per headlight, and the drill is not included.
Best for multi-vehicle households
The supply volume is the reason to buy this. If you have two cars, a car and a motorcycle, or headlights and taillights to do at the same time, this bundle covers the job without a second purchase.
It is also the right choice if you enjoy the process and want control over grit progression, because the range from 1000 to 10000 grit lets you work the whole ladder properly.
What to watch out for
Do the sanding and polishing with these discs, but buy your own protection. The included liquid is the weakest link in an otherwise strong package.
Mark the discs yourself before you start. Unmarked grit on a wet sanding job is how people accidentally start at 2000 on a lens that needed 1000.
9. Pmbqifay Vapor Coating Kit – Best Coverage Per Bottle
Pmbqifay Headlight Restoration Kit, Car Headlight Polish Repair Renovation Kit with 200ML Repair Liquid for Repair Headlight Yellowing, Haze, Oxidation, Scrashes
Model ZY-122, 200 ml fluid
Fluid vaporizes in a heated atomizing cup
110 V and 12 V power cords included
Six sandpapers, emery board, funnel and tape
Pros
- Vapor coating restores badly yellowed lenses to a crystal-clear finish
- One bottle of fluid covers roughly 16 to 20 headlights
- Complete set requires no additional purchases
- About an hour for a full headlight job
Cons
- Atomizing cup heater can be underpowered and produce little vapor
- Blue fluid stains clothing and other materials
- Poor lid seal leaks liquid onto paint
- Must sand past 1200 grit or the coating will not bond
This kit works differently from everything else here. Instead of wiping or spraying a coating, the 200 ml repair fluid vaporizes in a heated atomizing cup and forms a new UV coating on the sanded lens. The box includes the cup with two lids, six sandpapers, an emery board, a funnel, guard tape, both 110 V and 12 V power cords, a toolbox and a manual.
Users who get the heater working report a genuinely crystal-clear result, and about an hour for a full headlight job. The standout economic argument is coverage: 200 ml of fluid is claimed to treat roughly 16 to 20 headlights, which drives the per-lens cost far below any of the wipe kits.
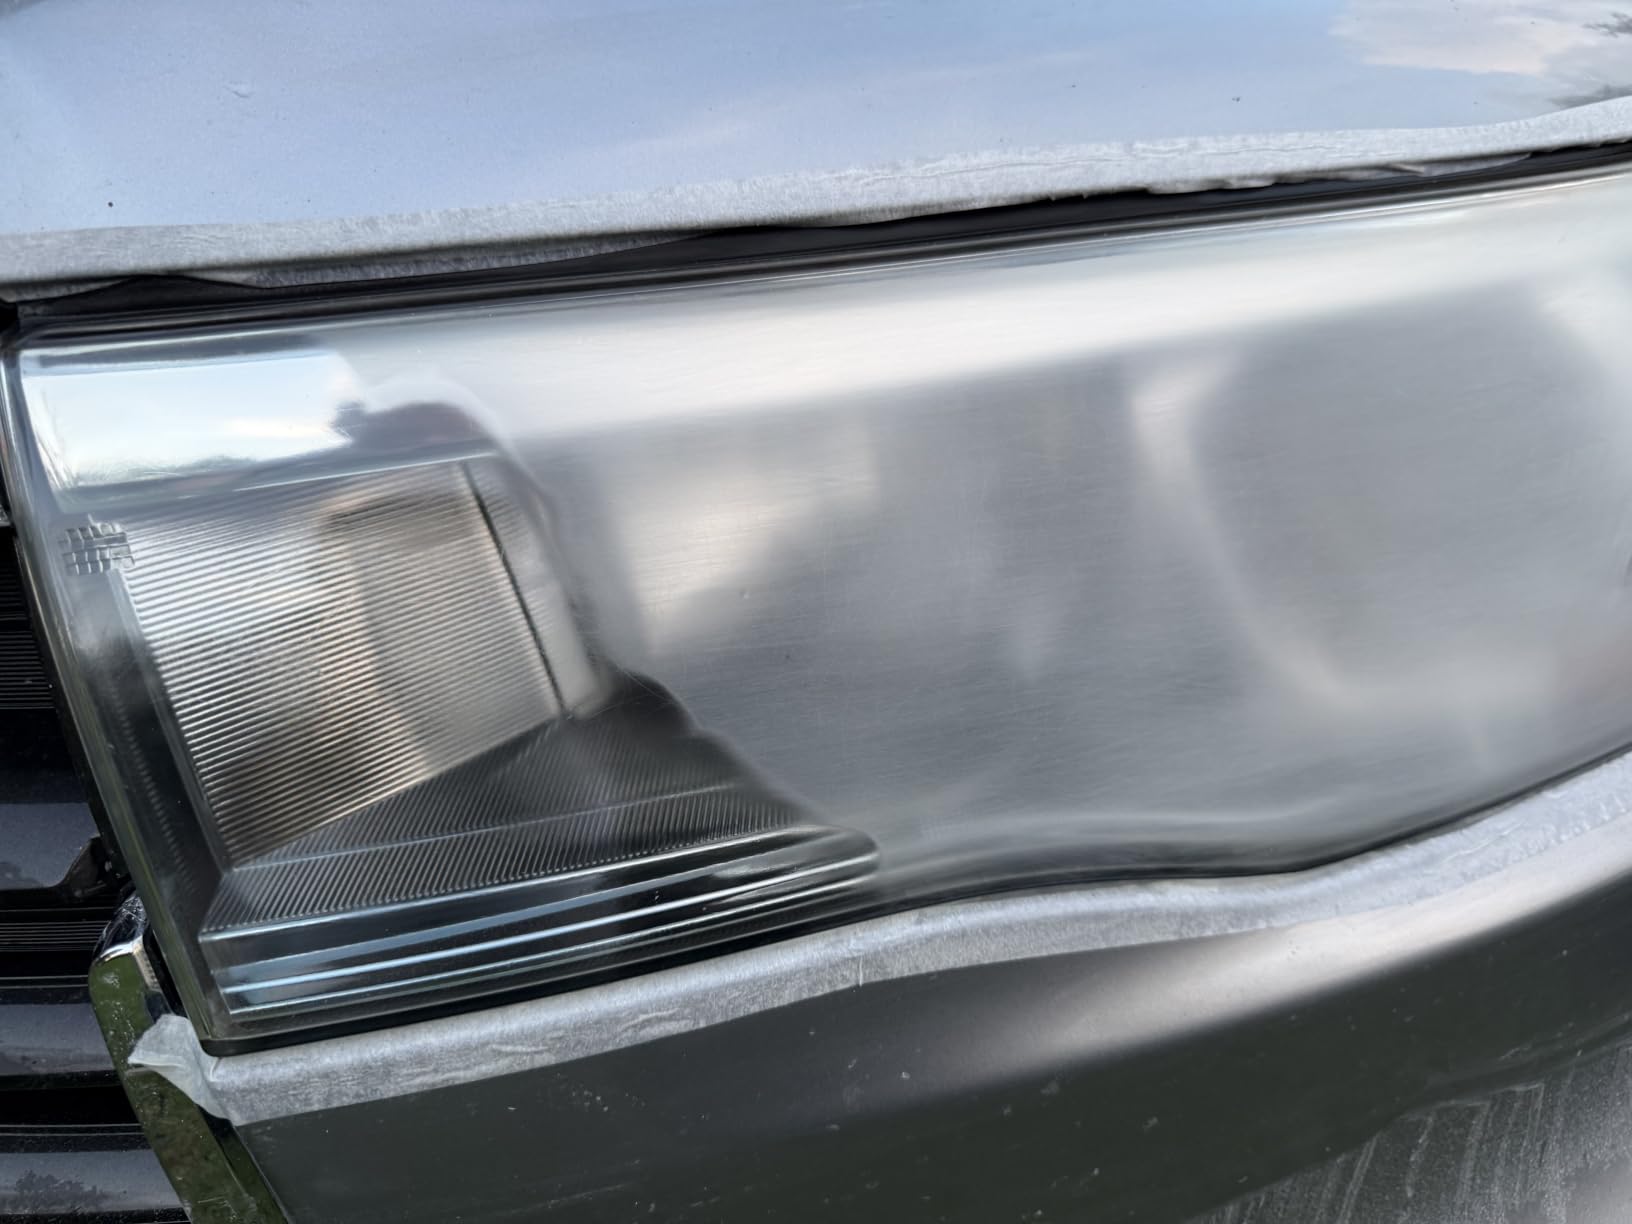
The recurring problems are hardware, not chemistry. The atomizing cup heater is the biggest complaint, with users reporting it is not hot or powerful enough in some cases, producing no vapor or intermittent vapor. If that happens, the coating simply does not form, and you have sanded a lens for nothing.
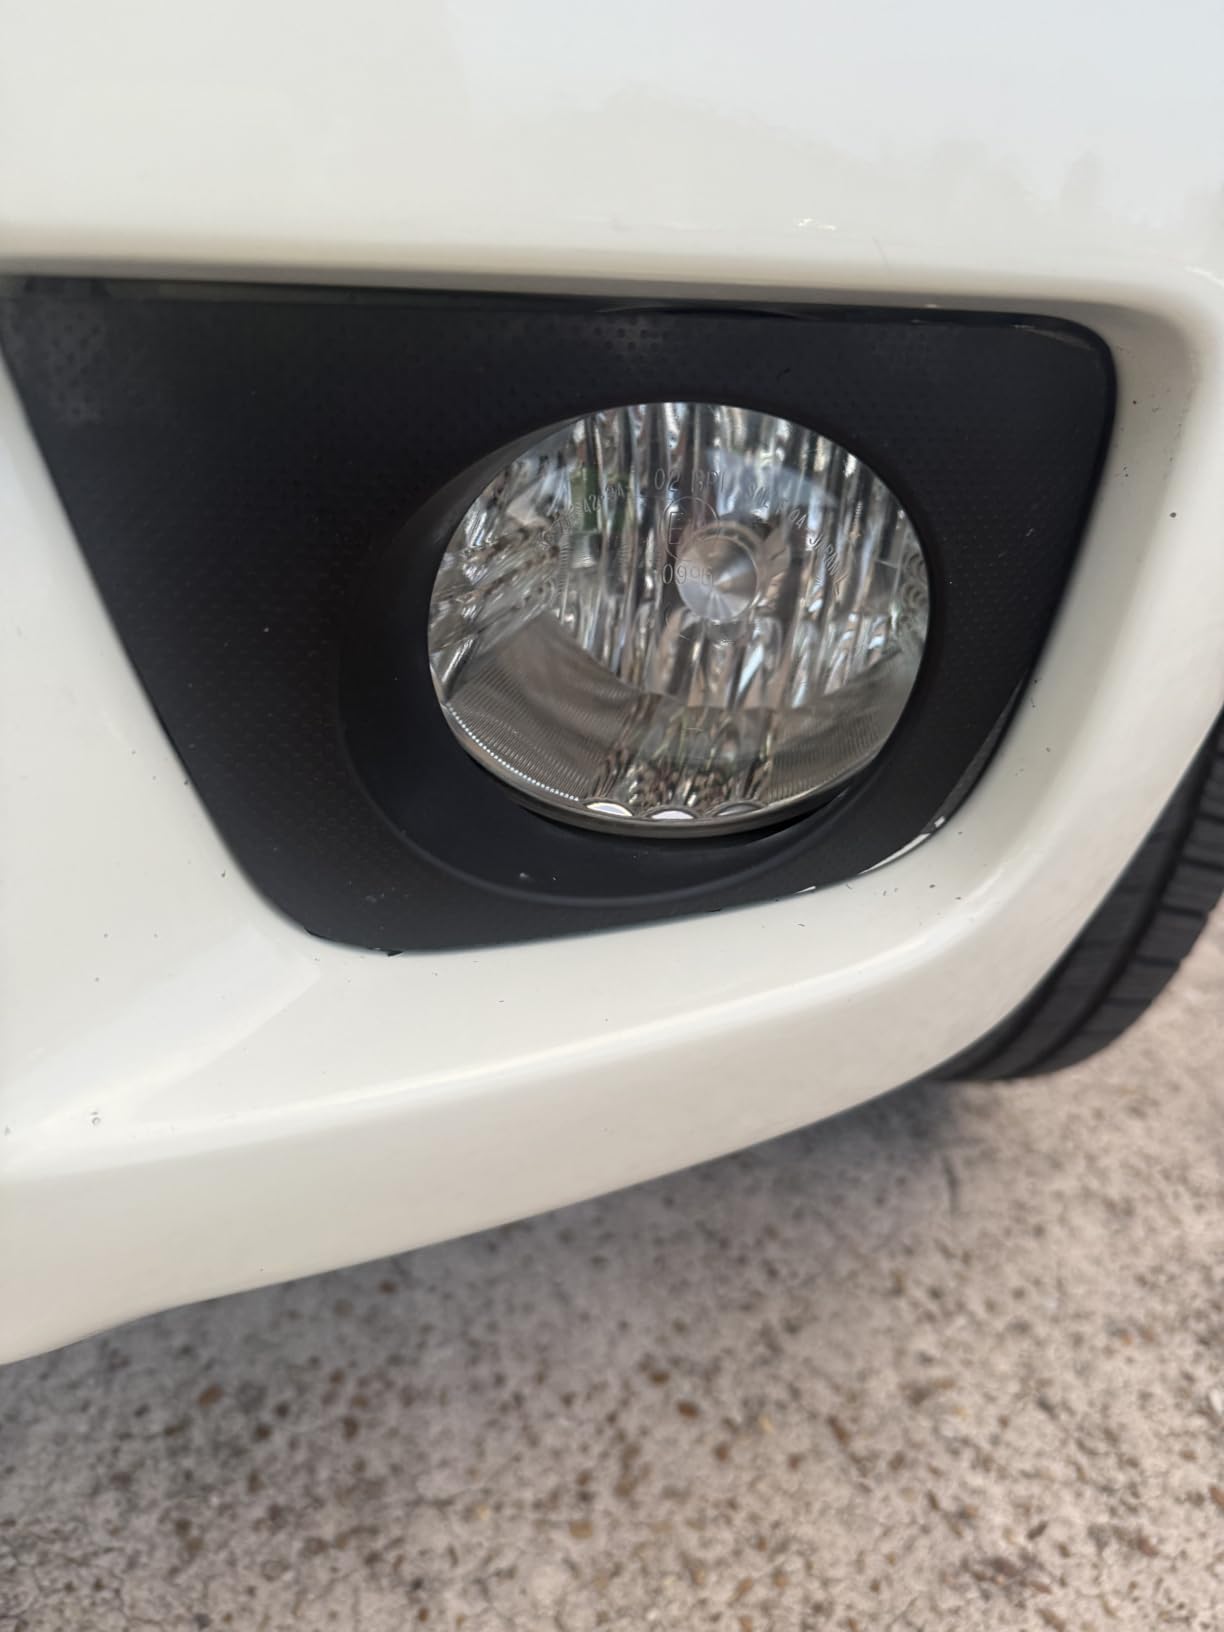
Two safety points are worth taking seriously. The blue fluid stains clothing and other materials on contact, and the lid seal is poor enough that liquid leaks onto paint. Test the seal and the heater before you start sanding, and work over a covered surface.
Where the math works
If you are restoring more than two vehicles, or you run a small detailing operation, the fluid volume changes the economics completely. Sixteen to twenty headlights from one bottle is not a marginal saving, it is a different category of cost per lens.
It is also unusually versatile, working on car, EV and motorcycle headlights, tail lights, trailers, windows and helmets. One kit can cover a mixed fleet.
What could go wrong
You must sand thoroughly past 1200 grit or the coating will not bond, which means this pairs with a grit ladder rather than a quick wipe. Some variants also arrive with fluid only, not the full kit, so check what is actually in the box.
And test the cup first. A heater that does not vaporize turns this into a very expensive sanding exercise.
10. Rain-X 610153 Headlight Restoration Kit – Best Complete Drill Kit
Rain-X 610153 Headlight Restoration Kit – Car Light Lens Cleaner/Restorer with Sanding & Polishing Drill Attachments & Sealant Wipe, Removes Scratches & Oxidation- All in 1 Long Lasting Formula
Model 610153
Item weight 4.2 ounces
3.97 x 2.5 x 9.34 inches
Sealant wipe needs about 8 hours to cure
Pros
- Delivers clear like-new lenses on badly yellowed headlights
- Sealant wipe is easy to apply and extends the life of the result
- Everything except a drill and tape is in the box
- About 20 minutes of active work for a dramatic change
Cons
- Drill buffing throws residue that is hard to remove from non-white paint
- Sanding discs reportedly leave brown and blue residue on the lens
- Bundled polish can be improved on with a separate car polish
- Messy process needing masking and 2 to 2.5 hours including cure
Rain-X packs a complete drill workflow with a protective sealant wipe, and the numbers owners report are good: about 20 minutes of active work produces a dramatic before-and-after, and the sealant step is credited with extending the life of the restoration. Everything except a drill and tape is in the box.
The suggested working speed is roughly 1500 to 2000 RPM on a household drill, which sits in a sensible range. The sealant wipe needs about eight hours to cure with no moisture, so timing matters if you live somewhere that rains in the afternoon.
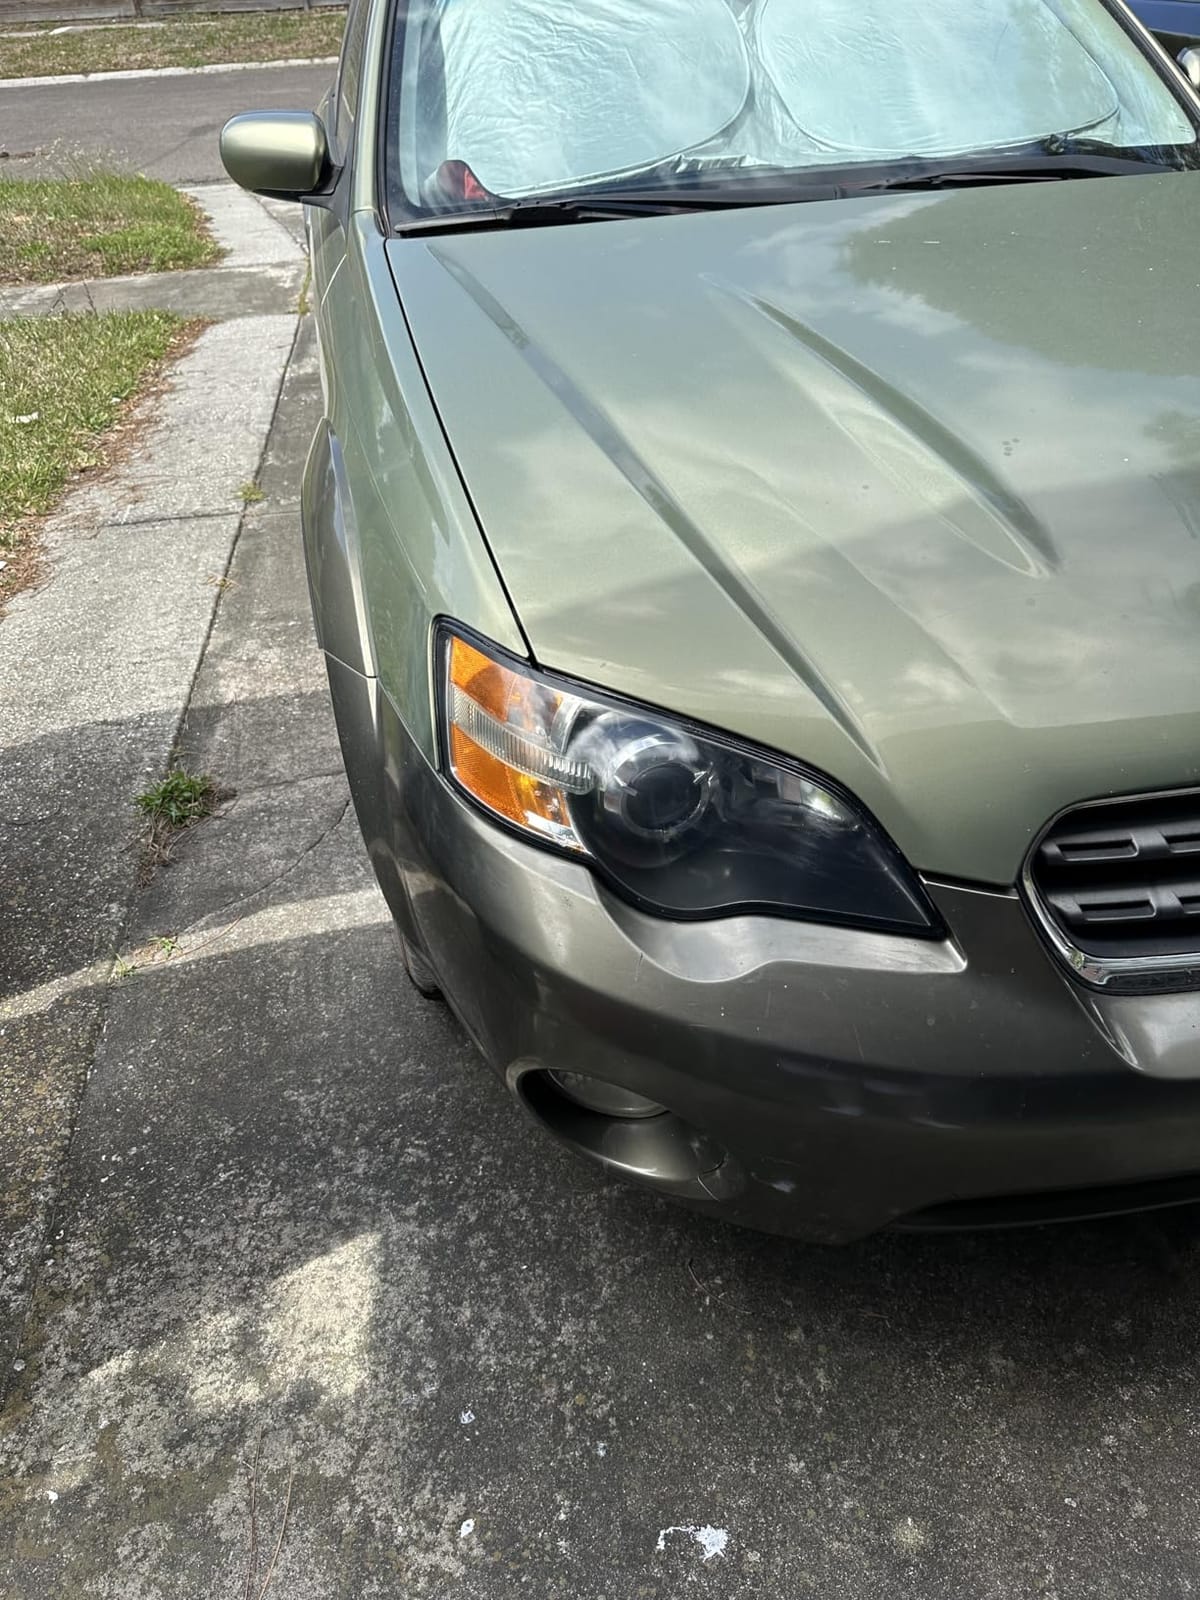
Contamination is the significant negative thread here, and it is the main reason this kit sits mid-pack. Several reviewers report the drill throwing colored residue onto surrounding paint, and others describe the sanding discs leaving brown and blue marks on the lens itself that could not be fully reversed. That is a serious complaint on a clear plastic part.
Reviewers also find the bundled polish improvable, with several finishing the job with a separate car polish for a better gloss. And the real time is 2 to 2.5 hours once you account for masking and cure time, not the 20 minutes of active work the marketing implies.
Best suited to
A car with non-white paint that you can mask carefully and work on in a dry stretch of weather. If you have a full weekend and a drill, the box has everything except the two things you most likely already own.
Users are generally satisfied where the process is followed, with owners reporting a dramatic clarity gain and a long-lasting sealant result.
Where caution is needed
Test on a scrap lens or a fog light first if you are worried about residue staining, because marks on the lens itself are difficult to undo. Mask adjacent paint thoroughly.
Plan the cure around the weather. Eight hours dry and undisturbed is a long ask on a schedule you do not control.
11. POLIWELL 24-Piece Headlight Restoration Kit – Best Starter Drill Kit
POLIWELL Headlight Restoration Kit 3 Easy Steps to Restore Sun Damaged Headlights Polish Headlights Lens Restore Cleaner DIY Polishing, Sanding Discs, Scouring Pads for Electric Drill, Total 24Pack
24-piece set, model CH02M
1000, 3000 and 5000 grit discs, 800 grit pads
10 m masking tape and spray bottle
Polishing compound and UV block coating
Pros
- Sanding and polishing stages work well and give a clear result
- Generous disc supply for two headlights and often more
- Spray bottle and 10 meters of masking tape included
- Consumables are reusable across multiple vehicles
Cons
- UV clear coat can streak the plastic and leave white haze
- Clear coat dries fast and applies unevenly
- Polishing compound may not shift smudges on larger headlights
- Included masking tape is low quality
- High drill speed can melt the plastic lens
POLIWELL is a 24-piece set built around a three-step flow of wet sand, polish, and seal. You get two scouring pads, four each of 1000, 3000 and 5000 grit discs, a backing pad, a drill attachment, an interface pad, 10 meters of masking tape, a spray bottle, a polishing compound and a UV coating. The supply is enough for roughly two lenses, and the consumables carry over to other vehicles.
Reviewers consistently rate the sanding and polishing components as effective and consider the kit good value with plenty of consumables. The three-step structure and printed instructions on the packaging are a small but real advantage over bundles with no documentation at all.
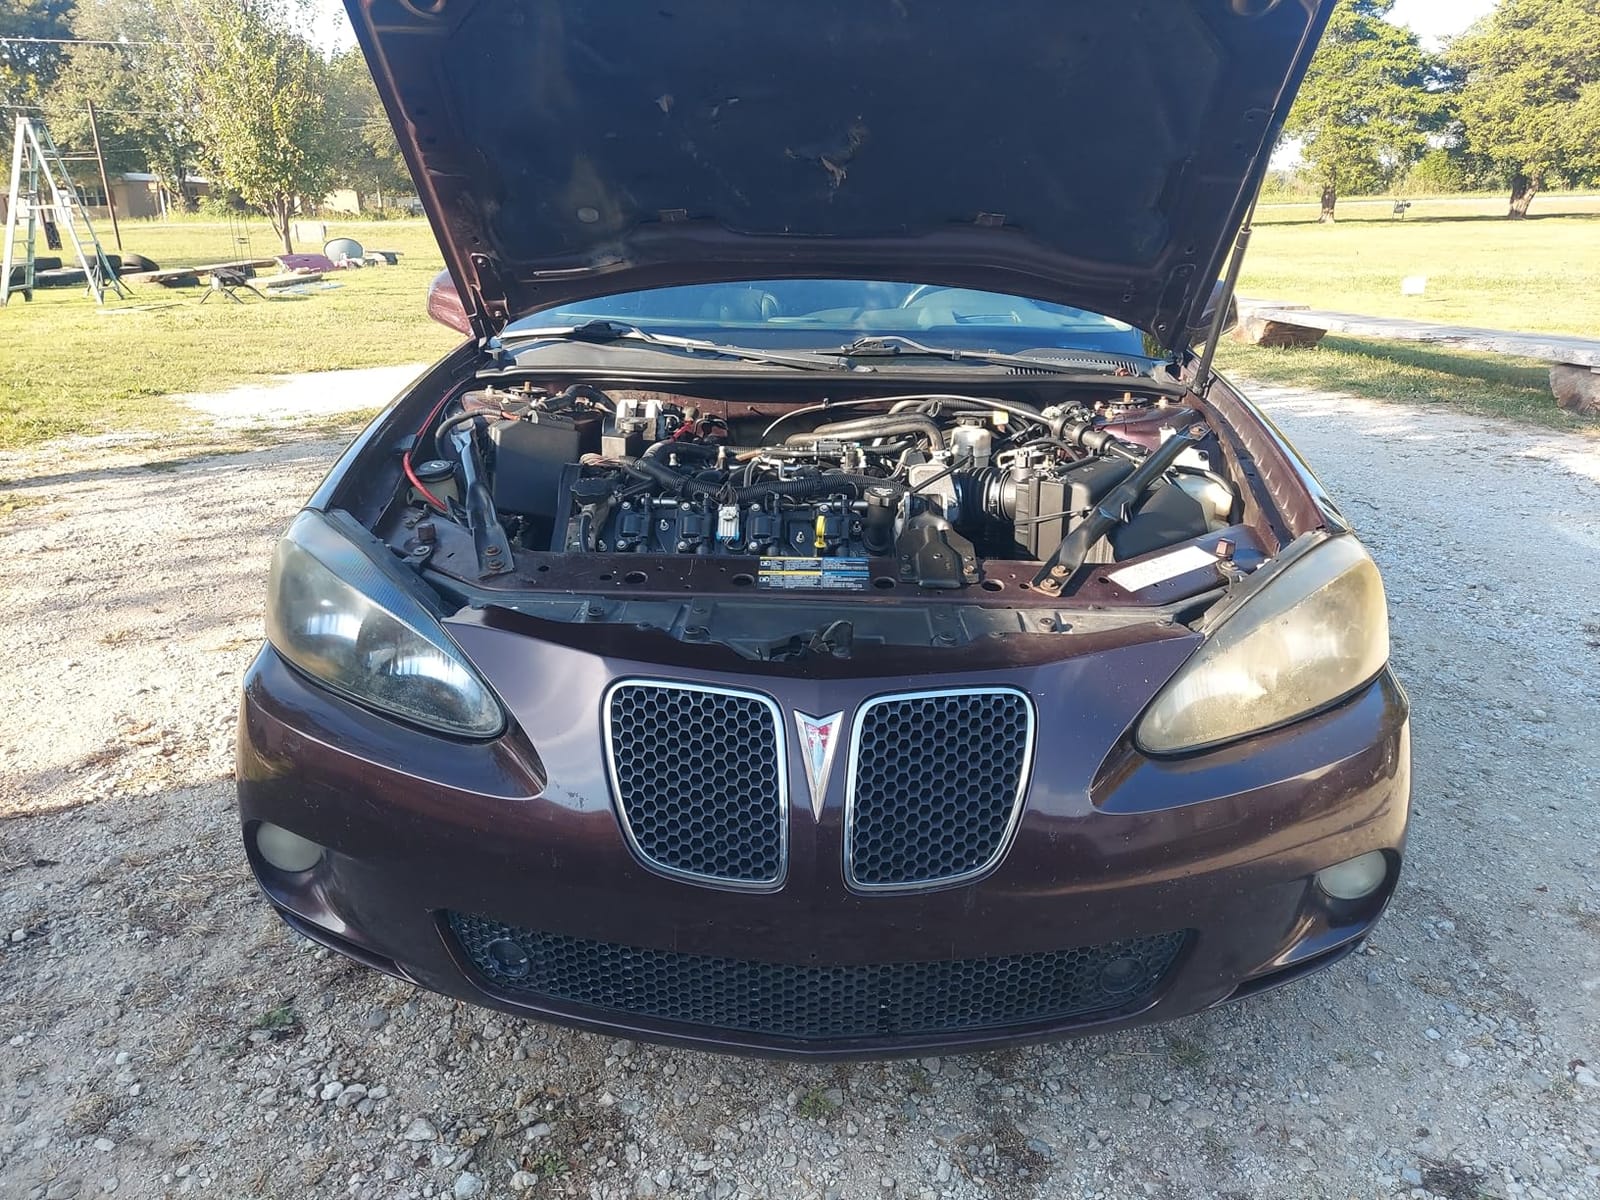
The weak point is the final UV clear coat, and it is the same weak point several kits in this group share. Multiple reviews describe it streaking the plastic or leaving white haze instead of a clear result, and its glue-like fast-drying behavior makes it very easy to apply unevenly. Several users finish with an off-the-shelf spray sealant instead, which is what I would do.
Smaller issues add up. The polishing compound may not fully shift sanding smudges on larger headlights, the included masking tape is low quality and worth replacing, and running an impact driver or pushing the drill to high speed can melt the plastic lens outright.
Good starter kit reasons
If you own a drill and want a complete consumable set with masking supplies in the box, this is a sensible place to start. Ten meters of tape and a spray bottle saves you a hardware run, and the grit range covers a normal progression.
The reusable consumables make it sensible for a second vehicle later, so the upfront spend does not evaporate after one job.
Where it needs help
Skip the bundled clear coat. Get a proper spray sealant for the final step, and you will avoid the streaking and white haze that reviewers complain about most.
Keep the drill at low speed. Melting a polycarbonate lens is a permanent outcome and a fully avoidable one.
12. Turtle Wax Headlight Restoration Kit – Best Budget Pick for Light Haze
Turtle Wax Headlight Restoration Kit for Cars, Trucks & SUVs
Model T-240KT
2.13 x 3.06 x 6.63 inches
Sanding pad, lubricant, compound, sealing wipes
Professional results in under 30 minutes
Pros
- Complete kit from a mainstream brand at the entry end of the range
- Complete kit with sanding pad
- lubricant
- clarifying compound and sealing wipes
- Fast 30-minute process for a clear like-new appearance
Cons
- A 4.1 average sits below the leading major-brand kits
- Flattest rating distribution in the group with 13 percent three-star and 7 percent one-star
- No detailed review text was available
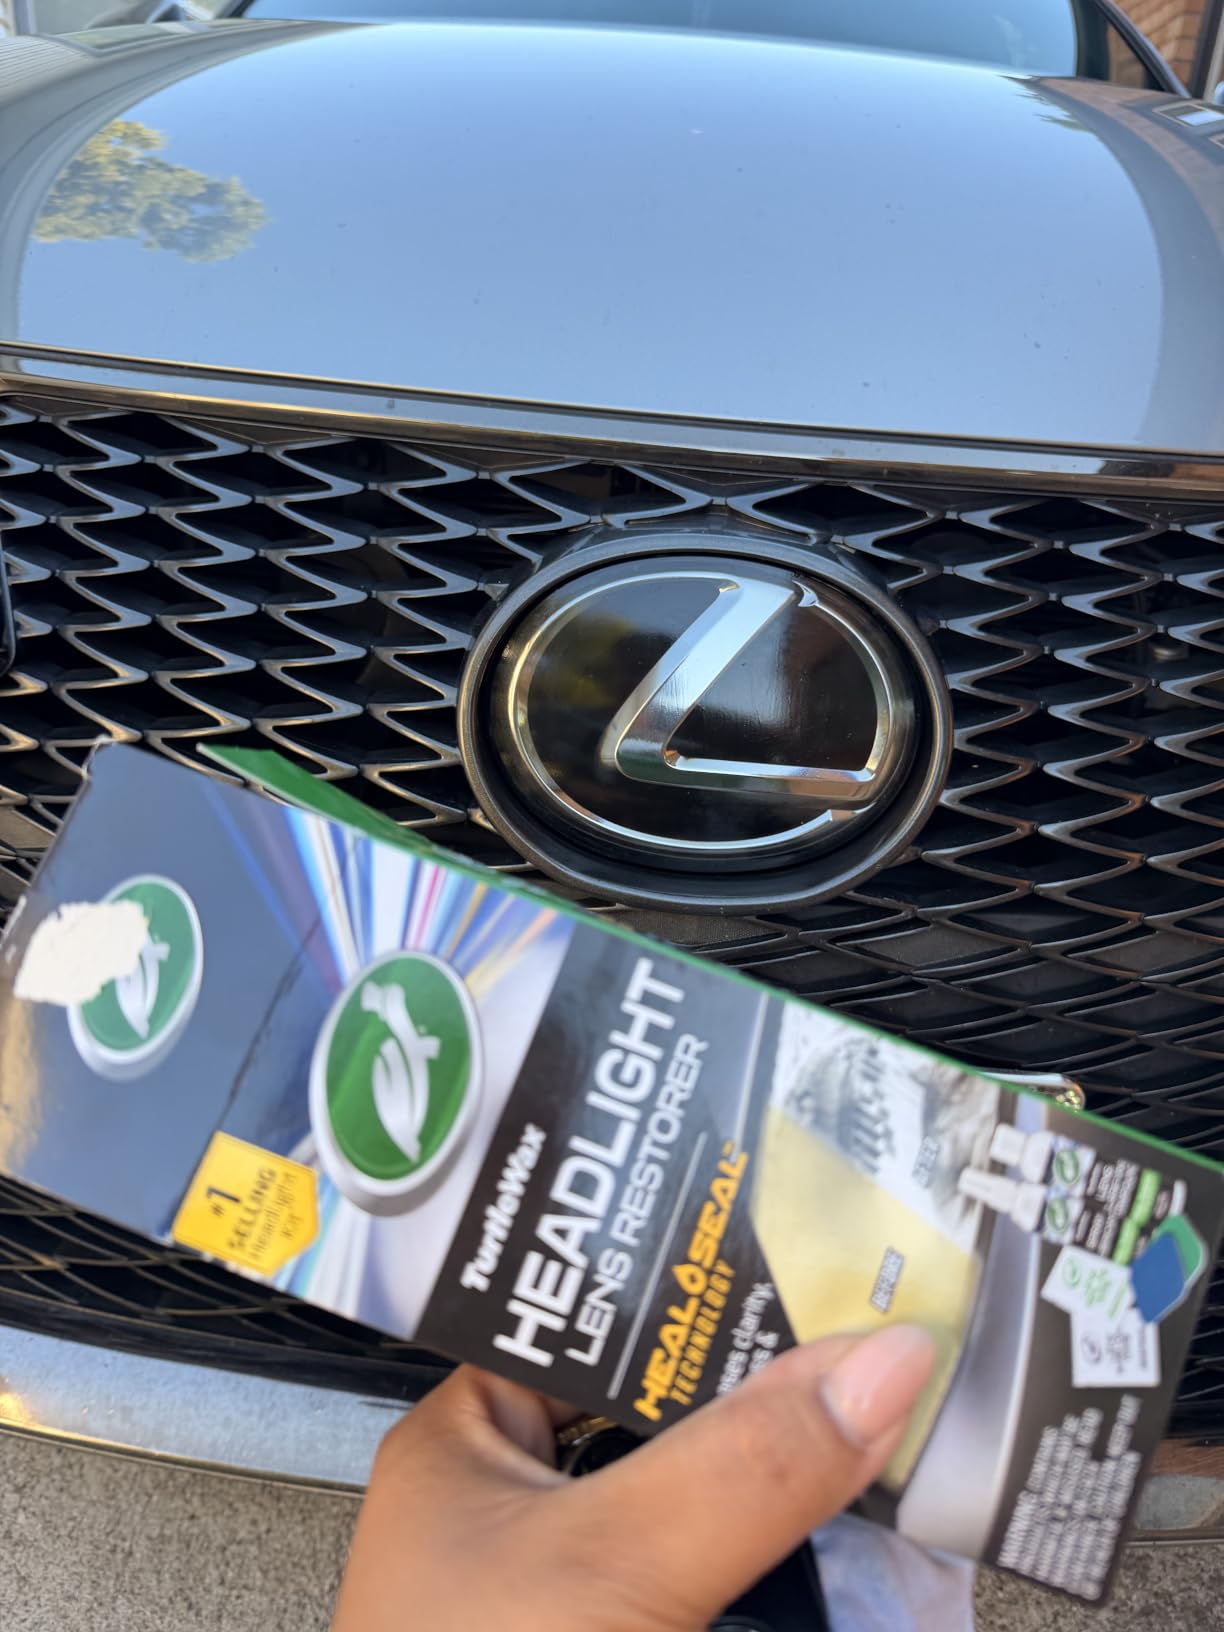
The Turtle Wax kit sits at the entry end of the major-brand options and it is genuinely complete. The box holds a precision sanding pad with lubricant, a headlight clarifying compound, and sealing wipes, with a stated 30-minute process and hand application only. It suits cars, trucks and SUVs, and the model has been sold since 2009, so it is a well-established product rather than a passing trend.
Including the sealing wipes is the detail that matters. At this price point, a kit that protects as well as it cleans is better value than a cheaper system that leaves your lens bare. That single component is why this kit is a viable budget option rather than a compromise.
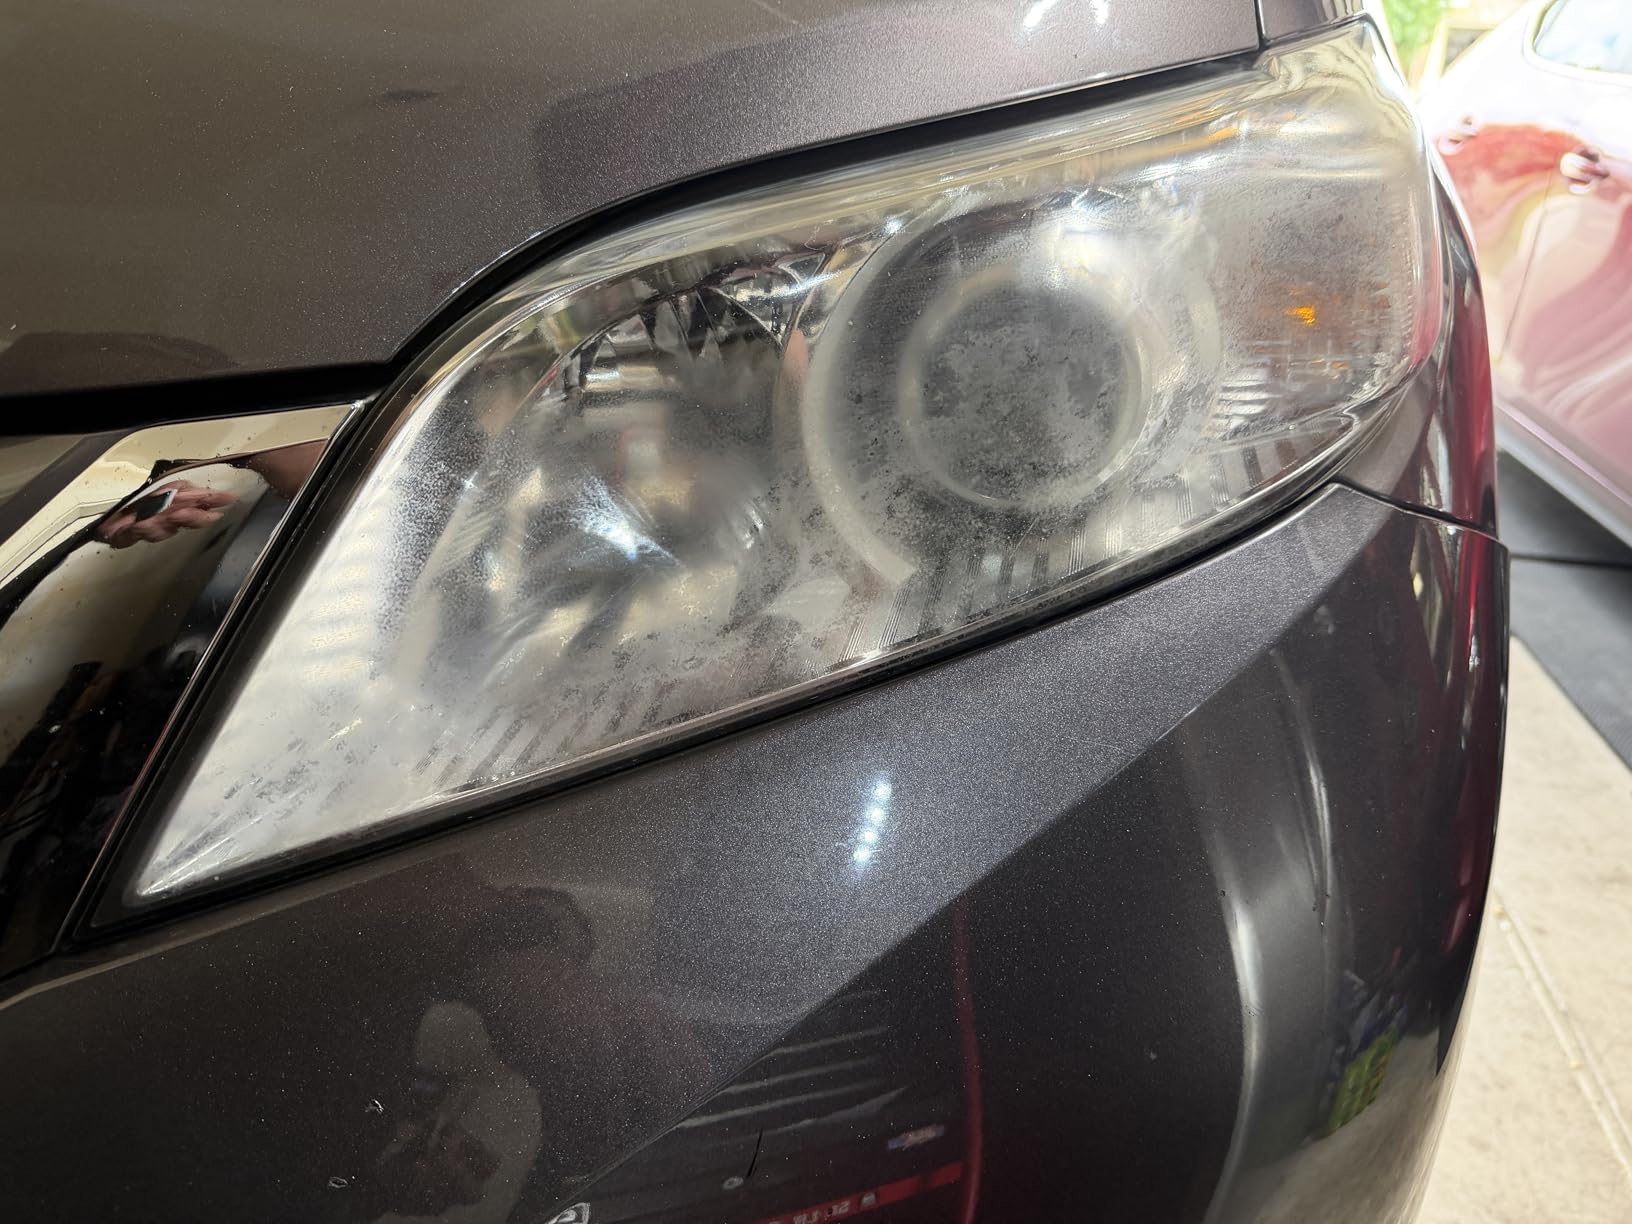
What holds it back is consistency rather than capability. At 4.1 this is the lowest average among the major-brand kits here, and the distribution is the flattest in the group: 58 percent five-star, but also 13 percent three-star and 7 percent one-star. A flat profile means a coin flip on how well it suits your particular lens.
Written review content was not available for this listing, so my read on this one rests on the aggregate numbers and the box contents. Both say it is a competent budget kit for light haze that will disappoint on severe oxidation.
When it is the right call
Light haze on an older car, a tight budget, and no drill in the house. The complete kit and the 30-minute hand process make it a genuinely accessible entry point into DIY headlight restoration.
It is also a sensible maintenance purchase to keep in the garage and repeat every year or two, which is cheaper and faster than doing a full restoration twice.
When to spend more
If the lens is properly yellow, pitted, or has never been restored before, spend up. The flat rating distribution means this kit is not where you want to discover the limits of plastic.
Save it for follow-up maintenance after a better system has done the heavy lifting once.
How to Choose a Headlight Restoration Kit
Match the kit to the damage first, and only then to the price. The whole category splits into three groups: chemical wipe systems for light haze, hand and drill systems for moderate oxidation, and multi-grit or vapor systems for lenses that are genuinely bad. Buying a wipe kit for a severely yellowed lens is the single most common way people conclude that headlight restoration does not work.
Grit progression is what actually clears a lens
Clarity comes from a sequence, not from a product. Detailers on the forums describe starting around 240 to 600 grit for heavy oxidation and working up through 1200, 2000, and 3000 for the finish. Skipping straight to a fine grit just moves the hazy layer around and leaves the lens looking scratched rather than clear.
Wet sanding is gentler on polycarbonate than dry sanding because it keeps the surface cool and carries debris away. Never linger on one spot, and never let heat build, because heat is what creates fresh haze and burn marks.
The sealant step decides how long results last
This is the answer to the most-searched question in this category, and it has a clear winner. The best sealant for headlight restoration is a UV-resistant clear coat or ceramic coating applied to the bare lens after polishing. The chemical mechanism is simple: once you sand off the factory UV layer, nothing is protecting the plastic, and the yellowing returns faster than most people expect.
Detailers are consistent that a proper clear coat gives the longest-lasting result, and forum durability reports cluster around a year and a half for a well-sealed restoration. Skip the seal and you are looking at months. The Meguiar’s coating claims up to 12 months of re-oxidation protection on its own, and the Cerakote ceramic coating chemically bonds for the same reason.
Tool-free versus drill-powered
Tool-free kits are safer, quieter, and work well on light to moderate haze. Drill kits are faster, more aggressive, and the only realistic option on a badly oxidized lens. The tradeoff is risk: forum users are blunt that drill heat can damage or further haze a lens if speed is not controlled, and sanding near adjacent paint and trim is easy to scuff.
My rule is that if you have never done this before, start tool-free. You can always graduate to a drill system, and the reverse is harder to undo.
What a kit costs against a shop visit
Professional restoration prices vary widely by region and by how severe the lens is, so treat any number as a rough band rather than a quote. What is consistent is the shape of the comparison: a kit costs a fraction of a shop visit, and the shop visit is worth it when the lens has deep pitting or you want a 2K clear coat applied under controlled conditions.
You also spend time either way. Kits that advertise 30 to 45 minutes realistically take 1.5 to 2 hours per pair once you count masking, sanding, polishing, and cure time. The real saving is the labor rate, not the hours.
When replacement beats restoration
There are five conditions where no kit will help, and recognizing them saves a weekend. A crack running through the lens, deep pitting that has worn into the plastic, internal condensation between the lens and the reflector, a faded or corroded reflector bowl, and a housing damaged by impact all call for an assembly replacement.
Deep pitting is the one that catches people out. Abrasive sanding can flatten the surface around a pit, but it cannot fill the hole, so the defect remains visible as a hard point of light scattering in the opposite direction.
On the safety side, check your local inspection rules. A lens that no longer projects a defined cutoff line at night is a genuine visibility hazard and, in some jurisdictions, an automatic fail.
Frequently Asked Questions
What is the best sealant for headlight restoration?
A UV-resistant clear coat or ceramic coating applied after polishing is the best sealant for headlight restoration. Sanding removes the factory UV layer, so the bare lens needs a new barrier or it re-yellows within months. Detailers report that a properly sealed restoration holds around a year and a half in real weather.
Do the best headlight restoration kits really work?
Yes, on oxidation and yellowing. Kits work by progressively abrading the degraded outer layer of the polycarbonate lens, polishing out the scratches, then sealing it. They cannot fix internal condensation, a cracked housing, a faded reflector, or deep pitting, which are replacement problems.
Does WD-40 restore headlights?
WD-40 will not restore a faded headlight lens. It is a lubricant and water displacer, not an abrasive, so it cannot remove the oxidized layer or sand scratches. At best it leaves a temporary film that makes a hazy lens look slightly glossier without restoring real clarity.
How much does it cost to have headlights restored?
Professional headlight restoration varies widely by region and lens condition, so treat any figure as a rough band. A DIY kit costs a fraction of a shop visit, and the shop visit earns its cost when the lens needs a proper clear coat applied under controlled conditions or when the damage is too deep to sand.
What is the best headlight restoration kit for severely yellowed lenses?
For severely yellowed lenses, a drill-based system with a proper grit ladder or a multi-grit bundle gives the best result, because a wipe system will not cut through heavy oxidation. The 3M Headlight Lens Restoration System 39008 and the Vibratite 37-piece bundle both cover a full grit progression, though the 3M kit has no UV protectant included.
Is professional headlight restoration worth it?
Professional restoration is worth it when the lens has deep pitting, internal condensation, a faded reflector, or a crack, because no kit can fix those. For ordinary yellowing and haze on a sound lens, a DIY kit restores most of the clarity for a small fraction of the cost.
Our Final Verdict on Headlight Restoration Kits for Faded Lenses
For most people reading this, the Cerakote Ceramic Headlight Restoration Kit is the answer. It is the best-supported product in the category by review volume, it needs no power tools, and its chemically bonding ceramic coating is the reason the result holds instead of fading back within a season. Pick it, take your time with the sanding step, and keep the coating dry while it cures.
If your lens is worse than a wipe system can handle, the 3M Headlight Lens Restoration System 39008 is the stronger choice, with the caveat that you need to add your own UV protection afterward. For a complete protected system without a drill, the Sylvania kit is the best-value option and covers both headlights from one box.
Whichever you choose, the outcome depends less on the brand than on three things: a full grit progression, a lens that is actually sandable, and a sealant applied and allowed to cure. Get those right and a faded headlight goes back to projecting a defined beam at night. Skip the seal and you will be doing it again next year.
If you are still weighing up a different product category entirely, our guides to the best camera lenses and the best embroidery kits cover similar how-we-tested ground in their own fields.