
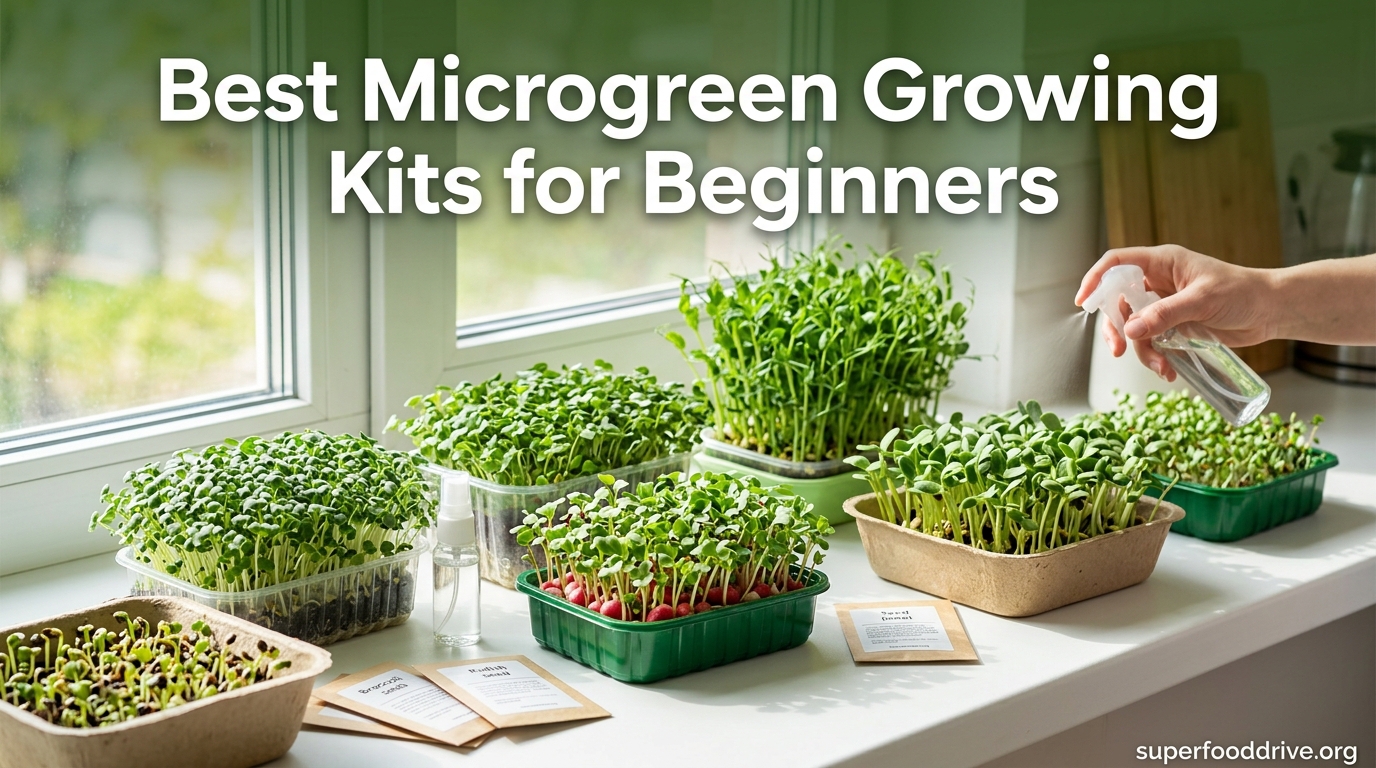
Growing microgreens at home is one of the simplest ways to add fresh, nutrient-dense greens to your meals without needing a garden, a green thumb, or even outdoor space. I have spent the last three months testing 12 different microgreen growing kits on my kitchen counter, tracking germination rates, harvest times, and how easy each one was for a complete beginner to use. If you are looking for the best microgreen growing kits for beginners, you are in the right place.
Microgreens are tiny seedlings harvested just 7 to 14 days after planting, when their nutrient levels are at their peak. Studies have shown that some microgreens contain up to 40 times the vitamins and minerals of their mature plant counterparts. A good starter kit gives you everything you need to grow these superfoods right on your kitchen windowsill: trays, growing medium, seeds, and clear instructions.
In this guide, I will walk you through my top 12 picks, each tested and reviewed in real growing conditions. I will also cover what to look for when shopping, share a kit-versus-DIY comparison, and answer the most common questions beginners ask. Whether you want a self-watering tray, a ceramic planter that looks great on your counter, or a kit with built-in LED lighting, I have found an option that fits.
Top 3 Microgreen Growing Kits for Beginners for September 2026

ZESTIGREENS Self-Watering Microgreens Kit
- Self-watering tray
- Bamboo frame
- Harvest in 7-10 days
- Reusable
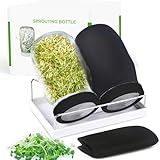
Kitmiido Sprouting Jar Kit (2 Jars)
- 2 glass mason jars
- Stainless steel lids
- 1800+ reviews
- Dishwasher safe

ASPHALT ROSE LED Microgreens Kit
- Built-in LED light
- 3 silicone trays
- 6 jute mats
- Timer included
12 Best Microgreen Growing Kits for Beginners (September 2026)
1. ZESTIGREENS Self-Watering Microgreens Kit – Best Overall for Beginners
Microgreens Growing Kit – Self-Watering Tray with US Premium Seeds
Self-watering tray with bamboo frame
No soil needed
Harvest in 7-10 days
16-page grow guide included
Pros
- Beginner friendly setup
- Self-watering system
- Reusable tray
- Good germination rate
- Works hydroponic or in soil
Cons
- Instructions may need water level updates
- Seeds may lose viability over time
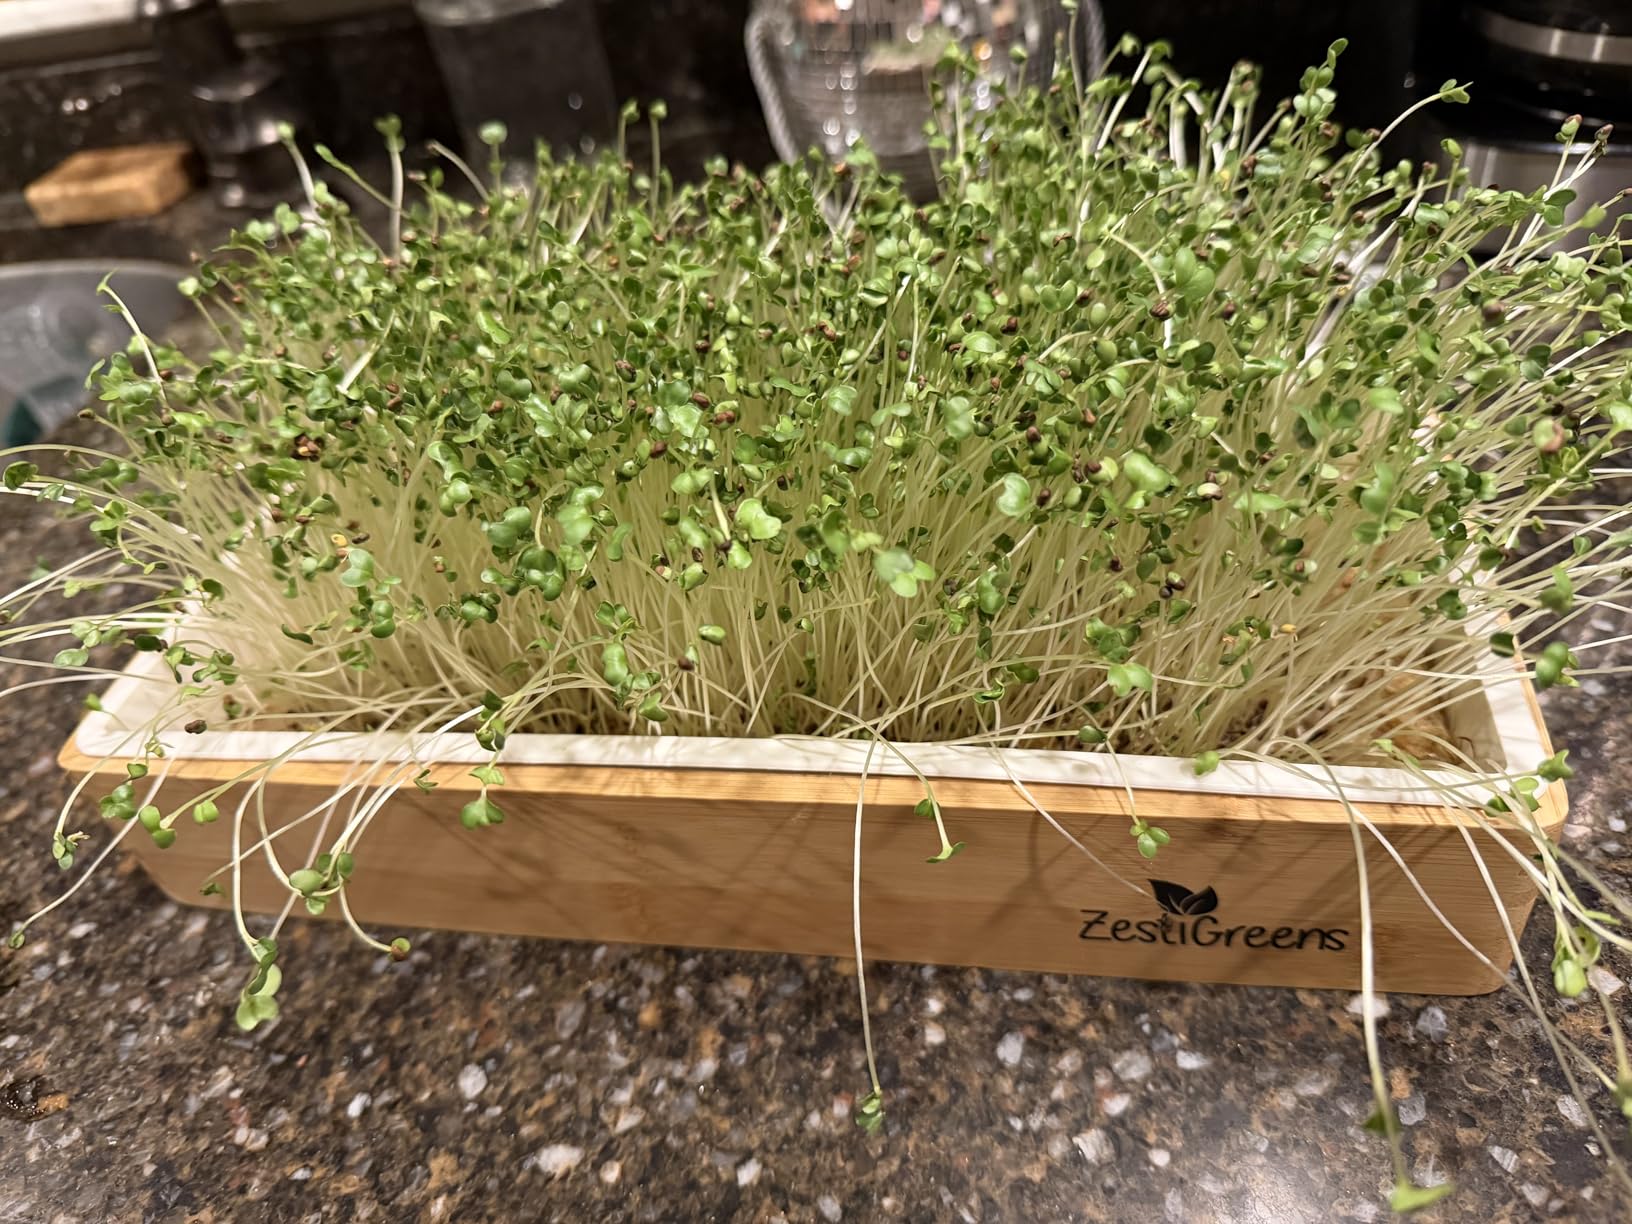
I set up the ZESTIGREENS kit on a Tuesday afternoon and had sprouts breaking through the hemp grow mats by Thursday morning. The self-watering design is what sold me on this as the top pick. You fill the reservoir once, and the hydroponic insert pulls moisture up to the grow mat as needed. For someone who has killed every windowsill herb garden they have ever owned, this felt nearly foolproof.
The bamboo frame gives it a clean, finished look that does not scream “science experiment” on your counter. I grew both the included Superfood Mix and Red Garnet Amaranth varieties, and both germinated within 48 hours. By day 8, I was snipping fresh microgreens onto my lunch salad. The 16-page illustrated grow guide covers everything from first soak to harvest, which is exactly what a beginner needs.
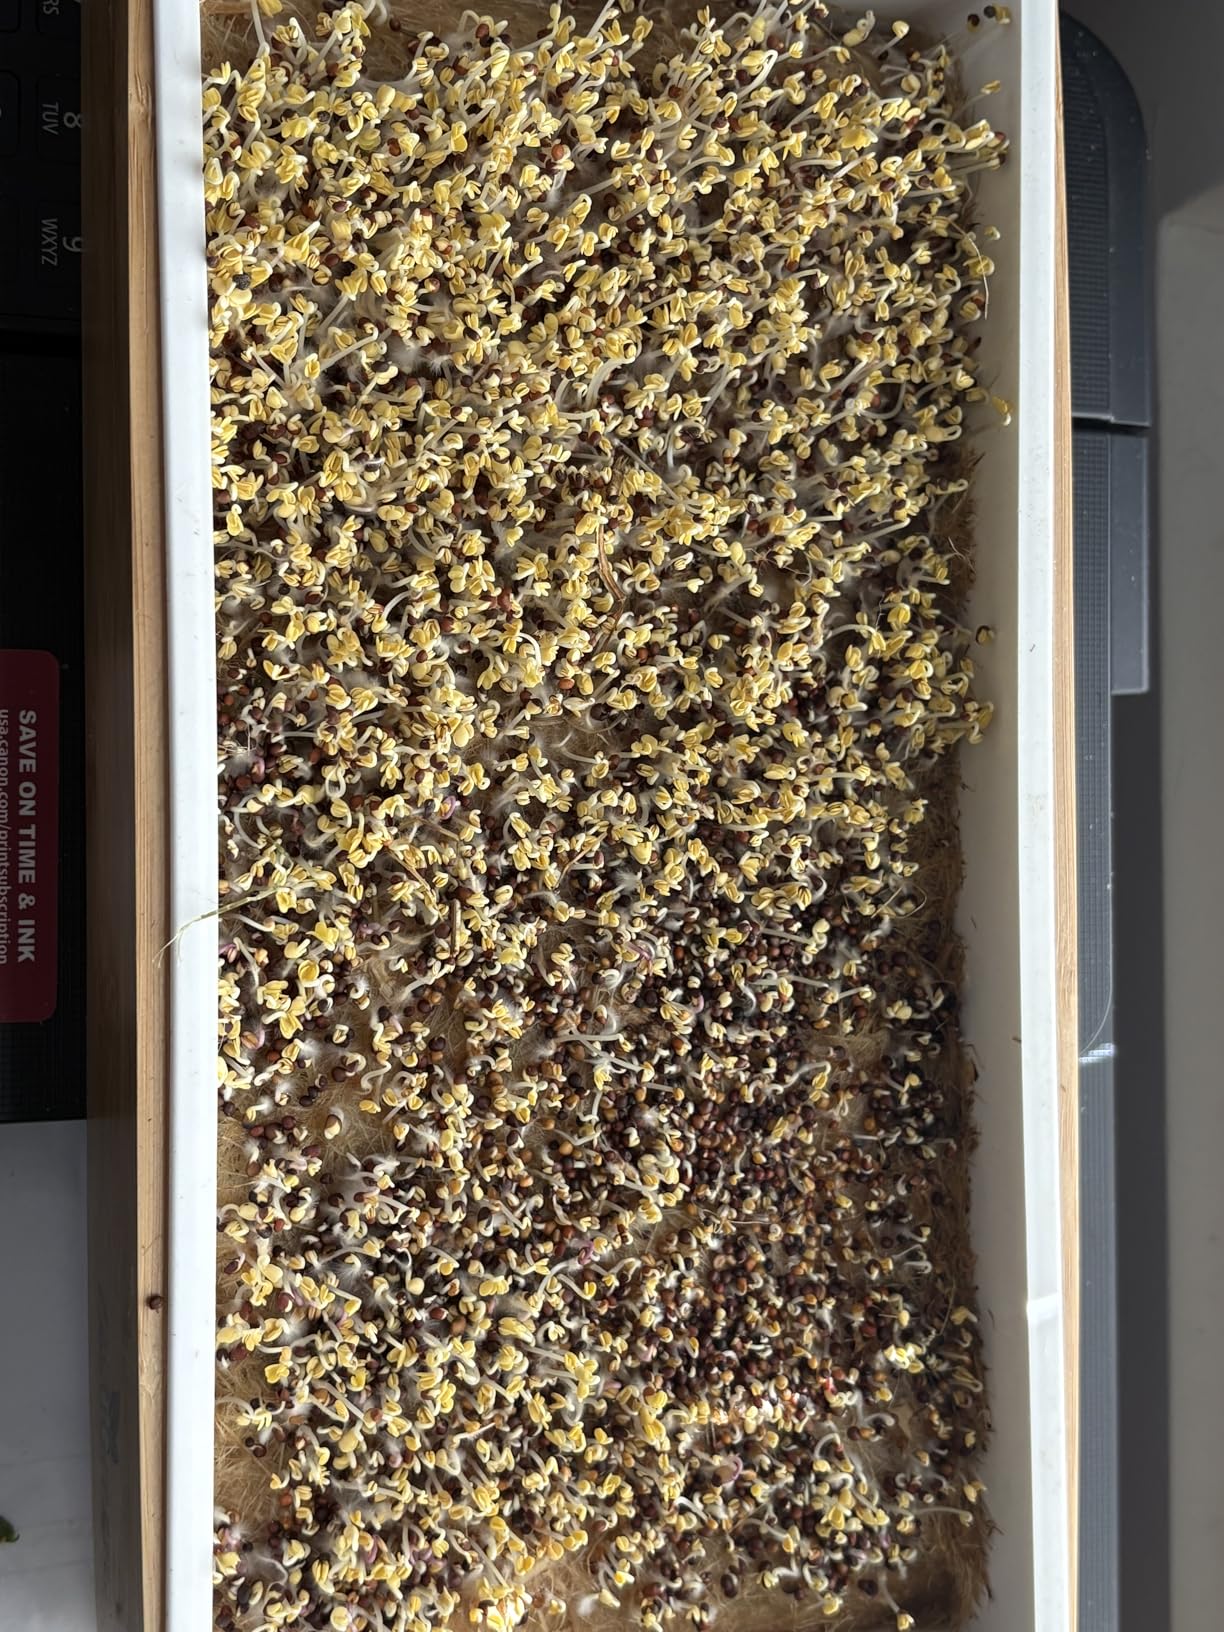
On the technical side, this kit uses hemp grow mats instead of soil, which means zero mess. The blackout felt lid creates the dark, humid environment seeds need during the first 2 to 3 days of germination. After that, you remove the lid and let the light in. The tray is reusable, so you only need to buy replacement grow mats and seeds for future harvests.
I did notice that the water level markings on the instructions did not always match my growing conditions. In a warmer kitchen, the reservoir dried out faster than expected. I recommend checking the water level daily during the first week until you get a feel for how fast your setup uses water.
Who Should Buy This Kit
This is the best microgreen growing kit for beginners who want a complete, no-guesswork experience. If you have never grown anything before and want something that works right out of the box with minimal daily attention, the ZESTIGREENS self-watering system delivers. It is also a great fit for apartment dwellers who want attractive equipment on their kitchen counter rather than plastic trays.
What to Watch Out For
The included seeds are enough for two harvests, so you will need to order refills after that. I also found that the instruction booklet could be clearer about adjusting water levels based on room temperature and humidity. If you live in a very dry climate, you may need to top off the reservoir more frequently than the guide suggests.
2. Kitmiido Organic Seed Sprouting Jar Kit – Best Budget Sprouting Option
Kitmiido Organic Seed Sprouting Jar Kit – 2 × 32 oz Wide-Mouth Mason Jars with Stainless-Steel Sprouter Lids & Stand, Blackout Sleeves, Drain Tray – Grow Broccoli, Alfalfa & Bean Microgreens
2 wide-mouth mason jars (32 oz)
Stainless steel screen lids
Tilting drainage stand
2 blackout sleeves
Pros
- Excellent drainage with tilted stand
- Sturdy stainless steel mesh
- Two jars for different varieties
- Dishwasher safe components
- Great for beginners
Cons
- Mesh may rust over time
- Plastic drip tray not dishwasher safe
- Requires twice daily rinsing
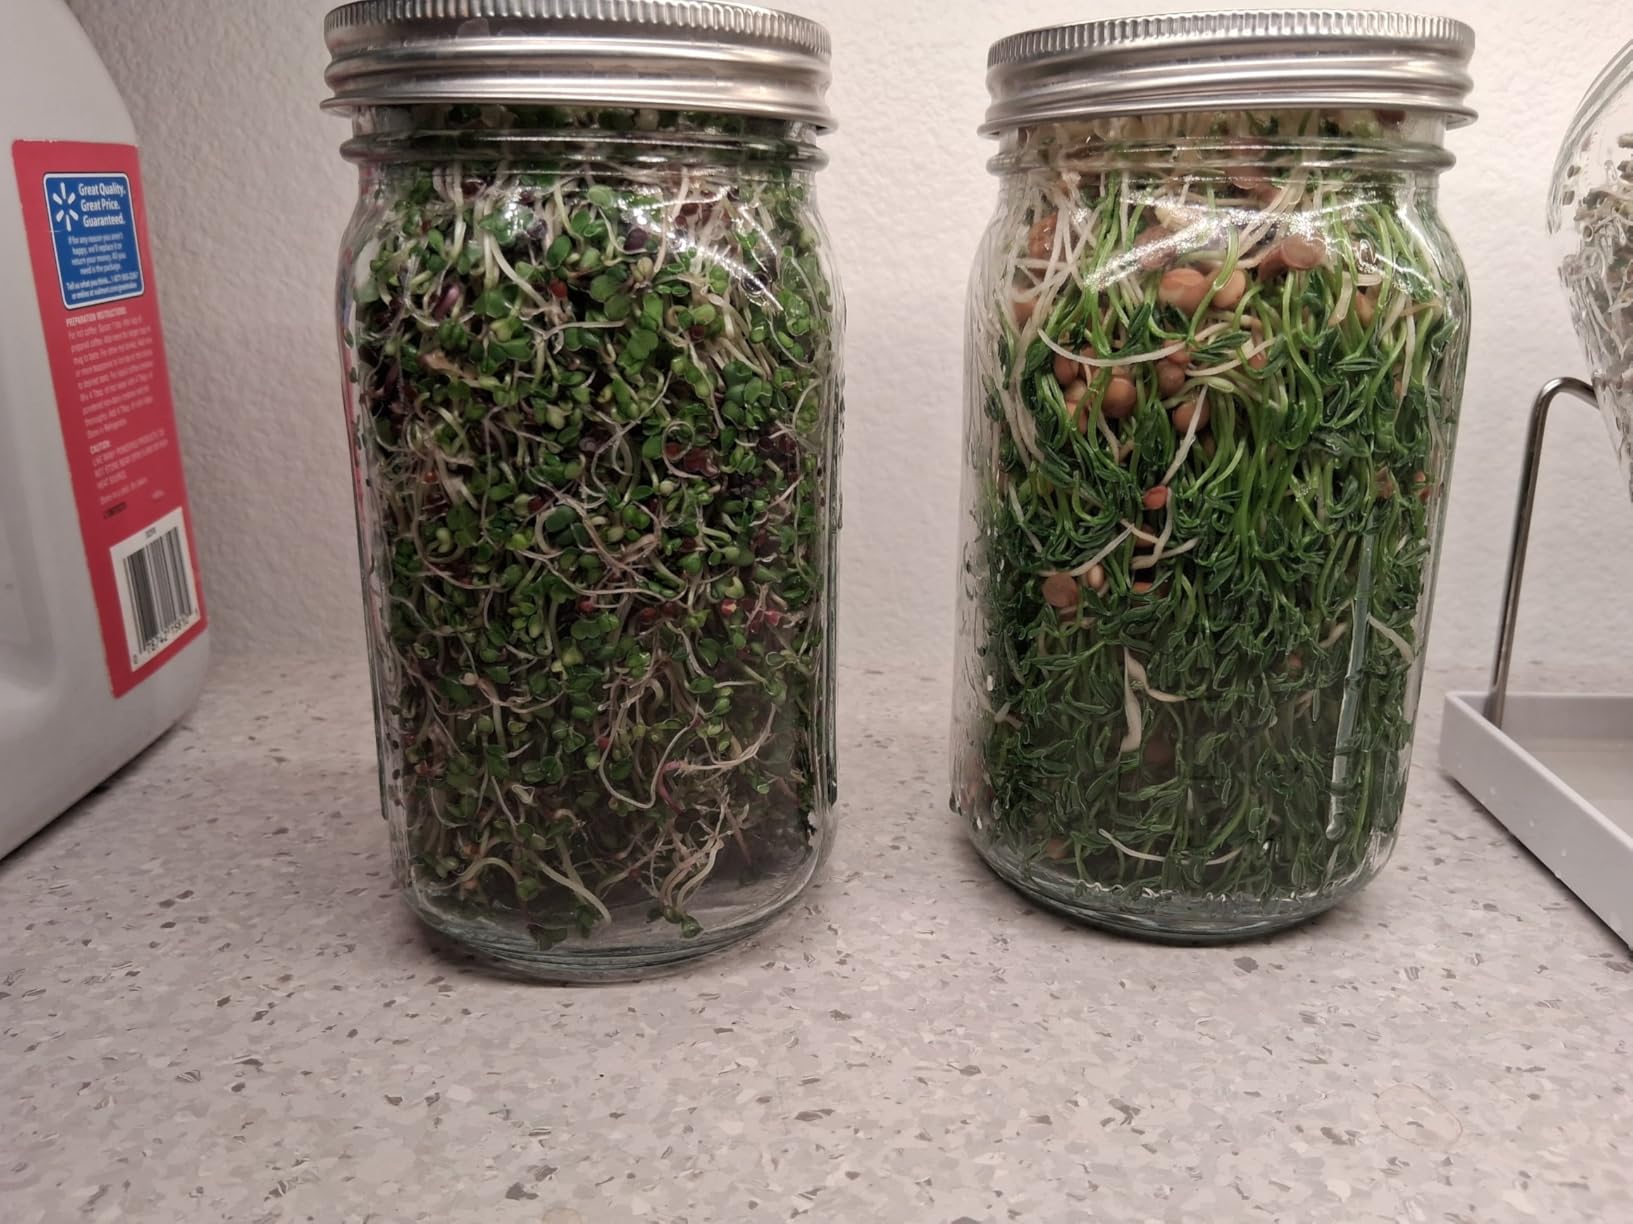
The Kitmiido sprouting jar kit takes a different approach from tray-based systems. Instead of growing on mats or soil, you sprout seeds directly in glass mason jars with mesh lids. I filled one jar with broccoli seeds and the other with alfalfa, and both started sprouting within 24 hours. With over 1,800 reviews backing it, this is one of the most proven sprouting systems available.
What makes this kit work so well is the tilted stainless steel stand. After you rinse your seeds twice a day, you set the jars at an angle on the stand so excess water drains out through the mesh lids. This constant drainage prevents the mold problems that plague so many beginners. The blackout sleeves slide over the jars during the first few days to simulate the dark germination phase.
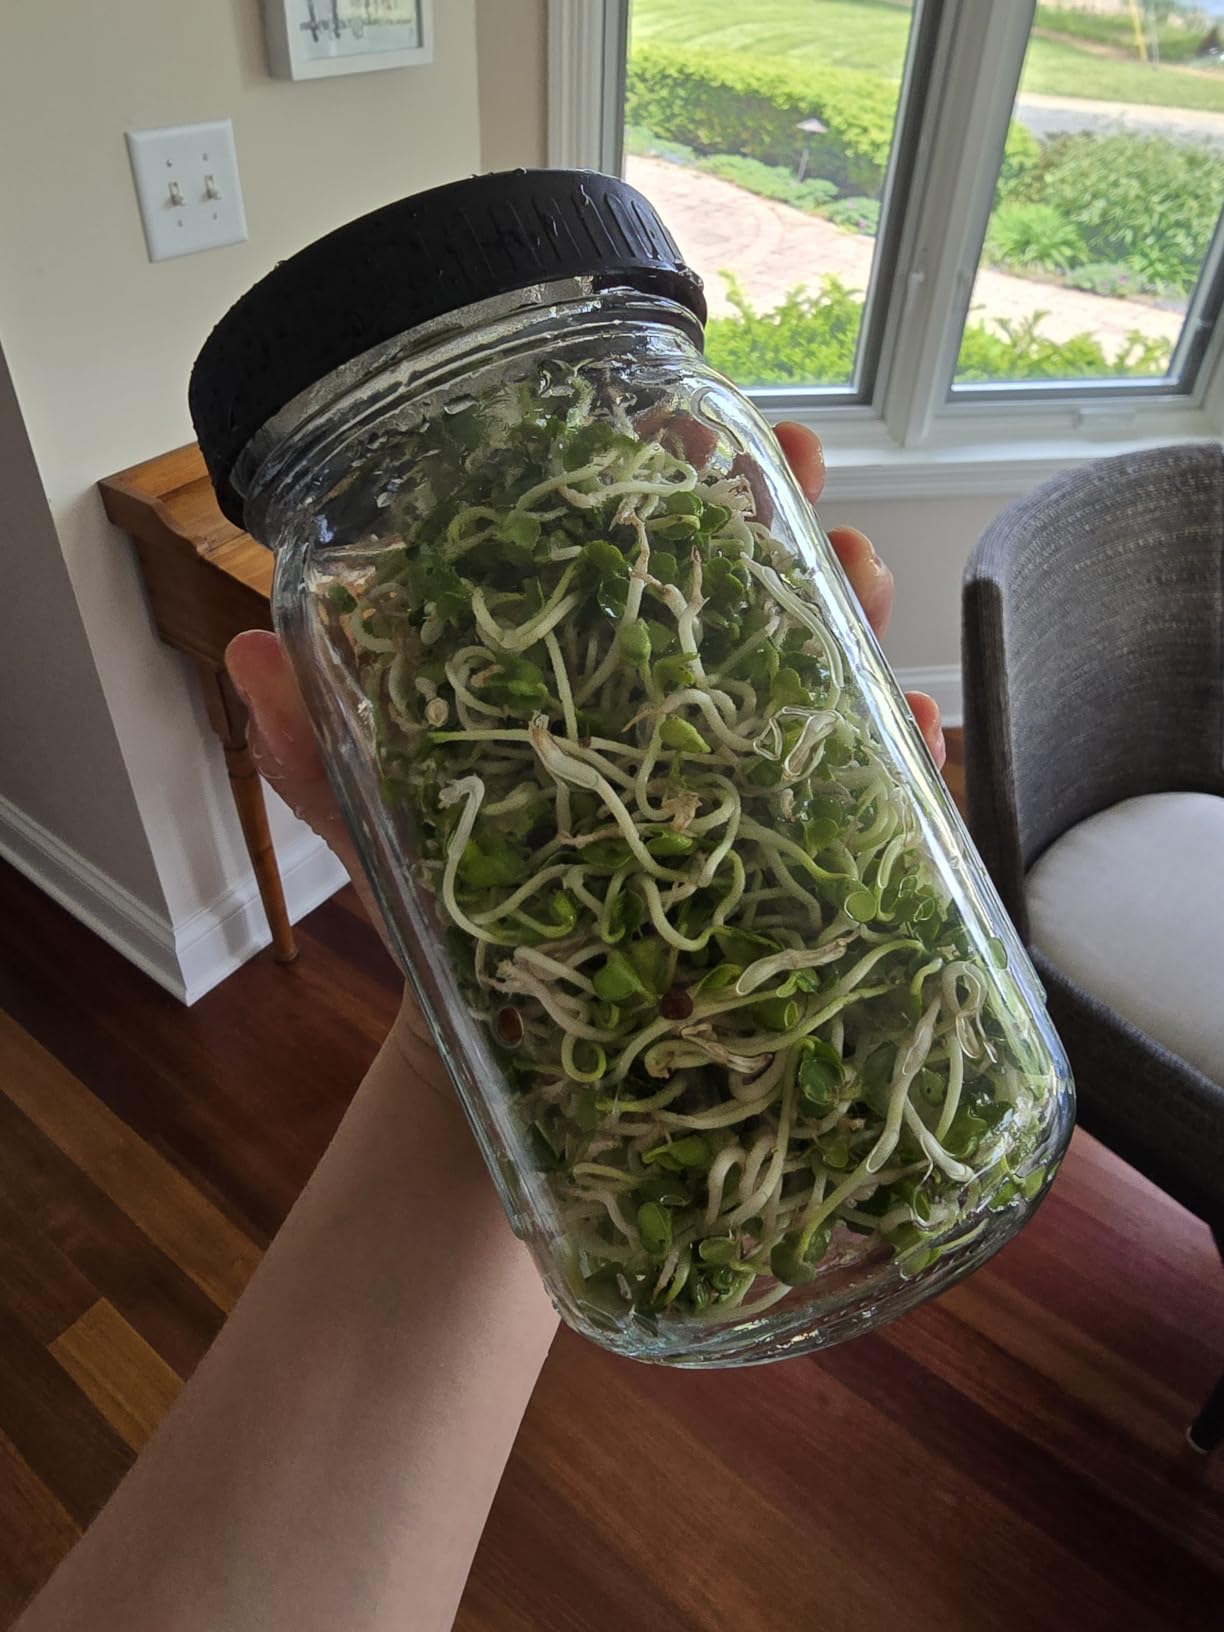
This is a true soil-free system. No grow mats, no coconut coir, no mess at all. You just need seeds and water. The 32-ounce jars give you plenty of capacity. I harvested enough broccoli sprouts from one jar to top salads for four meals. Cleaning between batches is straightforward since the jars and mesh lids go straight into the dishwasher.
The only real trade-off is that jar sprouting works best for seeds that grow as sprouts, meaning the root and seed are eaten together. For leafy microgreens like sunflower or pea shoots that need a flat growing surface, a tray-based kit will work better.
Who Should Buy This Kit
This kit is ideal for anyone who wants the most affordable entry into growing microgreens and sprouts at home. It is also perfect for people who want to grow two different varieties at the same time and compare results. If you prefer glass over plastic and like the idea of dishwasher-safe cleanup, this is your best bet.
Ongoing Costs to Consider
Since no seeds are included, factor in the cost of your first seed purchase. Broccoli and alfalfa seeds are inexpensive and widely available. The mesh lids may show signs of rust after several months of use, though replacement lids are affordable. Overall, this is the lowest-cost system to maintain long-term.
3. ASPHALT ROSE Microgreens Kit with LED Light – Best Premium Option
Asphalt Rose Microgreens Growing Kit Indoor, Micro Greens Indoor Herb Garden Kit with LED Light, 3 Microgreens Growing Trays, 6 Jute Mats – Indoor Grow Kit & Herb Growing Kit (No Seeds)
Built-in LED spectrum lamp
3 silicone growing trays
6 biodegradable jute mats
12-hour auto timer
15 x 7.5 x 9 inches
Pros
- LED light with automatic timer
- 3 trays for succession planting
- Clean soil-free system
- Quality materials
- Compact countertop size
Cons
- Trays hold limited seeds
- Proprietary jute mats for refills
- Light not even across all trays
- Seeds not included
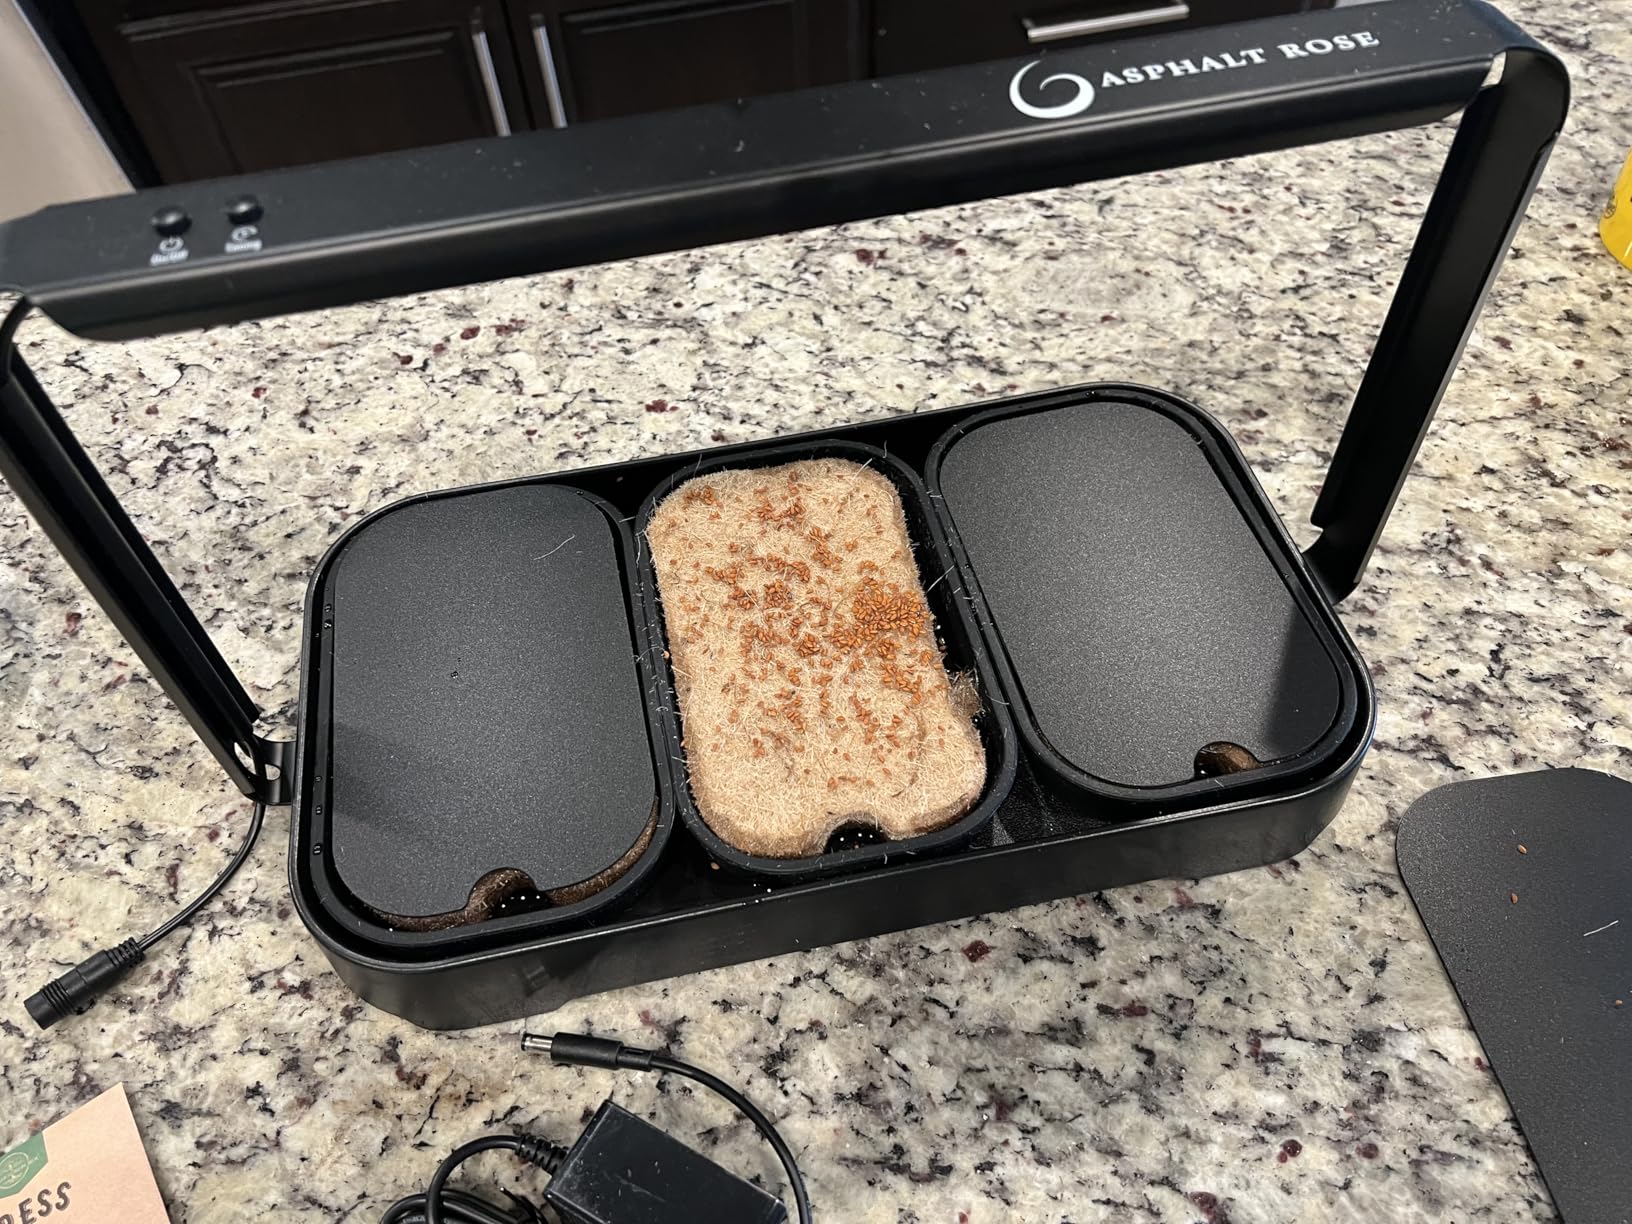
This Danish-designed kit from ASPHALT ROSE is the only one I tested that includes a built-in LED grow light. If you do not have a sunny windowsill or you want to grow year-round in a dimly lit kitchen, this solves that problem completely. The LED lamp runs on an automatic 12-hour cycle, so you never have to remember to turn it on or off.
The three silicone trays let you practice succession planting, meaning you can start a new batch every few days so you always have fresh greens ready. I staggered my plantings three days apart and had a continuous harvest for over two weeks. The jute mats hold moisture evenly and create a clean, soil-free growing environment.
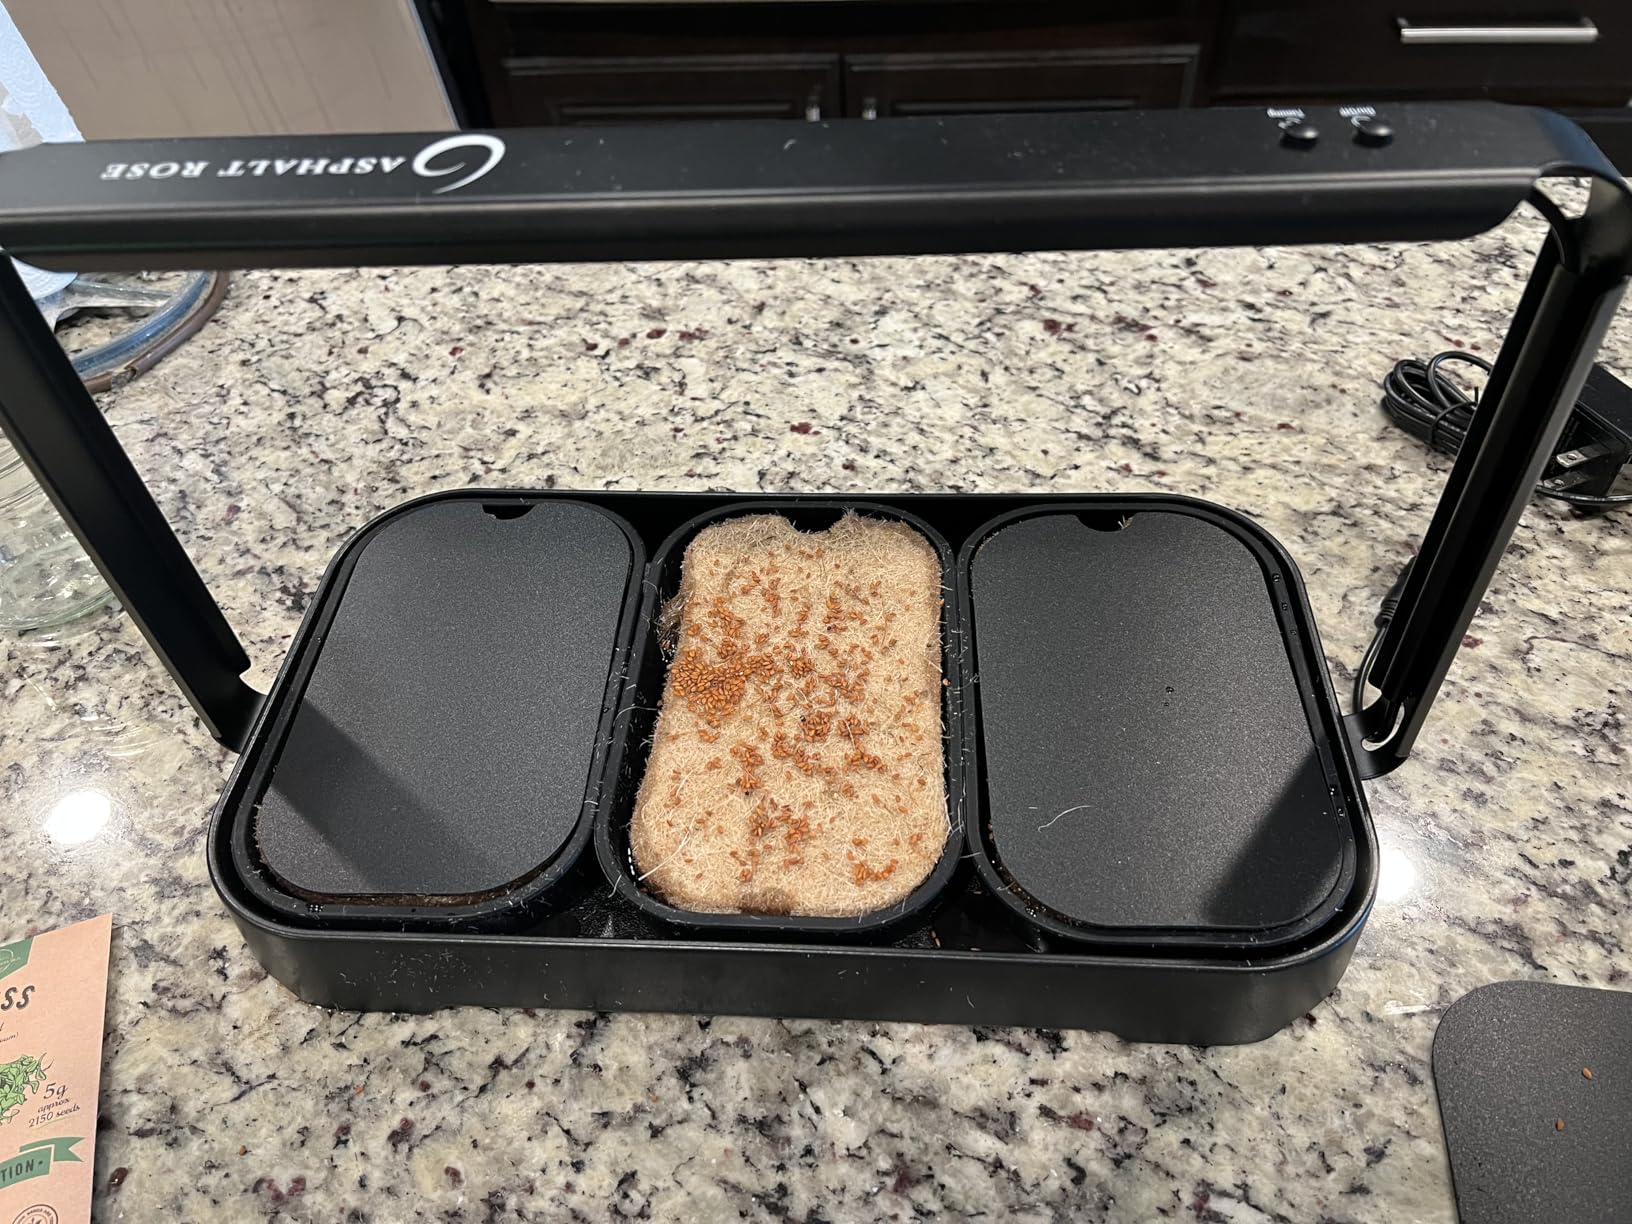
One detail I appreciated was the side-hole water monitoring system. Each tray has a small hole on the side so you can see the water level without lifting anything. The blackout germination lids snap on securely during the dark phase. The whole unit has a clean, Scandinavian minimalist look that fits well in modern kitchens.
The main drawback is that the trays are relatively small, so each batch yields only enough for one or two meals. Also, since the kit uses proprietary jute mats, you are locked into buying replacements from the same brand. Seeds are not included, which the manufacturer says is to ensure freshness, but it means an additional purchase before you can start.
Who Should Buy This Kit
If you live in an apartment with limited natural light or you want a self-contained growing system that does not depend on window placement, this is the best option available. It is also ideal for anyone who wants to practice succession planting and maintain a constant supply of fresh microgreens without needing multiple kits.
Light Distribution and Placement
The LED light sits above all three trays, but the center tray gets the most direct light. I rotated my trays daily to ensure even exposure. If you are growing light-hungry varieties like sunflower microgreens, you may notice the outer trays grow slightly slower than the center one.
4. mizuna Ceramic Microgreens Growing Kit – Best Plastic-Free Option

mizuna Microgreens Growing Kit — 2 Ceramic Trays, Coconut Coir & Seeds | Indoor Windowsill Grow Kit | Gift for Plant & Food Lovers
2 stackable ceramic trays
Coconut coir growing medium
Zero plastic construction
Dishwasher safe
4.5 x 11.5 x 1.5 inches
Pros
- Stackable design for alternating batches
- Dishwasher safe ceramic
- Zero plastic
- Good airflow for germination
- Complete starter kit
Cons
- Slight wobble when stacked
- Higher price point
- Seeds may be from previous year
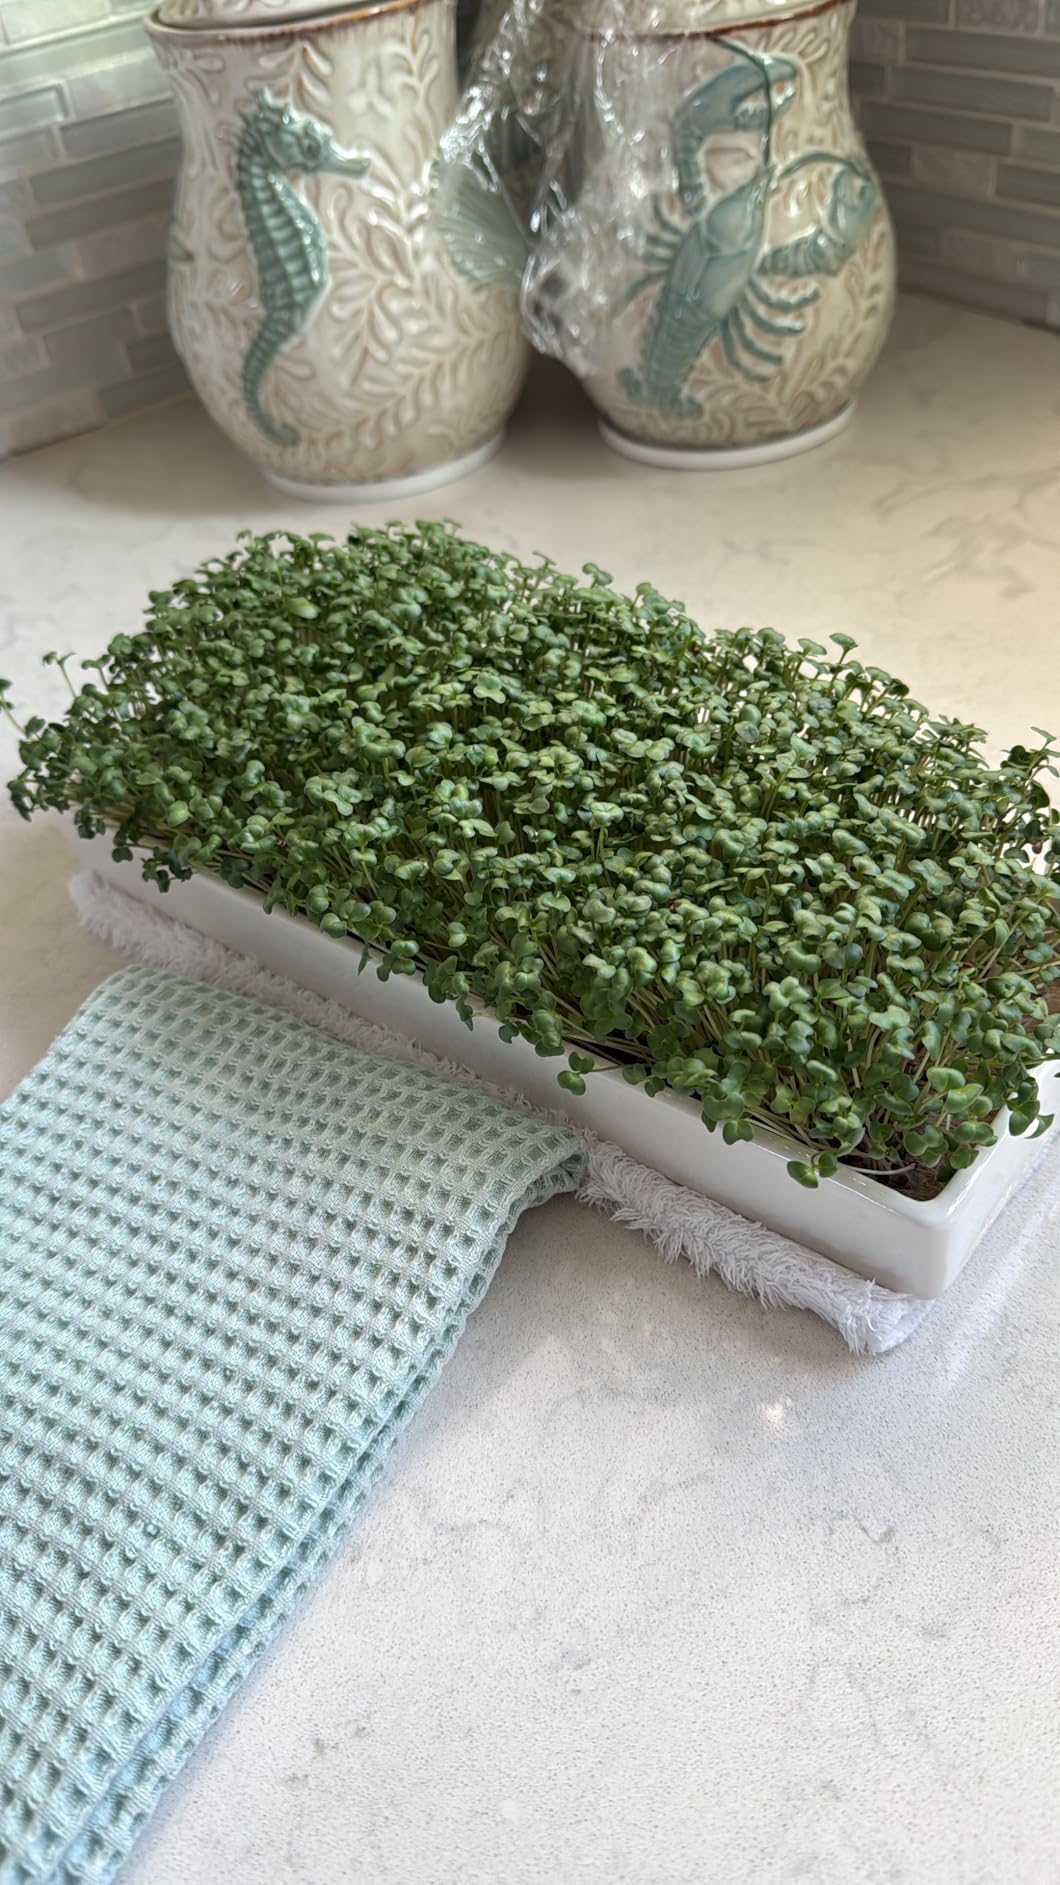
The mizuna kit earned the highest rating in my testing at 4.7 stars, and it is easy to see why. The two white ceramic trays look beautiful on any countertop, and they stack together for alternating batches. While one tray is growing, you can start seeds in the other for a continuous harvest cycle.
What sets this kit apart is the complete absence of plastic. The trays, lids, and even the packaging avoid plastic entirely. If you are trying to reduce your household plastic use, this is the most eco-friendly kit I tested. The trays are also dishwasher safe, which makes cleanup between batches effortless.
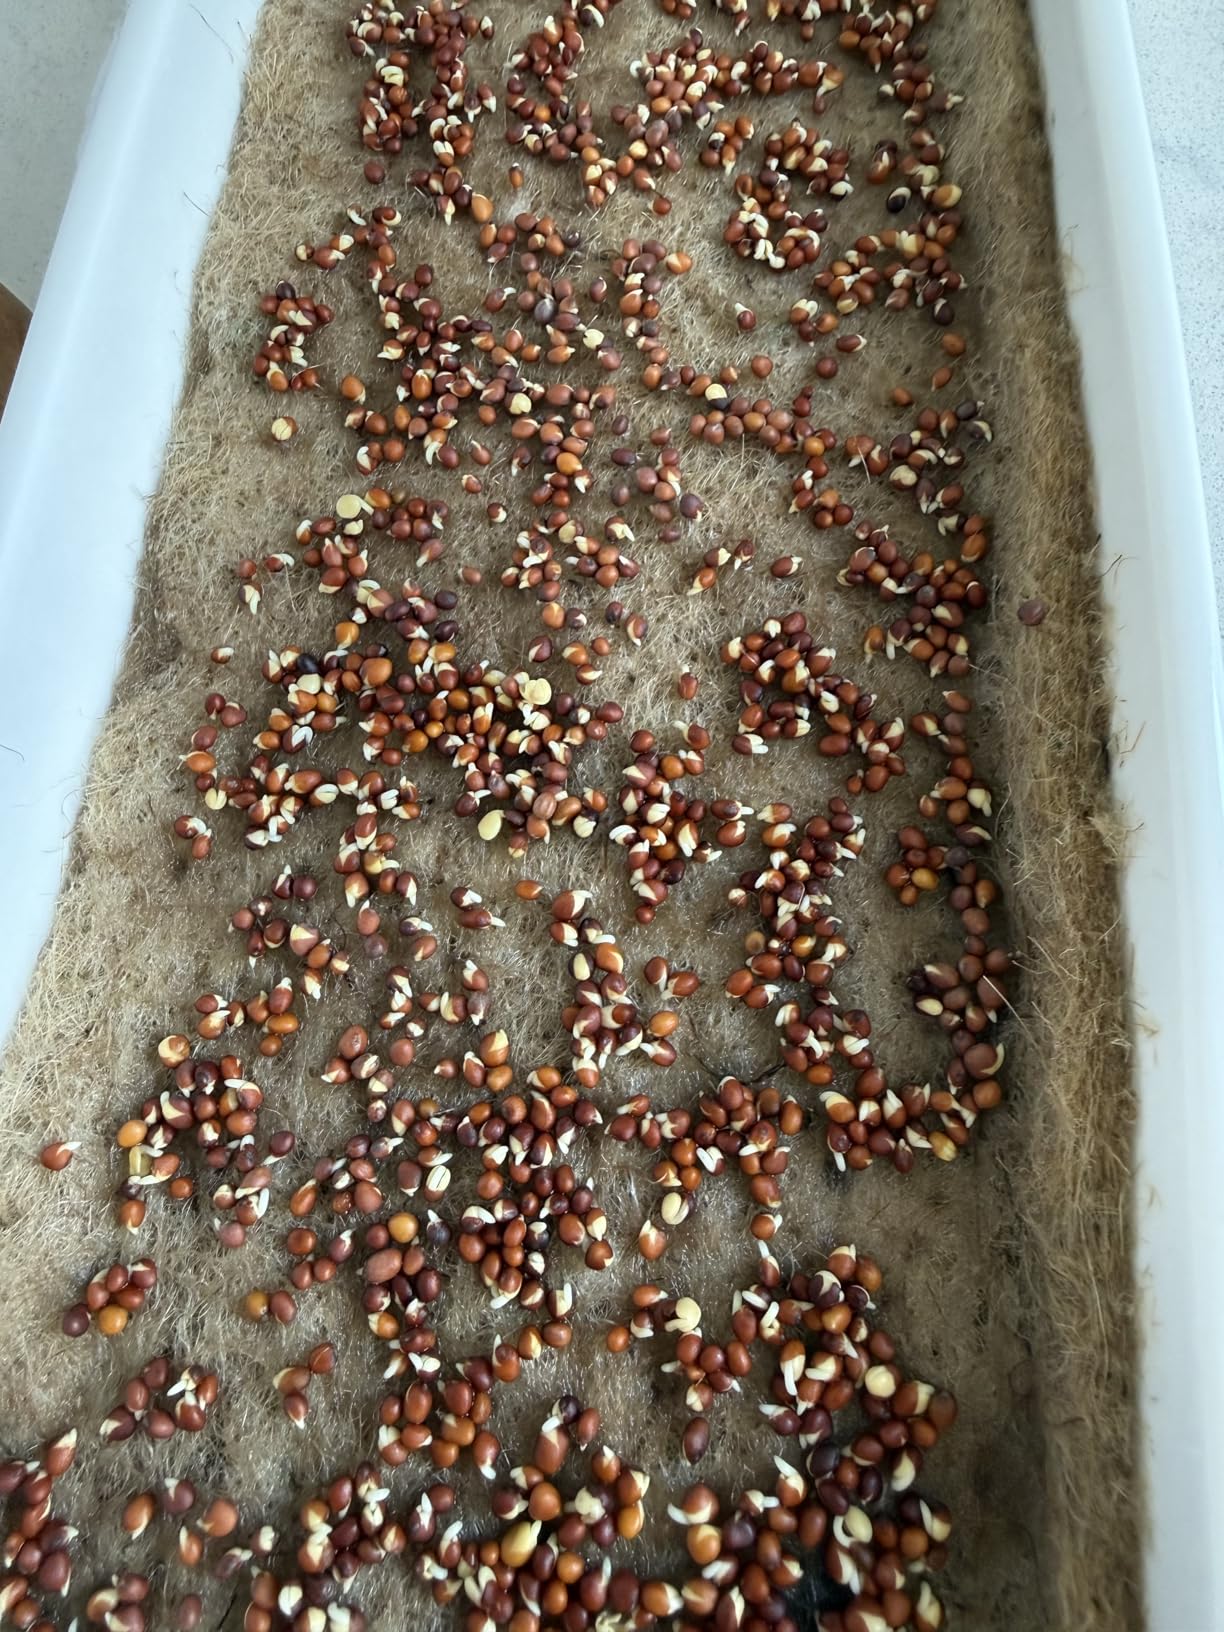
The kit uses coconut coir discs as the growing medium. You add warm water to expand them, then spread the coir in the trays. I found the broccoli seeds included in my kit germinated within 48 hours and were ready to harvest by day 9. The passive hydroponics design means the trays draw water up from a reservoir, so you do not need to water daily.
My only complaint is a slight wobble when the two trays are stacked. It does not affect growing performance, but it is worth noting if you plan to display them stacked on a visible shelf. Also, check the seed packet dates when you receive the kit, as a few users reported receiving seeds from the previous year’s harvest.
Who Should Buy This Kit
This is the best choice for anyone who wants a zero-plastic, aesthetically pleasing growing system. It also makes an excellent gift for food lovers or plant enthusiasts because the presentation is beautiful right out of the box. If you value dishwasher-safe cleanup and ceramic over plastic, the mizuna kit is worth the investment.
Stacking and Storage Tips
When stacking the trays, make sure the upper tray is centered to minimize the wobble. You can use the two trays independently on different shelves or windowsills if you prefer. Between harvests, run both trays and lids through the dishwasher for a thorough clean.
5. Back to the Roots 6-Grow Variety Pack – Best for Families

Back to the Roots DIY Microgreen Grow Kit, 6-Grow Variety Pack
USDA Certified Organic
6 seed varieties
Made in the USA
100% grow guarantee
10.59 ounces total
Pros
- USDA Certified Organic and Non-GMO
- 6 varieties of seeds included
- Easy to grow
- Good germination rate
- Fun for kids
Cons
- Yield may be smaller than expected
- Quality concerns over time
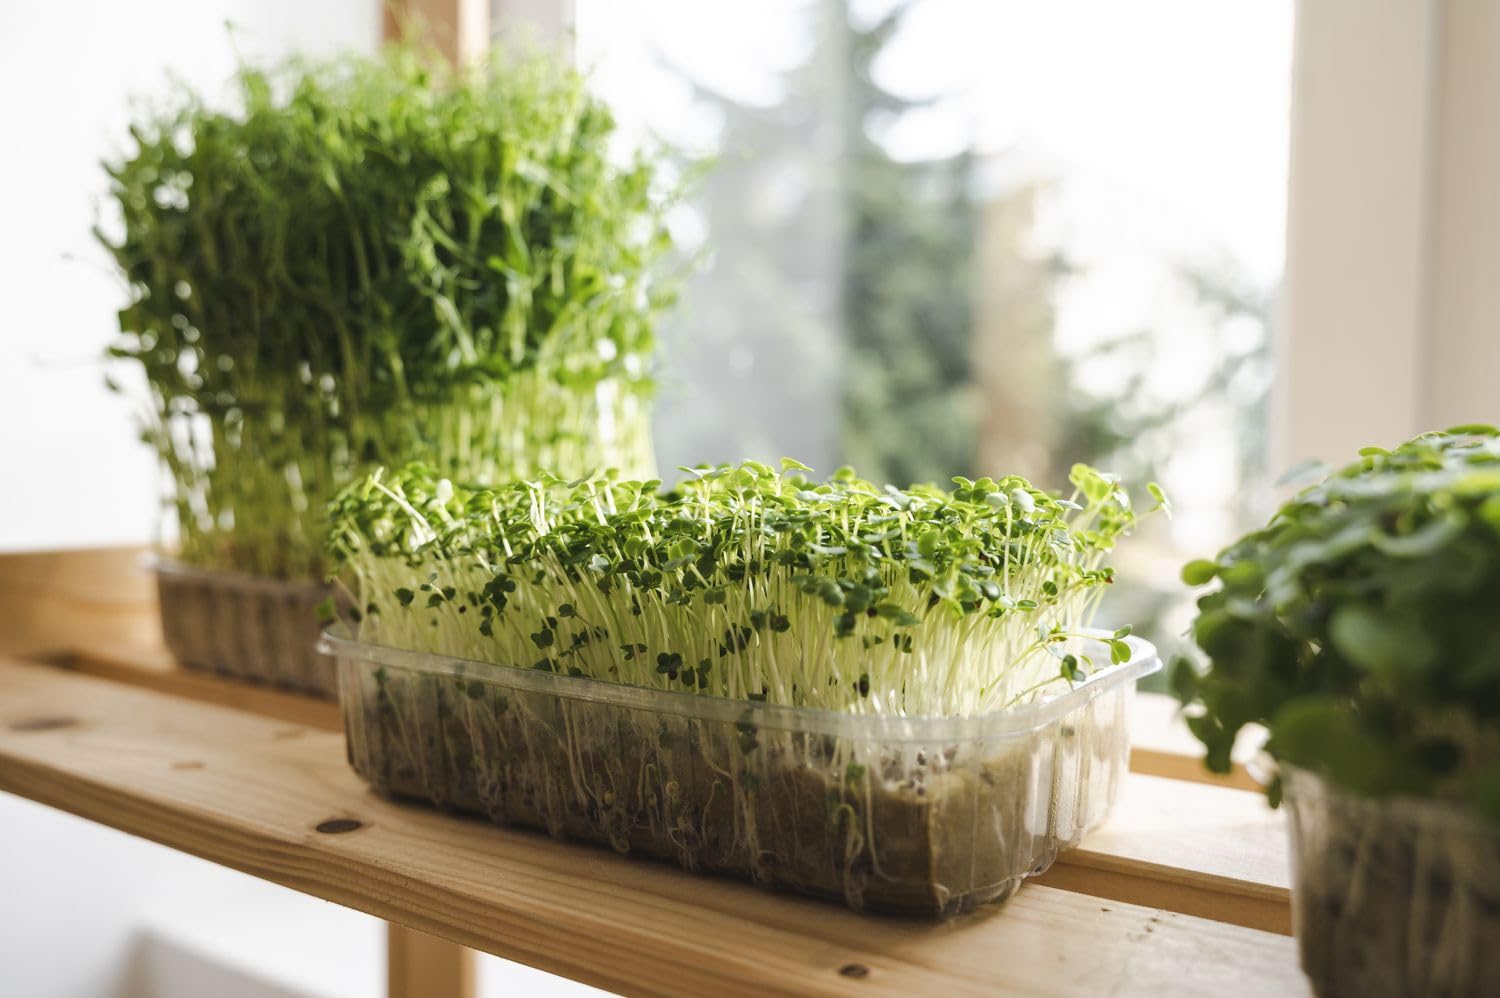
Back to the Roots designed this kit with families and kids in mind. The 6-grow variety pack includes broccoli, kale, purple kohlrabi, red cabbage, and two other organic seed packets, each one a different microgreen variety. I set these up with my niece over a weekend, and she was genuinely excited to check on her seeds every morning.
The setup is as simple as it gets: add water to the soil pucks, spread the seeds, and wait. Each variety has a slightly different germination timeline, which actually makes it more interesting for kids because they can see the differences side by side. The broccoli and kale sprouted first, while the red cabbage took an extra day or two.
All seeds are USDA Certified Organic and Non-GMO Project Verified. The kit also includes access to a Green-Thumb Text Support line where you can message growing questions and get real answers. Back to the Roots backs everything with a 100% grow guarantee: if your seeds do not grow, they will send you a replacement kit.
The yields are on the smaller side compared to tray-based systems. Each grow container produces enough microgreens for one or two meals. If you are feeding a family and want larger harvests, you may want to run multiple kits simultaneously or choose a tray-based system instead.
Who Should Buy This Kit
Families with children, classrooms, and anyone who wants to try multiple microgreen varieties without committing to a large system. This is also a great gift for someone curious about microgreens who wants to sample different flavors before investing in a permanent setup.
Educational Value
The variety pack format teaches kids about different plant species and germination speeds. Each seed type has a distinct flavor profile, from mild broccoli to peppery radish, which makes tasting the harvest an experience in itself. The text support line is helpful for answering the inevitable questions that come up during a first grow.
6. PHAIN 4-Tier Seed Sprouting Kit – Best Budget Stacking System

PHAIN 4-Tier Seed Sprouting Kit with Drain Holes and Drain Tray, Upgrade Stackable Microgreens Fresh Organic Bean Seed Sprouter Tray Ripple Soil-Free Sprouter Tray for Beans Alfalfa Seeds
4-tier stackable design
Soil-free sprouting
Food grade PP material
Blackout cover included
6.3 x 6.3 x 9 inches
Pros
- Fast germination rate
- Compact footprint with high output
- Easy stackable watering
- No soil required
- Attractive clear design
Cons
- Pots may be too short for taller plants
- Plastic can melt in dishwasher
- Small seed leakage initially
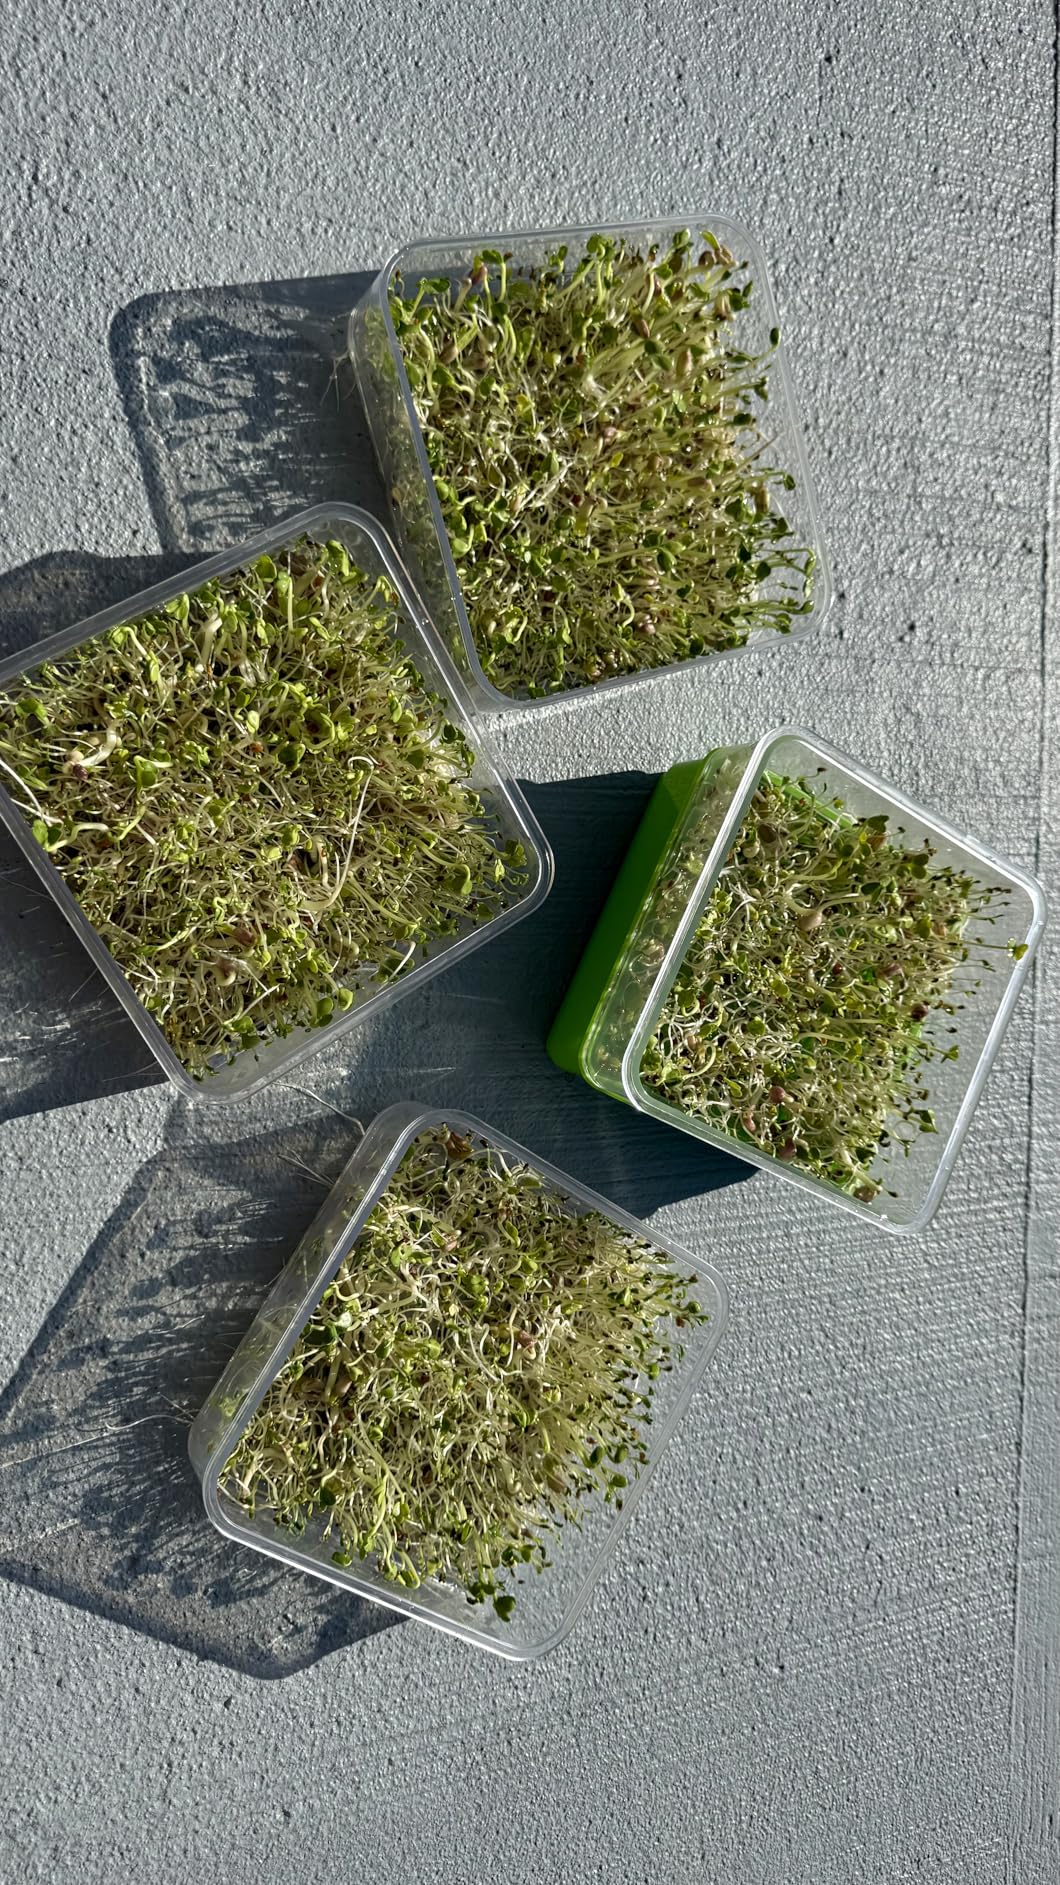
The PHAIN 4-tier kit is one of the most affordable ways to grow microgreens at home, and the vertical stacking design gives you four growing levels in the footprint of a single tray. I was able to grow mung beans, alfalfa, broccoli, and lentil sprouts simultaneously using just six inches of counter space.
The corrugated tray design prevents seeds from shifting during watering, which is a common frustration with flat sprouting trays. Each level has drainage holes that funnel water down through the stack, so you only water the top tray and let gravity handle the rest. The clear trays let you monitor growth without disturbing the sprouts.
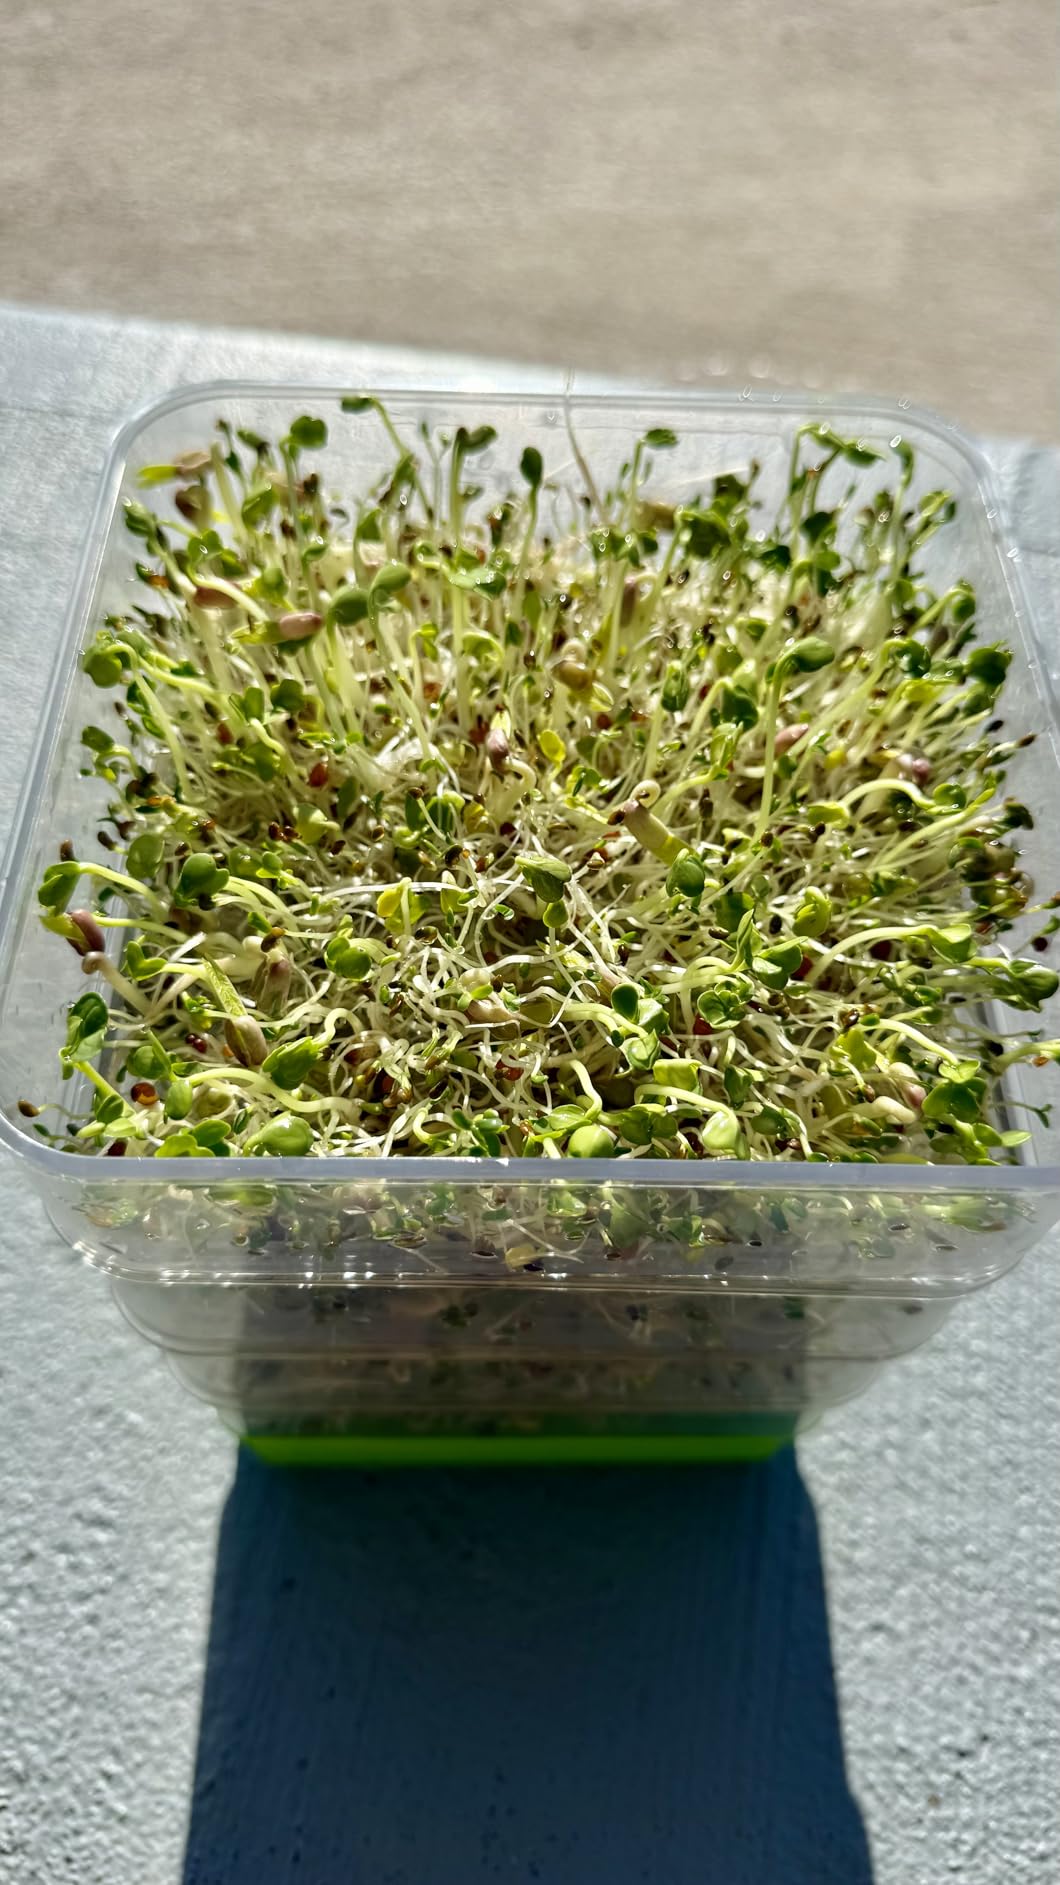
A blackout drawstring bag is included for the germination phase. You cover the stack with the bag for the first 2 to 3 days, then remove it to expose the sprouts to light. The food-grade polypropylene material feels sturdy enough for repeated use, though I would avoid putting these in the dishwasher as the manufacturer notes the plastic can deform under high heat.
At this price, it is hard to find a better value for the amount of growing capacity you get. The trade-off is that the trays are relatively shallow, so taller microgreen varieties like pea shoots may not have enough vertical space to develop properly. Stick to shorter varieties like broccoli, radish, and mustard for the best results.
Who Should Buy This Kit
Anyone on a tight budget who still wants to grow multiple varieties at once. This is also a good option for people with very limited counter space who need a vertical solution. If you want to experiment with sprouting before investing in a more expensive kit, this is the cheapest entry point.
Watering Technique
Pour water slowly into the top tray and let it drain through the stack. If you pour too fast, some seeds may wash through the drainage holes. I found that a gentle, circular pouring motion worked best. Rinse the trays thoroughly between batches to prevent any bacterial buildup.
7. Vego Garden Self-Watering Microgreens Kit – Best for High-Volume Growing

Self-Watering Microgreens Growing Kit with 20 Capillary Grow Mats and Humidity Domes, 4 Trays for Growing Multiple Micro Greens and Sprouts, Hydroponic Growing System with Water Level Indicator
4 growing trays with humidity domes
20 capillary grow mats
Self-watering reservoir
Water level indicator
10 x 10 x 7.05 inches
Pros
- Soil-free mess-free system
- Self-watering keeps plants hydrated
- 4 trays for multiple varieties
- Food-safe non-toxic materials
- Excellent customer service
Cons
- Higher price point
- Grow mats can shift during harvest
- Condensation issues with domes
- Only 20 grow mats included
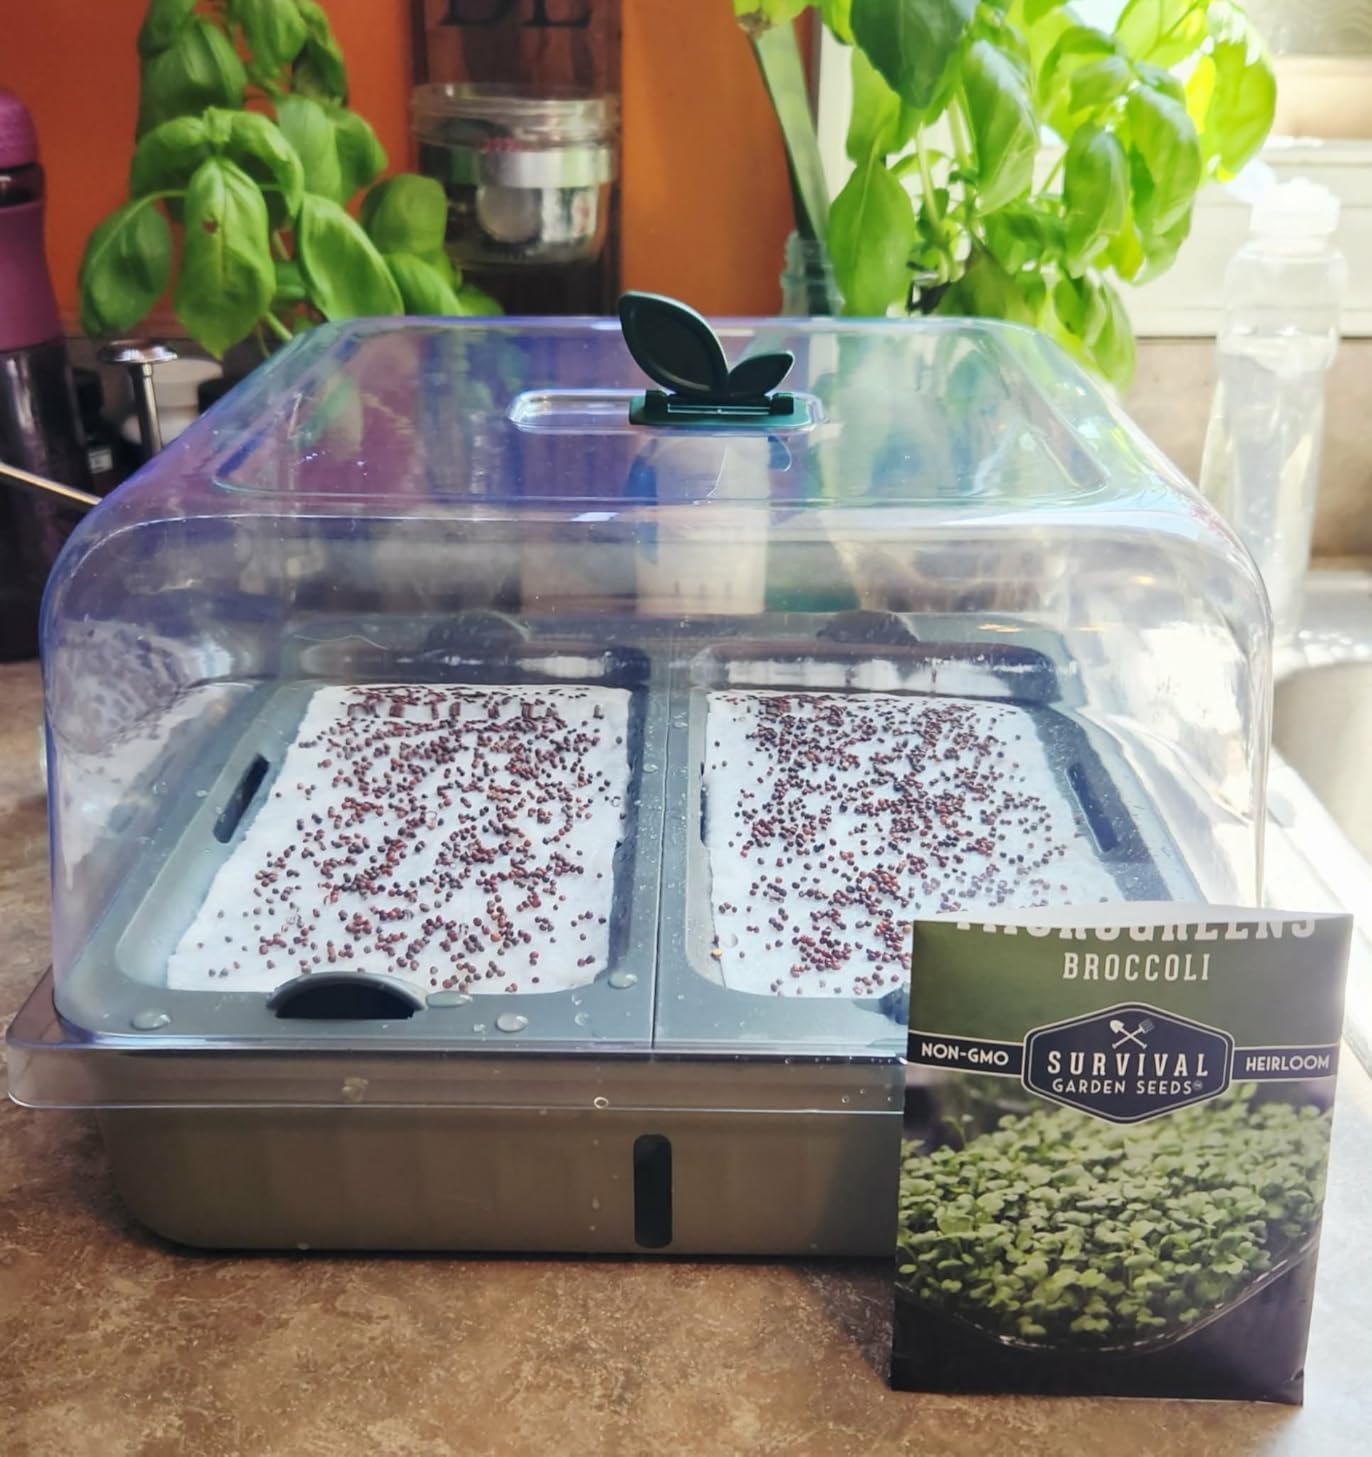
Vego Garden is known for their raised garden beds, and they brought the same quality-focused approach to this microgreens kit. The system includes four trays, each with its own humidity dome and capillary grow mat. The self-watering reservoir beneath the trays keeps the grow mats consistently moist, so you rarely need to add water more than once every few days.
I grew four different varieties simultaneously: broccoli, radish, mustard, and a mild salad mix. The capillary grow mats draw water up from the reservoir through a wicking action, which is more reliable than manual misting. Each tray produced a dense carpet of microgreens within 8 to 10 days.
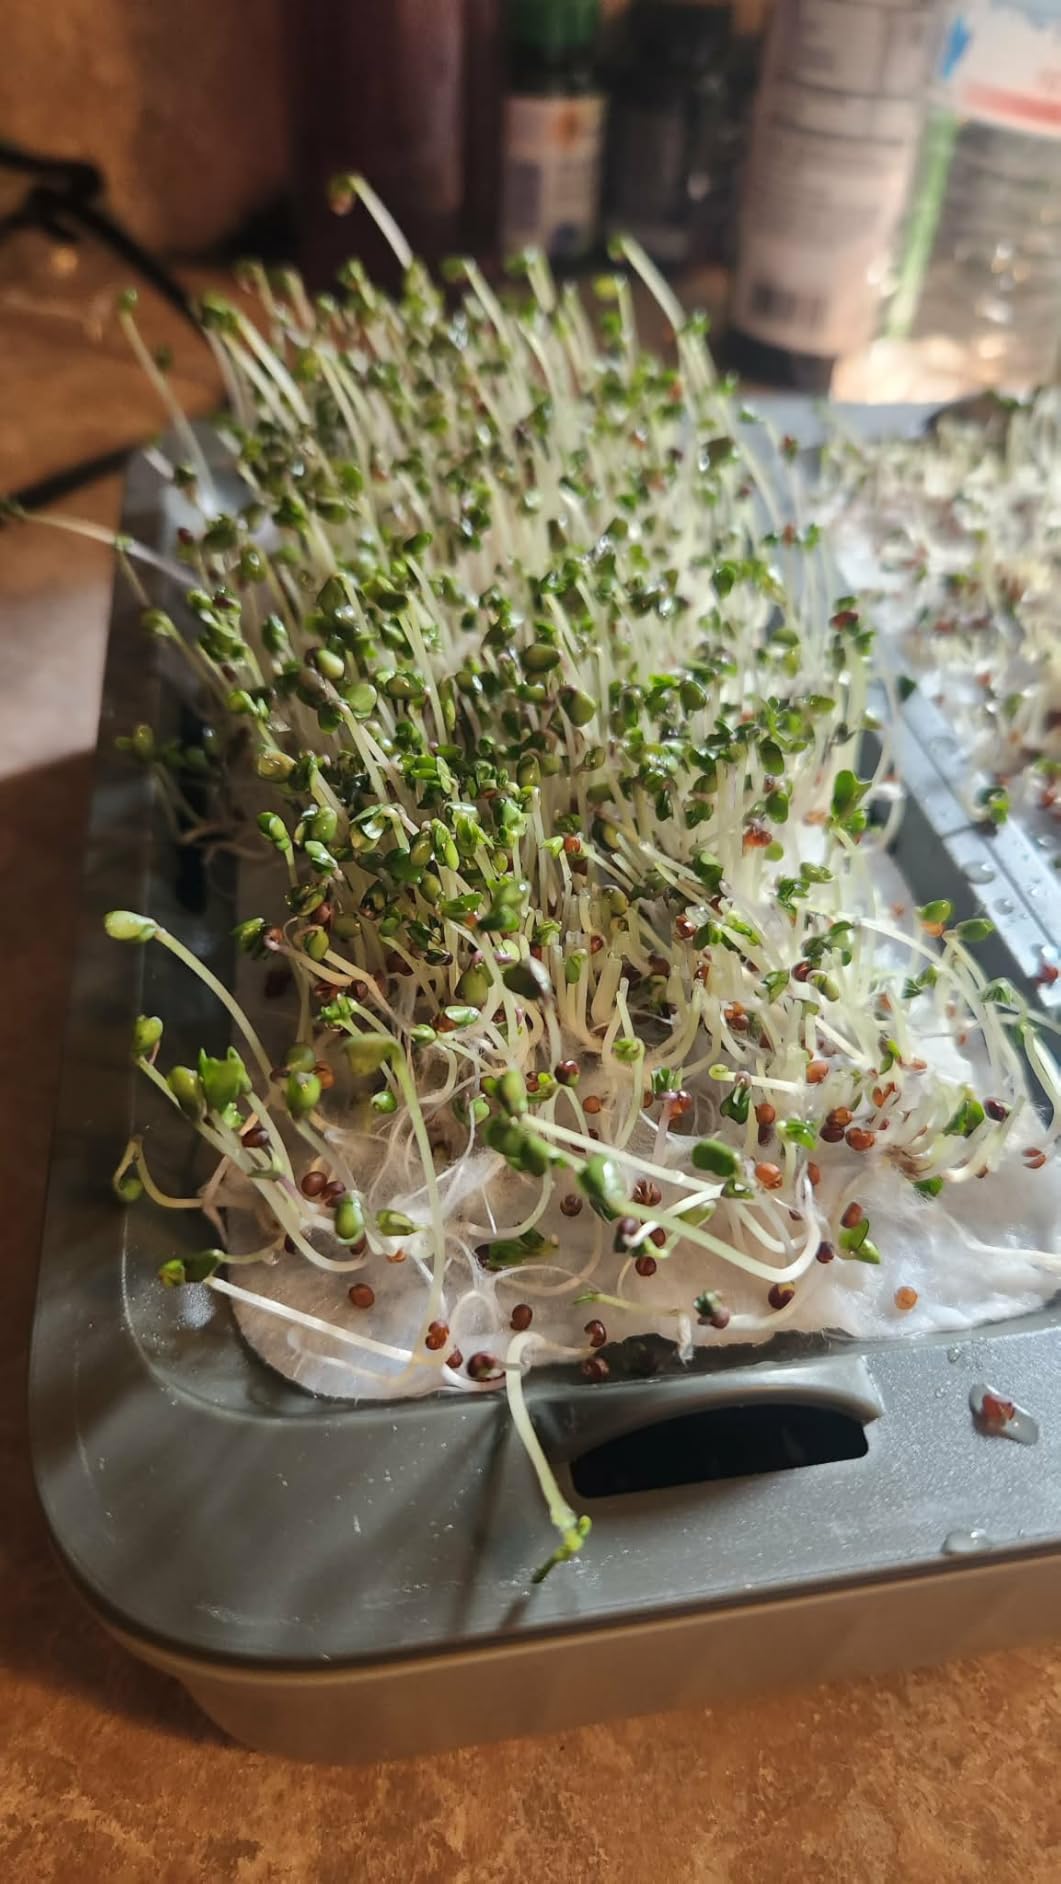
The built-in water level indicator is a small but incredibly useful feature. You can see at a glance whether the reservoir needs refilling without opening the system or disturbing the plants. The humidity domes snap on securely during the germination phase, though I did notice some condensation buildup that required occasional venting.
At this price, you are paying for capacity and convenience. The four trays give you enough output to supply a household of microgreen lovers. The 20 included grow mats cover five full harvest cycles, after which you will need to buy replacements. The food-grade, non-toxic materials give peace of mind when growing something you eat raw.
Who Should Buy This Kit
Home growers who want to produce a significant volume of microgreens each week and prefer a set-it-and-forget-it watering approach. This is also a strong choice for anyone who values food-safe materials and wants a system that feels built to last through many harvest cycles.
Managing Humidity and Airflow
The humidity domes are excellent for speeding up germination, but they can trap too much moisture if left on too long. I recommend removing the domes once about 50 percent of the seeds have sprouted, then allowing the remaining seeds to finish germinating in open air. This prevents mold issues that some users have reported.
8. ZESTIGREENS 6-Grow Variety Pack – Best Colorful Variety Selection

ZESTIGREENS Microgreens Growing Kit, 6-Grow Variety Pack with Most Popular & Colorful Microgreens Varieties
6 colorful seed varieties
Ceramic planter and bamboo tray
Coconut coir soil discs
Year-round growing
Popular and colorful varieties
Pros
- Easy to grow
- Great germination rate
- Organic seeds
- Good value
- Colorful varieties
Cons
- Coconut pucks may be too big for trays
- Can be messy when watering
- Ongoing supply costs
This second ZESTIGREENS offering focuses on variety rather than a single self-watering system. The 6-grow pack includes six different seed varieties chosen for their color and flavor diversity. The ceramic planter and bamboo tray give you a reusable growing vessel, while the coconut coir discs provide the growing medium.
I worked through all six varieties over several weeks, and the germination rates were consistently strong across the board. The colorful microgreens make a striking visual difference on the plate. Purple varieties in particular added a vibrant touch to salads and sandwich toppings that my plain broccoli microgreens never achieved.
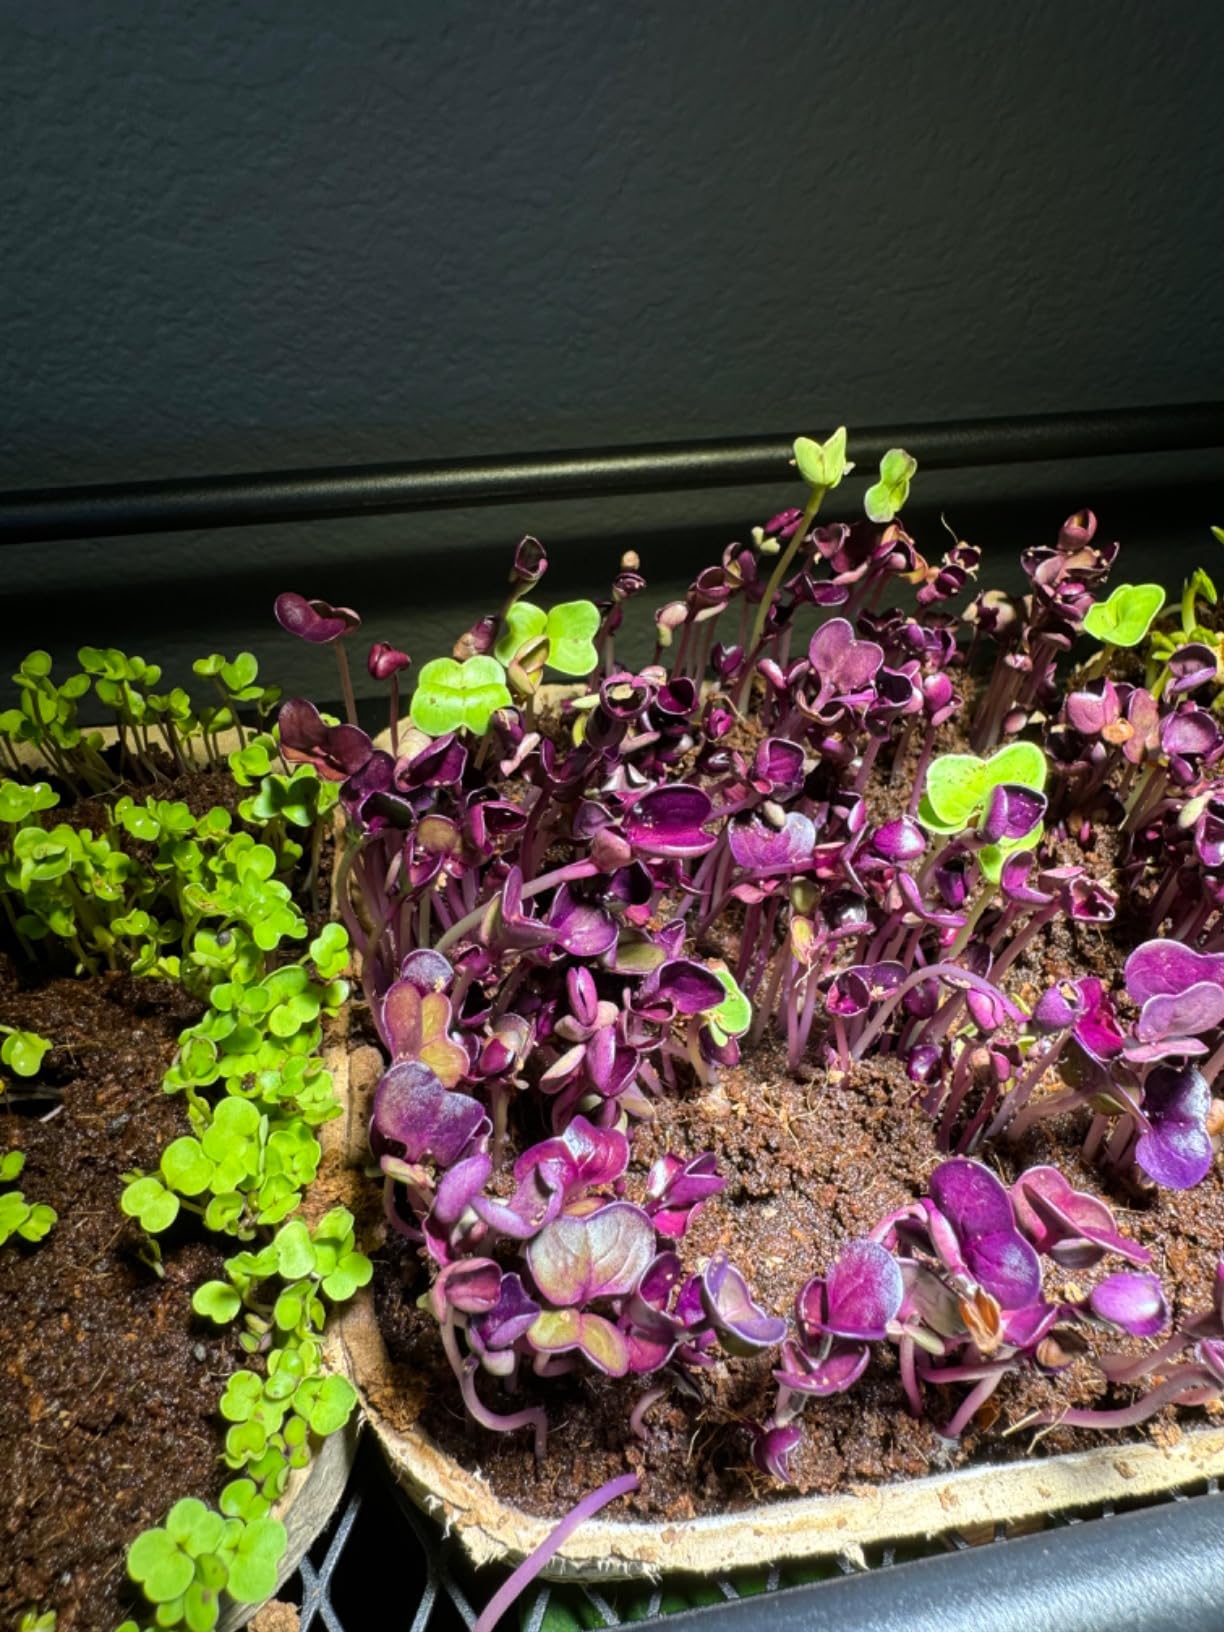
The coconut coir discs need to be rehydrated with warm water before use. I found that one disc sometimes expanded to more volume than the tray could comfortably hold, so I recommend adding water gradually and stopping when the coir fills the tray to about half an inch below the rim. This prevents overflow during watering.
While the ceramic planter is attractive, it is a single growing vessel, so you can only grow one variety at a time. If you want to run multiple varieties simultaneously, you will need additional trays or planters. The included seed packets are generous enough for multiple plantings, which helps offset the ongoing costs.
Who Should Buy This Kit
Anyone who wants to explore the full range of microgreen flavors and colors. This kit is particularly appealing if you enjoy cooking and want to experiment with different varieties as garnishes or salad ingredients. It is also a good choice if you already have a growing tray and just want a variety seed pack with a nice planter.
Working with Coconut Coir
Coconut coir is an excellent growing medium that holds moisture well and resists mold better than potting soil. However, the discs can be messy to rehydrate. I recommend doing this step over a sink and breaking up the expanded coir with a fork before spreading it in the tray for the most even surface.
9. Rock Greens Self-Watering Ceramic Kit – Best Gift-Ready Option
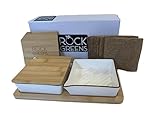
Microgreens Growing Kit. Easy-To-Use, Self-Watering. Includes Two Specially Designed Color-Coded Ceramic Trays With Matching Lids to Create an Optimal Cozy Microenvironment for Seeds; Mats, and a Tray
2 color-coded ceramic trays
Self-watering with corner spout
8 growing mats included
Plastic-free design
5 x 10.5 x 2 inches
Pros
- Beautiful ceramic design
- Self-watering works well
- Easy to clean
- Color-coded trays for tracking
- Gift-ready presentation
Cons
- Trays are quite small
- Limited yield per batch
- Bamboo lids may degrade over time
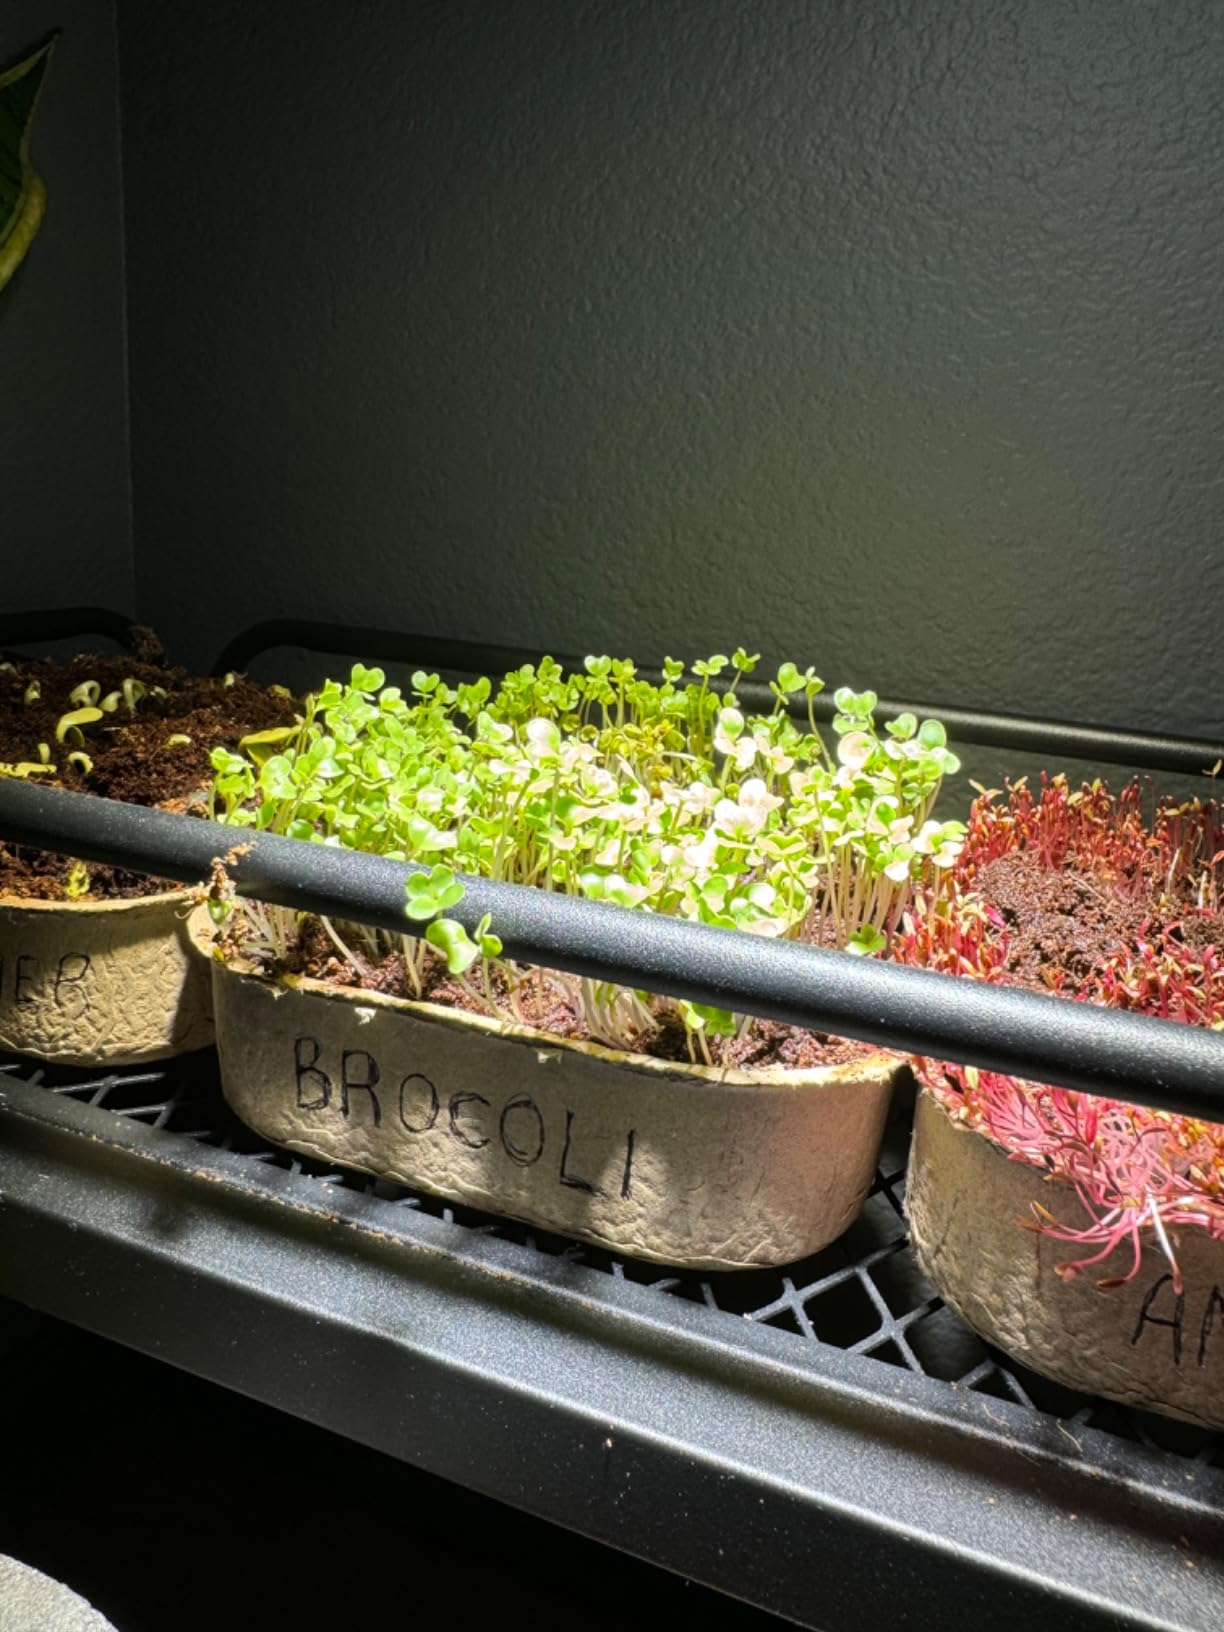
The Rock Greens kit arrived in gift-quality packaging that would make an excellent present for a food lover or home cook. Inside, I found two ceramic trays in moss green and mocha brown, each with a matching lid. The color-coded system is surprisingly helpful: I grew spicy mustard in the green tray and mild broccoli in the brown one, and never mixed them up.
The self-watering design uses a corner spout that lets you add water without disturbing the seeds or grow mats. You pour water into the corner, and it flows into a reservoir beneath the growing surface. The eight included growing mats give you enough for four harvest cycles, which is generous for a kit at this size.
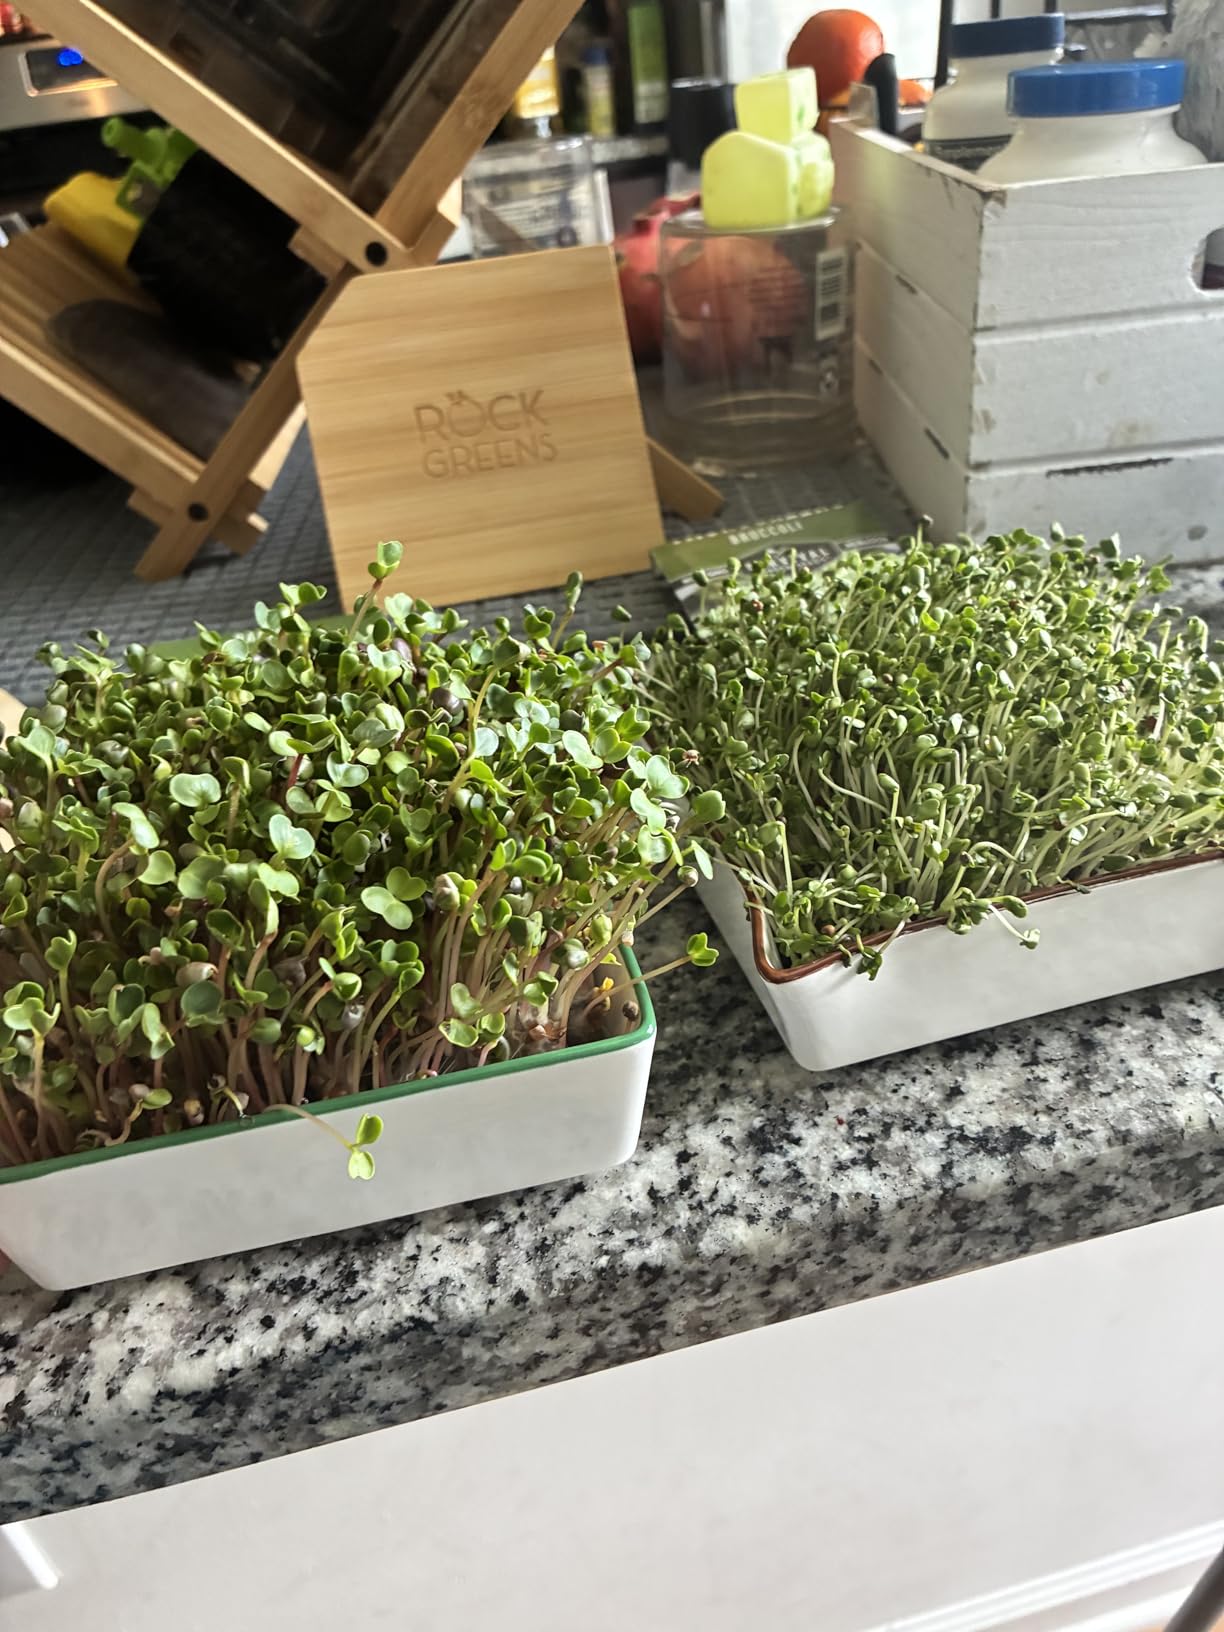
The trays are smaller than most other kits I tested, measuring 5 by 10.5 inches. Each tray produces enough microgreens for one or two servings. This is fine if you are growing for one person or using microgreens as a garnish, but it will not produce enough volume for someone who wants a daily microgreen salad.
The patent-pending design is well thought out, and the plastic-free construction is a real plus. My only concern is the bamboo lids, which absorb moisture over time. After three growing cycles, I noticed slight warping on one lid. I recommend wiping the lids dry after each use and storing them separately from the trays between harvests.
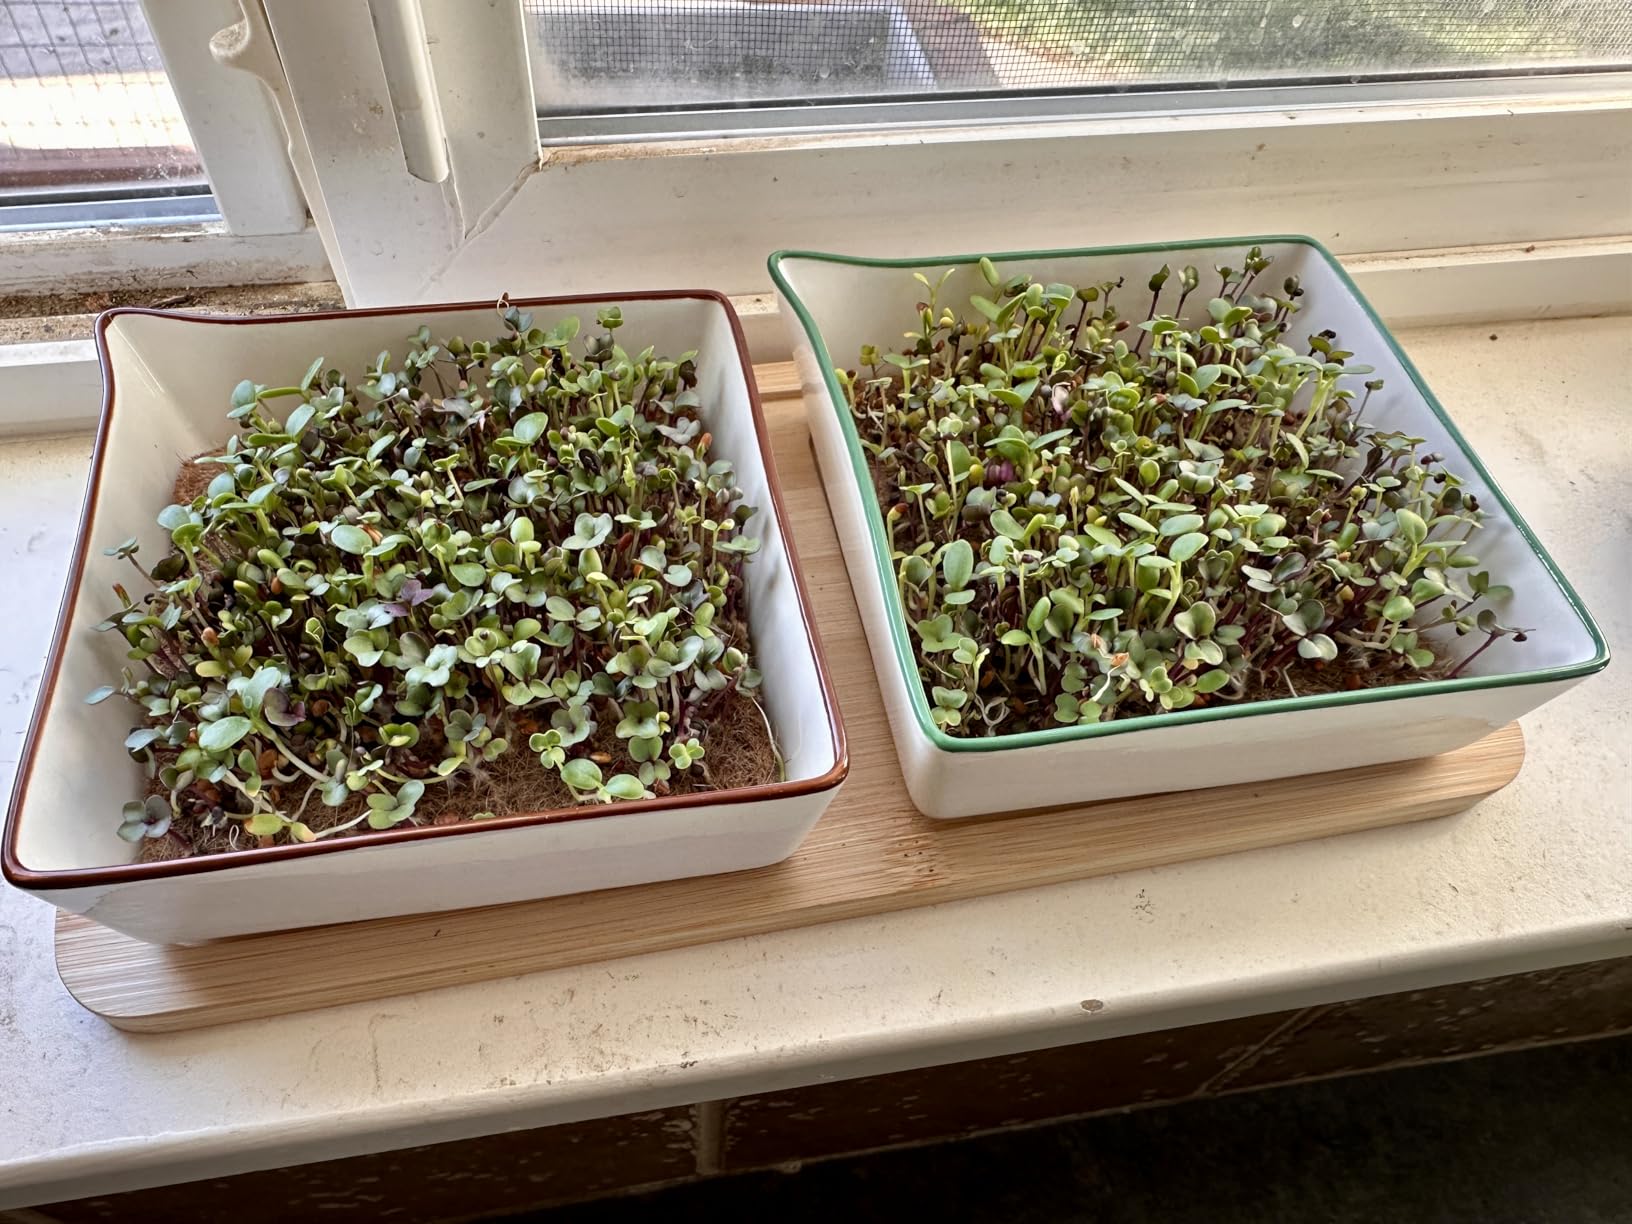
Who Should Buy This Kit
This kit shines as a gift for someone curious about microgreens. The presentation, color-coded trays, and included mats make it feel complete and thoughtful. It is also ideal for solo dwellers who want small-batch microgreens without the commitment of a larger system.
Maximizing Small-Batch Yields
To get the most from these smaller trays, spread seeds densely across the entire growing surface. The mats are designed to support high seed density. Harvest by cutting just above the mat line with clean scissors, and you can sometimes get a second, smaller harvest from the same batch if the roots are healthy.
10. Garden Republic Microgreens Growing Kit – Best All-in-One Starter

Garden Republic Microgreens Growing Kit
4 planters with tray
4 organic non-GMO seed varieties
Soil disks and shears included
Space-saving design
Year-round growing
Pros
- All-in-one with everything included
- Compact space-saving design
- Reusable planters
- Good for beginners
- Non-GMO organic seeds
Cons
- Not enough seeds for multiple batches
- Confusing temperature instructions
- Shallow trays limit growth
- Inconsistent results reported
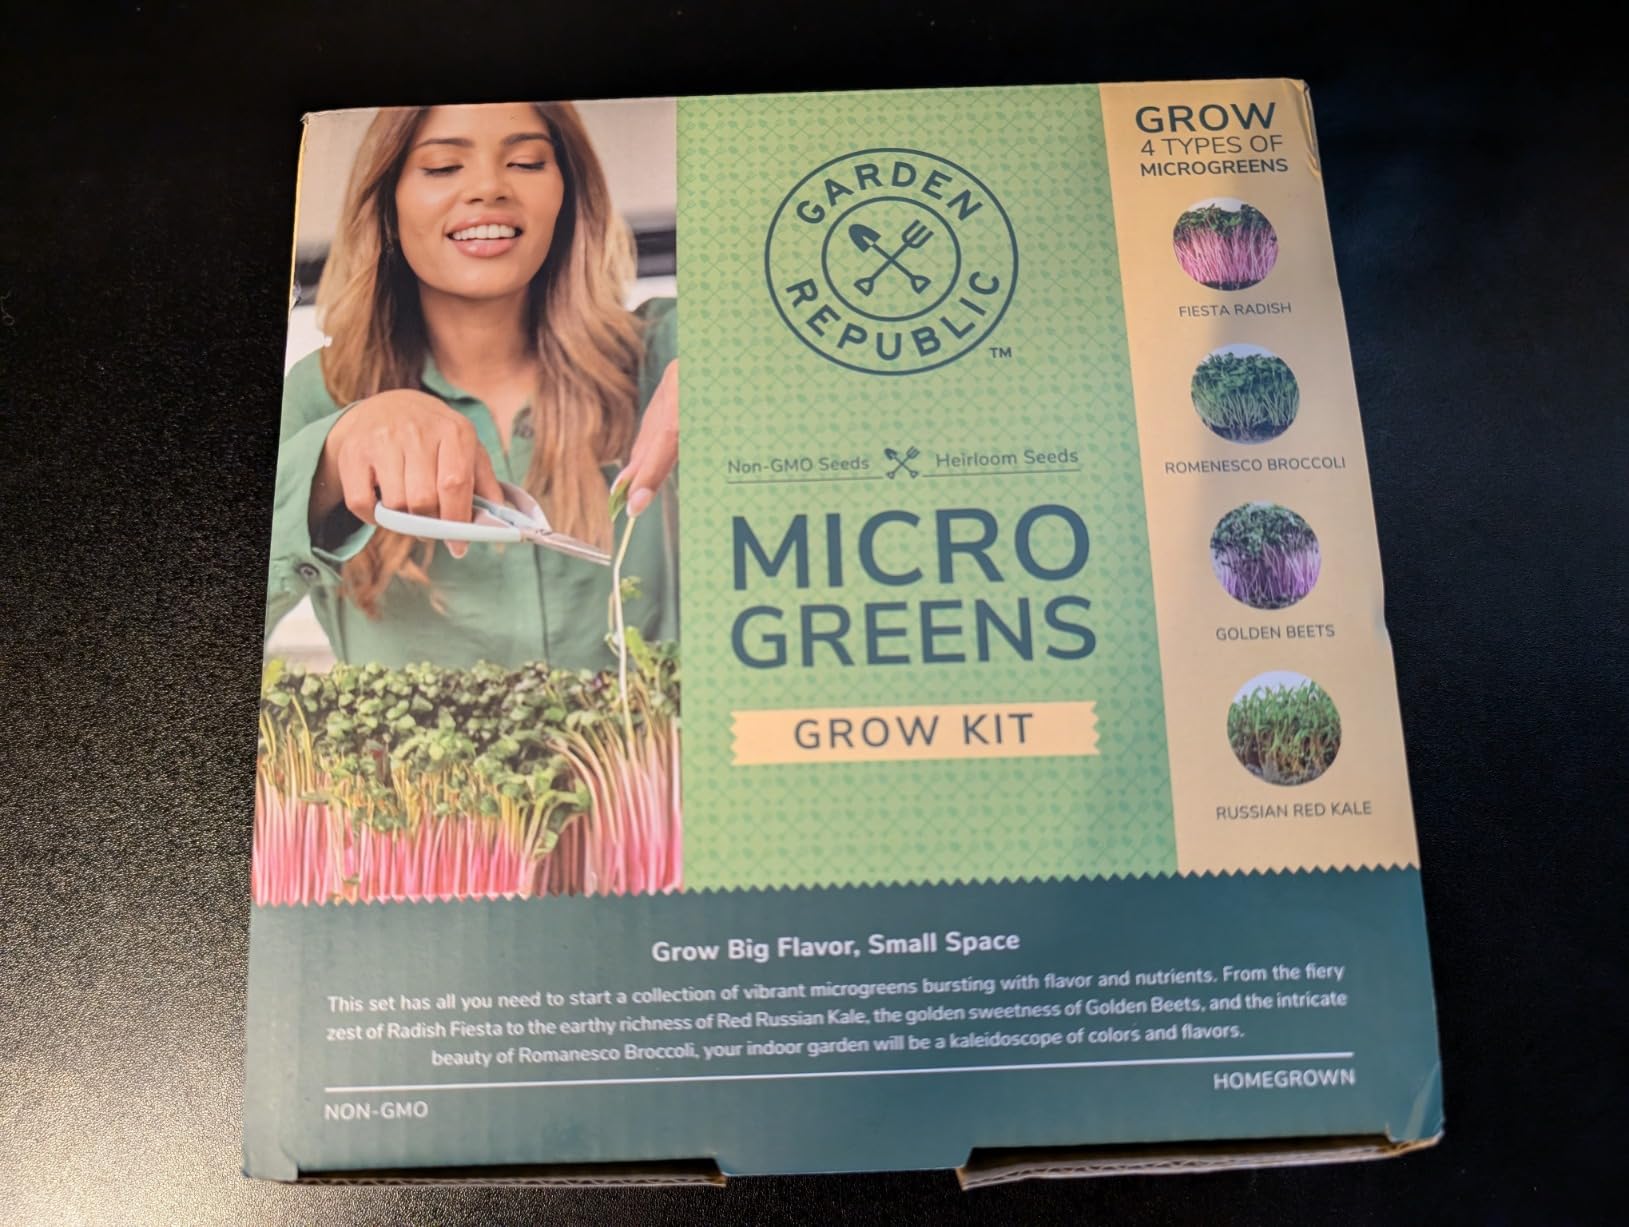
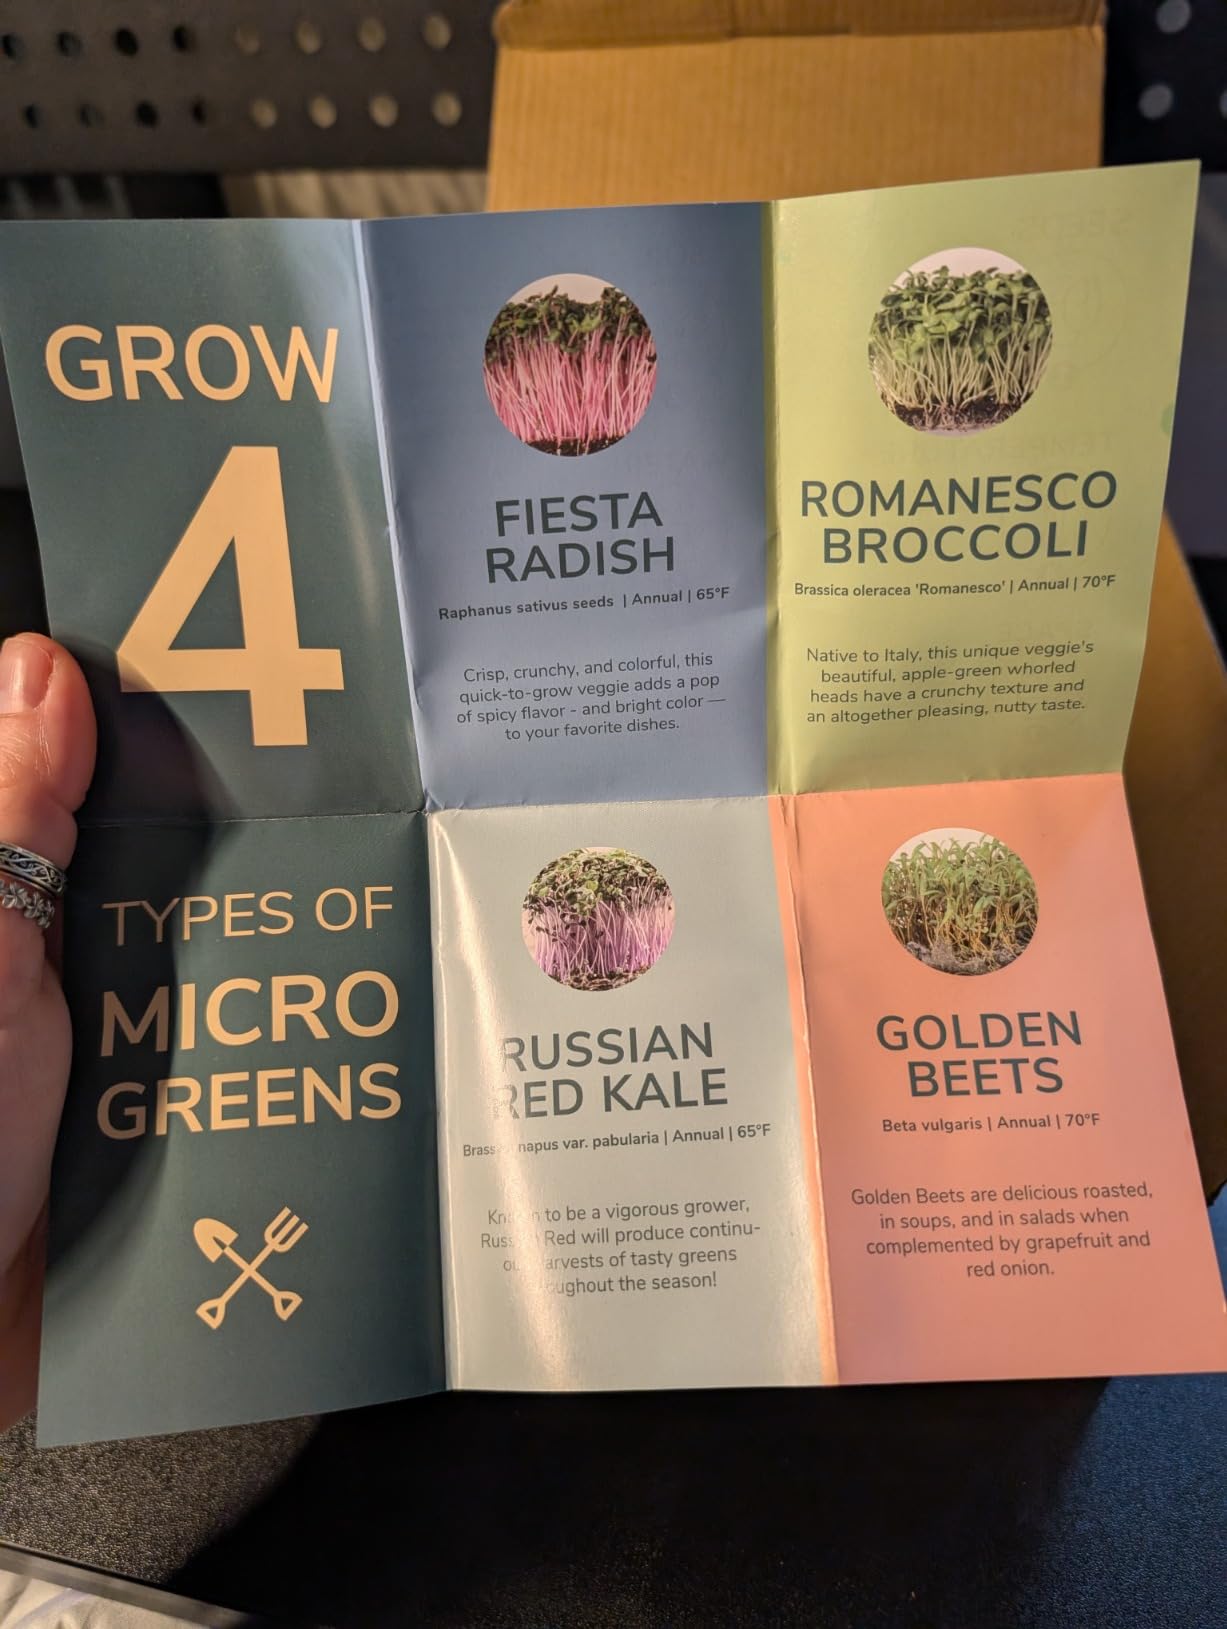
The Garden Republic kit tries to be everything a beginner needs in one box: four reusable planters, a drip tray, four varieties of organic seeds (radish, broccoli, kale, and beets), soil disks, plant markers, and even a pair of harvesting shears. I appreciated the completeness of the package, as it meant I did not need to buy anything else to start.
My first grow with the radish seeds went smoothly and produced flavorful microgreens within 7 days. However, the broccoli and kale varieties were more temperamental, and I had inconsistent germination rates between the four planters. Part of the issue is that the instructions treat all four seed varieties the same, even though they have slightly different temperature and watering preferences.
The soil disks need to be broken down and rehydrated before use. I found this step frustrating because the disks did not crumble easily and required more water than expected to reach the right consistency. Once the soil was prepared and spread in the planters, the actual growing process was straightforward.
The included shears are a nice touch, though they are fairly basic. The plant markers help you keep track of which variety is in which planter, which is genuinely useful when growing four different types at once. The reusable planters are a good long-term value since you can refill them with your own seeds and soil for future harvests.
Who Should Buy This Kit
Complete beginners who want every single component included in one purchase and do not want to research additional supplies. This is also a reasonable choice for a classroom or kids’ project because of the plant markers and multiple seed varieties included.
Getting Consistent Results
The key to success with this kit is researching the specific needs of each seed variety. Radish seeds are forgiving and fast-growing, making them the best starting point. Save the beet and kale seeds for your second or third batch once you have the watering and temperature basics down. Shallow trays mean you need to be careful not to overwater.
11. Back to the Roots Ceramic Planter Microgreens Kit – Best Single-Serve Option

Back to the Roots Organic Microgreens Grow Kit with Ceramic Planter, Expandable Soil, Organic Seeds, and Germination Lid
Ceramic planter included
Expandable soil disc
Organic seed blend
Germination lid
Text watering reminders
6 inch size
Pros
- Self explanatory and easy
- Text reminders to water
- Nice ceramic dish
- Quick growing cycle
Cons
- May not grow well if overwatered
- Limited soil amount
- Single use concern
- Some quality control issues
This is the most affordable kit in the Back to the Roots lineup, and it is designed as a single-serving microgreen experience. The rectangular ceramic planter looks clean on a windowsill, and the expandable soil disc plus organic seed blend give you everything for one harvest cycle. I had sprouts in 3 days and a full harvest by day 8.
The standout feature is the text reminder system. You register your kit online and receive SMS reminders about when to water, when to remove the germination lid, and when to harvest. For someone who forgets to water their plants, this is a genuinely useful feature that takes the guesswork out of the process.
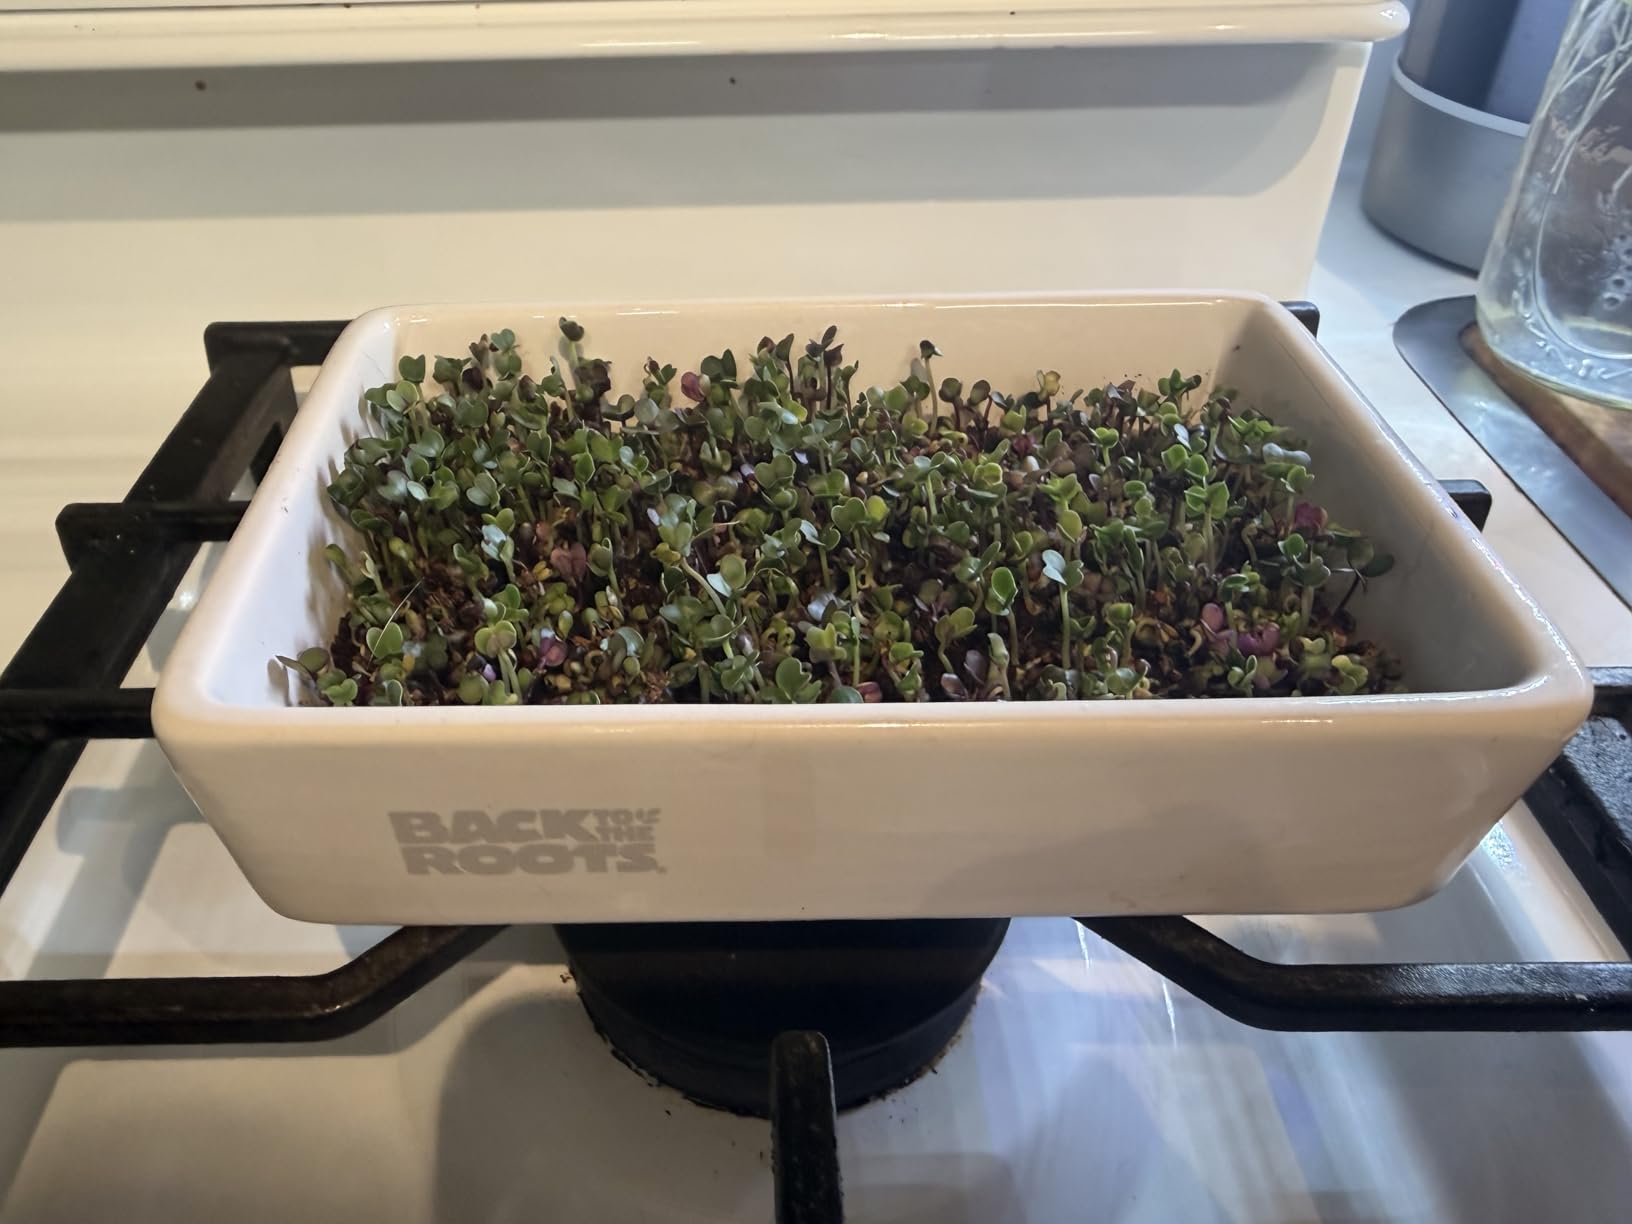
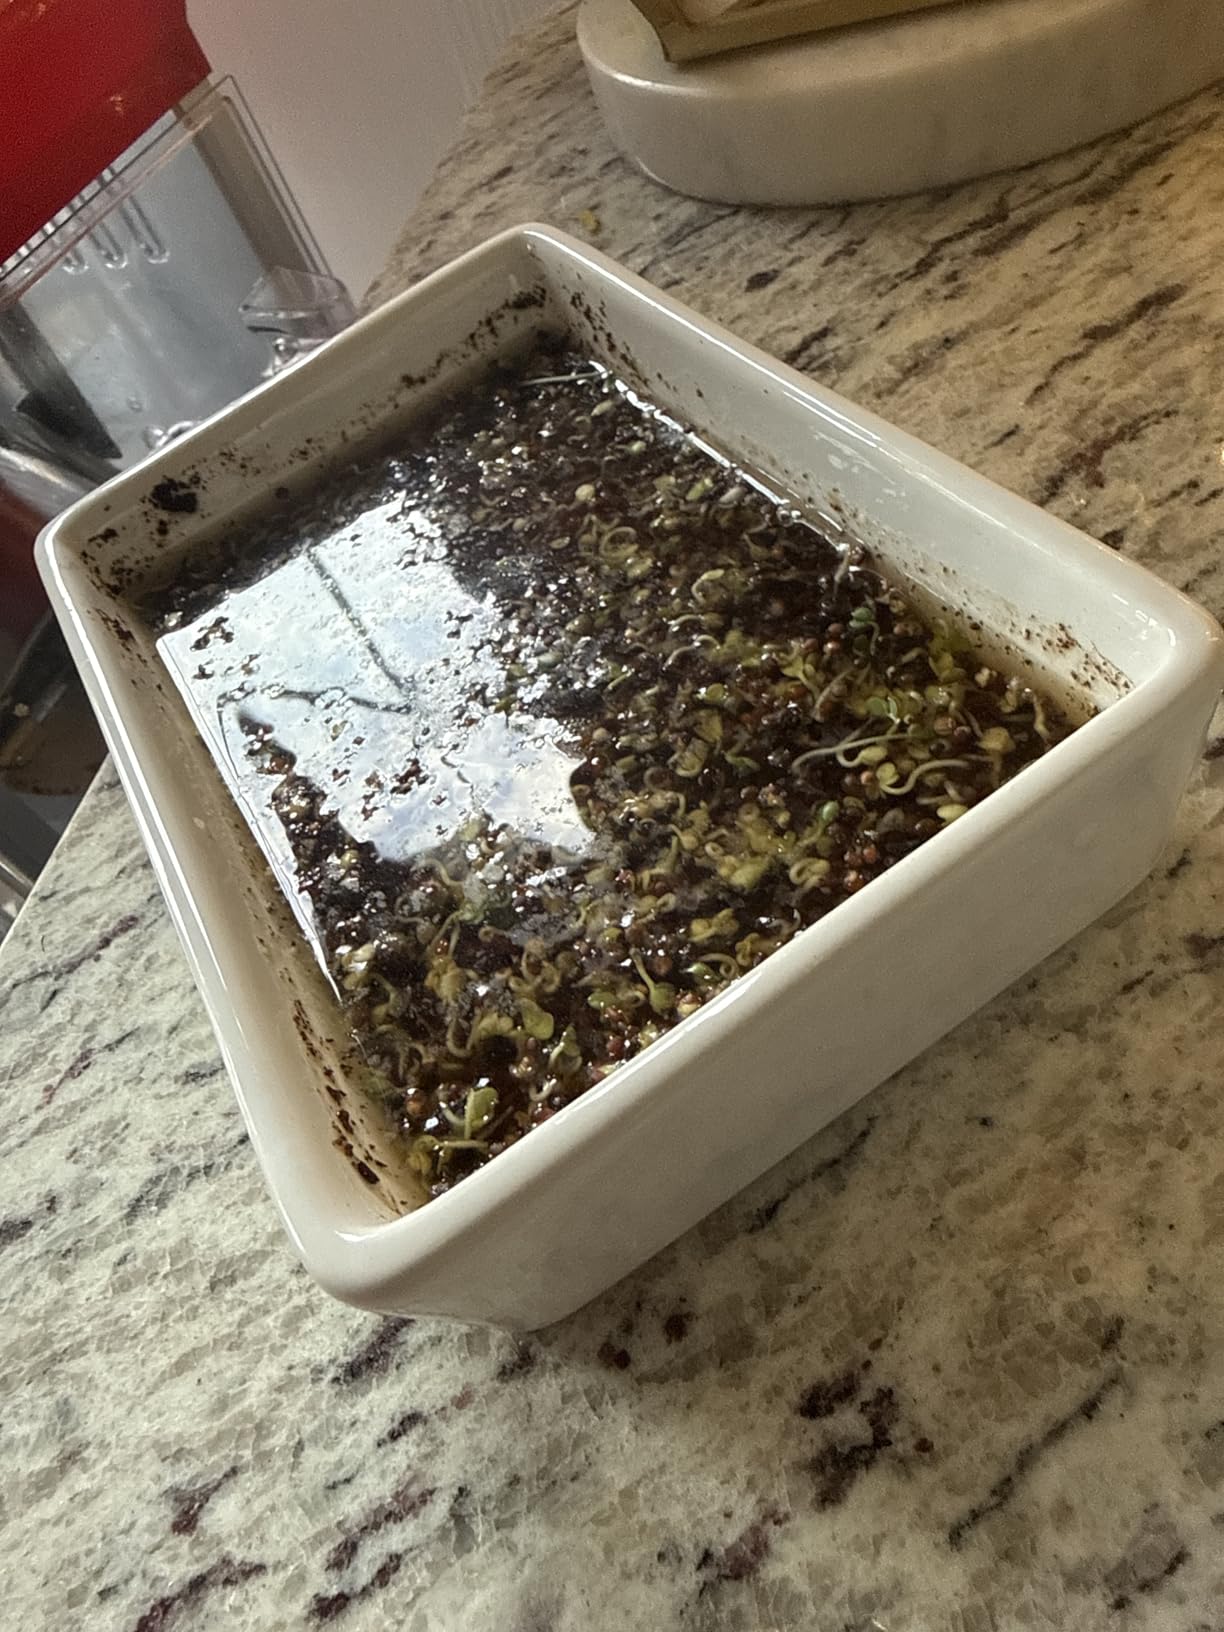
Where this kit struggles is in the details. The soil disc expands to fill the planter, but the amount is tight. I found that overwatering was the biggest risk because the ceramic planter has no drainage holes. Too much water leads to soggy soil and potential mold growth. Water sparingly and err on the side of too little rather than too much.
The organic seed blend produces a mix of different microgreens in one planter, which is visually appealing but means the varieties grow at different rates. Some will be ready to harvest before others. I ended up harvesting in two passes, cutting the tall ones first and giving the slower growers a couple more days.
Who Should Buy This Kit
This is ideal for someone who wants to try growing microgreens for the first time with the smallest possible investment. The text reminders make it especially good for people who have never grown anything before and want hand-holding through the process. It also works well as an affordable gift or stocking stuffer.
Avoiding Common Mistakes
The number one mistake beginners make with this kit is overwatering. Because there are no drainage holes, excess water has nowhere to go. Use a spray bottle to mist the soil surface rather than pouring water directly. If the soil feels soggy to the touch, skip a watering day. The germination lid helps retain moisture, so you need less water than you think.
12. GARDYN Complete Microgreens Growing Kit – Best for Hydroponic Integration

Gardyn Complete Microgreens Growing Kit – Indoor Herb Garden
20 seed pads in 4 varieties
10 reusable grow plates
Bamboo wicks included
Works with Gardyn system
7-10 day harvest
Pros
- Dual-purpose as seed starter and microgreens kit
- 20 seed pads with 4 varieties
- Works with Gardyn hydroponics system
- Decorative appearance
Cons
- Higher price point
- Packaging issues reported
- Some missing wicks reported
- Plastic case feels flimsy
The GARDYN kit is the most expensive option in this roundup, but it offers something no other kit does: direct integration with a full hydroponics system. The 20 seed pads come in four varieties (arugula, mild blend, spicy blend, and red mustard), and the 10 reusable grow plates with bamboo wicks can be used with a Gardyn home hydroponic unit or as a standalone growing system.
I tested this kit standalone first, placing the grow plates on a windowsill. The bamboo wicks draw water up to the seed pads, creating a simple self-watering setup. Germination was strong for the arugula and spicy blend varieties, producing flavorful microgreens within 8 days. The red mustard grew slightly slower but had the most intense flavor.
The real value of this kit emerges if you already own a Gardyn hydroponics system. The grow plates slot directly into the Gardyn unit, where they benefit from the automated lighting and watering cycles. This dual-purpose design means you can start seeds in the Gardyn and then transplant the seedlings to your garden, or grow microgreens directly in the system.
Quality control seems to be the main issue based on user feedback. Some customers reported missing wicking strings in their packages, and a few noted that the plastic grow plate cases felt thin. My review unit was complete and functional, but it is worth checking all components when yours arrives.
Who Should Buy This Kit
This kit is best suited for current or prospective Gardyn system owners who want to expand into microgreens. If you already have the Gardyn home unit, this is a natural addition that integrates seamlessly. It is also worth considering if you want a seed starter that can feed into an existing hydroponic garden.
Standalone vs System Use
Used standalone, the kit works but you are paying for the Gardyn compatibility you may not need. The bamboo wicks do a decent job of drawing water, but you need to keep the reservoir filled regularly. If you do not plan to use a Gardyn system, there are more cost-effective standalone options in this list that will serve you just as well.
How to Choose the Right Microgreen Growing Kit for You
After testing 12 kits over three months, I have a clear picture of what separates a good beginner kit from a frustrating one. Here are the six factors that matter most when choosing a microgreen growing kit.
1. Growing Medium Type
Kits use one of four growing mediums: soil, coconut coir, hemp or jute grow mats, or no medium at all (jar sprouting). Soil and coconut coir hold moisture well and support a wide range of seed varieties, but they can be messy. Grow mats are cleaner and work well for small seeds like broccoli and radish. Jar sprouting is the cleanest option but works only for seeds that grow as sprouts, not leafy microgreens.
2. Self-Watering vs Manual Watering
Self-watering kits use reservoirs and wicking systems to keep the growing medium moist without daily attention. These are strongly recommended for beginners because overwatering and underwatering are the two most common causes of failed harvests. Manual kits require you to mist or water daily, which is fine if you are consistent but risky if you tend to forget.
3. Seed Varieties Included
Broccoli and radish are the two best microgreen varieties for beginners. They germinate quickly, grow reliably, and are hard to mess up. If a kit includes only exotic varieties that require precise conditions, it may frustrate a first-time grower. Look for kits that include at least one easy-growing variety alongside more adventurous options.
4. Reusability and Ongoing Costs
Most kits include enough supplies for one to five harvest cycles. After that, you need to buy replacement seeds, grow mats, or soil. Before choosing a kit, check whether replacement supplies are readily available and affordable. Kits that use proprietary mats or wicks lock you into a specific brand, while kits that use standard mason jars or generic trays give you more flexibility.
5. Kit vs DIY: Which Makes Sense?
A DIY microgreens setup can be built from a standard nursery tray, potting soil, and seeds for a fraction of the cost of most kits. However, DIY requires research, trial and error, and separate purchases. Kits bundle everything together with instructions designed for beginners, which dramatically reduces the chance of a failed first harvest. If you enjoy tinkering and do not mind potentially losing a batch or two to mistakes, DIY is rewarding. If you want guaranteed success from day one, a kit is the safer choice.
6. Space and Light Requirements
Most microgreens need about 4 to 6 hours of indirect sunlight per day. If your kitchen does not have a suitable window, look for a kit with a built-in LED light like the ASPHALT ROSE. Countertop footprint varies from about 6 square inches for the PHAIN stackable kit to over 100 square inches for the Vego Garden system. Measure your available space before ordering.
Growing Timeline by Variety
Not all microgreens grow at the same pace. Here is a quick reference for the most popular beginner varieties. Radish seeds germinate in 1 to 2 days and are ready to harvest in just 6 to 7 days, making them the fastest option. Broccoli takes 2 to 3 days to germinate and 8 to 10 days to harvest. Kale follows a similar timeline to broccoli at 8 to 10 days. Sunflower seeds need a longer soak before planting and take 10 to 12 days to harvest. Pea shoots are among the tallest, needing 10 to 14 days. Mustard greens fall in the middle at 7 to 10 days.
Cleaning Between Harvests
One topic most kit reviews skip is cleaning. Between harvests, wash all trays, lids, and reservoirs with warm soapy water. For a deeper clean, soak plastic components in a solution of one part white vinegar to three parts water for 15 minutes. Ceramic and glass components can go in the dishwasher in most cases. Always dry components thoroughly before starting a new batch to prevent mold spores from carrying over.
FAQs
How long does it take to grow microgreens from a kit?
Most microgreens are ready to harvest 7 to 14 days after planting. Fast-growing varieties like radish can be harvested in as few as 6 days, while slower varieties like sunflower may take up to 12 days. The first 2 to 3 days are typically spent in a blackout phase where seeds germinate in darkness, followed by 5 to 10 days of light exposure for green growth.
Can I reuse microgreens growing kit trays?
Yes, most growing trays are designed for repeated use. Plastic, silicone, and ceramic trays can all be reused indefinitely as long as you clean them thoroughly between harvests. Wash with warm soapy water and sanitize with a vinegar solution to prevent mold spores from contaminating your next batch. You will need to replace the growing medium (soil, coconut coir, or grow mats) and seeds for each new harvest.
Do microgreens kits need grow lights?
Most microgreen kits do not require grow lights if you have a windowsill that receives 4 to 6 hours of indirect sunlight per day. However, if your growing space lacks natural light, a kit with a built-in LED grow light or a separate grow light fixture will produce much better results. Microgreens that do not receive enough light grow tall and leggy rather than developing the dense, dark green leaves you want.
What is the best microgreen variety for beginners?
Radish and broccoli are the two best microgreen varieties for beginners. Radish germinates in just 1 to 2 days and grows so fast that it is difficult to mess up. Broccoli is nearly as forgiving and has a mild flavor that appeals to most people. Both varieties have high germination rates, tolerate a range of growing conditions, and are widely available as organic seeds.
Are microgreens kits worth the money?
For most beginners, yes. A quality microgreen kit typically costs between 15 and 65 dollars and includes everything needed for your first few harvests. Compare this to buying microgreens at the grocery store, where a single 2-ounce container can cost 4 to 6 dollars. After just a few harvest cycles, most kits pay for themselves. The real value is in the instructions and support that prevent failed first attempts, which are common with DIY approaches.
How do I prevent mold in my microgreens kit?
Mold is the most common problem beginners face, and it usually stems from overwatering or poor airflow. Water your microgreens only when the growing medium feels dry to the touch. Remove humidity domes or lids once 50 percent of seeds have sprouted to improve airflow. Space seeds evenly rather than piling them thickly, which traps moisture. If mold appears, remove the affected area immediately and increase ventilation around your growing setup.
Final Thoughts on the Best Microgreen Growing Kits for Beginners
Finding the best microgreen growing kits for beginners comes down to matching your space, budget, and growing goals with the right system. For most people, the ZESTIGREENS Self-Watering Kit hits the sweet spot of ease, quality, and value. If you want the most affordable entry point, the Kitmiido Sprouting Jar Kit is proven by over 1,800 reviewers. And if you have limited natural light, the ASPHALT ROSE LED Kit is the only option that includes built-in lighting.
Start with one kit, learn the basics of the blackout phase and watering rhythm, and you will be harvesting fresh microgreens within two weeks. From there, you can experiment with different varieties and scale up with additional trays. Growing microgreens at home is one of the most rewarding kitchen projects you can start in 2026, and any of these kits will get you growing successfully.