
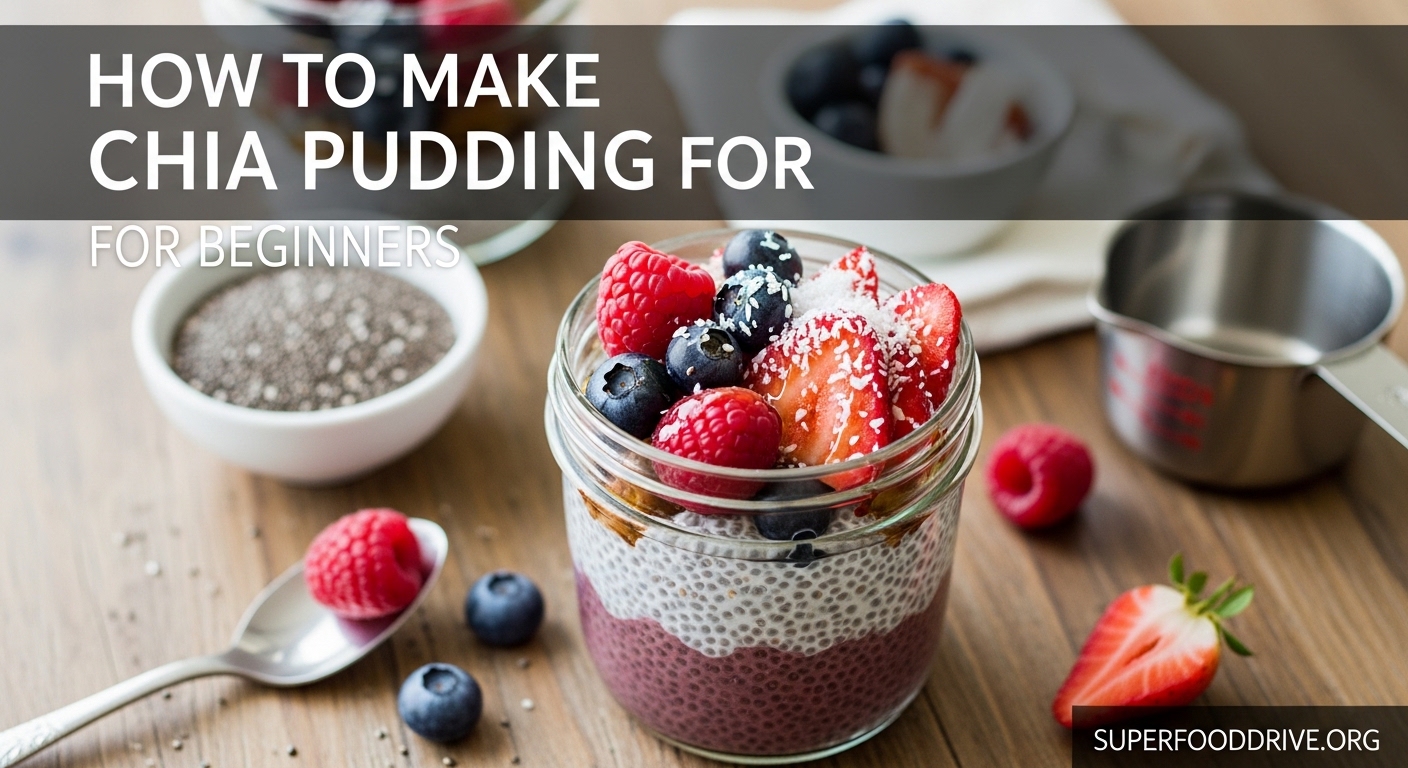
Learning how to make chia pudding opens up a world of simple, nutritious breakfasts that practically prepare themselves. Our team has tested countless variations over the past year, and we’ve refined a foolproof method specifically for beginners who want perfect results every time. This guide walks you through everything from basic ingredients to troubleshooting common problems, so you can master this healthy, make-ahead meal in no time.
Whether you’re meal prepping for busy mornings or looking for a protein-packed snack, chia pudding delivers. By the end of this tutorial, you’ll know exactly how to make chia pudding for beginners with the right texture, delicious flavor combinations, and storage tips that keep your pudding fresh all week.
Table of Contents
What Is Chia Pudding?
Chia pudding is a simple no-cook dish made by soaking chia seeds in liquid until they expand and create a thick, pudding-like consistency. The tiny seeds absorb up to 10 times their weight in liquid, transforming from hard little pellets into soft, gel-coated bubbles that suspend in a creamy base.
This transformation happens thanks to the soluble fiber in chia seeds. When exposed to liquid, the seeds release natural gelling agents that thicken the mixture without any cooking required. The result is a tapioca-like texture that works beautifully as a breakfast, snack, or healthy dessert.
Chia pudding gained popularity in 2026 because it checks so many dietary boxes. It’s naturally gluten-free, dairy-free, vegan, and packed with nutrients like omega-3 fatty acids, fiber, and plant-based protein. Plus, it requires zero cooking skills and keeps in the refrigerator for up to five days, making it ideal for meal prep beginners.
Ingredients and Equipment You’ll Need
Basic Ingredients (Makes 2 Servings)
Start with these simple ingredients for your first batch. Once you master the basics, you can experiment with endless variations.
- 1/4 cup chia seeds (about 40 grams)
- 1 cup milk of choice (dairy or plant-based)
- 1-2 tablespoons sweetener (maple syrup, honey, or agave)
- 1/2 teaspoon vanilla extract (optional but recommended)
- Pinch of salt (enhances flavor)
Best Milk Options for Beginners
Not all milks create the same texture. Based on our testing and feedback from thousands of home cooks, here’s what to expect from different options:
Almond milk creates a lighter, slightly thinner pudding. It’s the most common choice and works well for beginners, though you may want to use slightly less liquid if you prefer thicker results.
Coconut milk (canned) produces the thickest, creamiest texture. Many Reddit users in cooking communities recommend this for beginners because the high fat content creates a rich pudding that’s less likely to seem too thin or watery.
Oat milk offers a middle ground with natural sweetness and medium thickness. It blends smoothly and doesn’t separate as easily as some other plant-based options.
Dairy milk works perfectly if you don’t need a vegan option. Whole milk creates a creamier result than skim.
Essential Equipment
You don’t need fancy gadgets, but a few tools make the process easier:
- Mason jar or airtight container with lid (16 oz size works perfectly)
- Whisk or fork for stirring
- Measuring cups and spoons
- Blender bottle with whisk ball (optional but excellent for preventing clumps)
How to Make Chia Pudding for Beginners: Step-by-Step
This recipe takes 5 minutes to prepare and requires at least 2 hours of chilling time, though overnight works best. Follow these steps in order for perfect results your first time.
Step 1: Combine Ingredients
Pour 1 cup of milk into your Mason jar or container. Add 1/4 cup chia seeds, your chosen sweetener, vanilla extract, and a pinch of salt. The salt might seem odd in a sweet dish, but it dramatically enhances the overall flavor.
Step 2: Stir Vigorously
Mix everything together using a whisk or fork. Stir for at least 30 seconds to break up any seed clumps. The seeds tend to stick together when dry, so this initial mixing is crucial for even distribution.
Step 3: Wait and Stir Again
Let the mixture sit for 5-10 minutes, then stir again. This second stirring prevents the seeds from settling in one layer and creating clumps. If using a Mason jar, you can simply put the lid on and shake vigorously.
Step 4: Refrigerate
Seal your container and place it in the refrigerator. For best results, chill for at least 4 hours or overnight. The longer chilling time allows the seeds to fully hydrate and creates the best texture.
Step 5: Check and Serve
Before eating, give your pudding a final stir. The texture should be thick and spoonable, similar to tapioca pudding. If it’s too thick, stir in a splash of milk. If too thin, let it chill longer or add a teaspoon more chia seeds and wait another 30 minutes.
The Perfect Chia-to-Liquid Ratio
The magic formula for chia pudding is 1 part chia seeds to 4 parts liquid by volume. This means 1/4 cup seeds to 1 cup milk, or scale up with 1/2 cup seeds to 2 cups milk for larger batches.
This ratio creates a pudding that’s thick enough to eat with a spoon but not so thick that it feels like paste. However, personal preference varies. Some people prefer a looser, more soupy consistency and use a 1:5 ratio. Others want it thick enough to layer in parfait glasses and use 1:3.
For beginners, stick with the 1:4 ratio until you understand the texture. You can always adjust future batches based on your preference. Remember that coconut milk creates thicker results than almond milk, so you might need slightly more liquid if using canned coconut milk.
Essential Beginner Tips for Perfect Chia Pudding
Common Beginner Mistakes to Avoid
Through testing and reading hundreds of forum discussions, we’ve identified the mistakes that trip up first-time chia pudding makers. Avoid these and you’ll succeed on your first try.
Not stirring enough: Many beginners stir once and refrigerate immediately. The seeds clump together and create dense pockets surrounded by liquid. Always stir twice – once when mixing and again after 10 minutes.
Impatience with timing: Chia seeds need time to absorb liquid. While edible after 2 hours, the texture improves dramatically with overnight chilling. Plan ahead for best results.
Wrong texture expectations: Perfectly set chia pudding should be thick enough to coat a spoon but not solid like Jell-O. The seeds should be fully plumped and suspended throughout the liquid, not sunk in a layer at the bottom.
Too much sweetener: Start with less sweetener than you think you need. You can always add more when serving, but you can’t remove it once mixed. Many toppings add sweetness too.
Pro Tips From Experienced Makers
Use a blender bottle with a metal whisk ball for the smoothest, clump-free results. Shake vigorously for 30 seconds and you’re done.
Warm your milk slightly before mixing if you’re in a hurry. Room temperature or slightly warm liquid absorbs faster than cold milk straight from the refrigerator.
Make a double batch on Sunday. Chia pudding lasts 5 days refrigerated, so you can prep breakfast for the entire work week in one session.
Quick Method: Chia Pudding Without Overnight Waiting
Sometimes you need chia pudding today, not tomorrow. This quick method delivers acceptable texture in about 30 minutes using two simple techniques.
The Blender Method
Blend 1 cup milk with 1/4 cup chia seeds on high speed for 30 seconds. This breaks some seeds partially, releasing their gelling agents faster. Pour into a jar and refrigerate for 30 minutes, stirring once after 15 minutes. The texture will be slightly different – smoother with less distinct seed texture – but still delicious.
The Warm Milk Technique
Heat your milk until warm but not hot (about 110°F). Mix with chia seeds and sweetener as usual. Warm liquid absorbs faster, cutting the setting time to 1-2 hours instead of overnight. Stir after 30 minutes and again at the 1-hour mark.
While these quick methods work in a pinch, we still recommend the overnight method when possible. The slow hydration creates the best texture and ensures even thickening throughout.
Delicious Toppings and Flavor Variations
Plain chia pudding is delicious, but toppings transform it into something special. Here are tested combinations that our team makes regularly.
Fresh and Fruity Combinations
- Berries and sliced almonds with a drizzle of honey
- Sliced banana and peanut butter with cinnamon
- Diced mango and toasted coconut flakes
- Stewed apples with walnuts and maple syrup
- Fresh peaches and granola clusters
Indulgent Dessert-Style Options
- Cocoa powder mixed in (1 tablespoon) with chocolate chips
- Vanilla extract and cinnamon with crushed graham crackers
- Matcha powder (1 teaspoon) with white chocolate shavings
- Pumpkin puree (2 tablespoons) with pumpkin pie spice
Savory Breakfast Bowl Ideas
Chia pudding doesn’t have to be sweet. Try these savory combinations:
- Sliced avocado, cherry tomatoes, and everything bagel seasoning
- Smoked salmon with capers and dill
- Sauteed mushrooms and thyme with a drizzle of olive oil
Troubleshooting Common Chia Pudding Problems
Even with the best instructions, questions arise. Here’s how to fix the most common issues beginners encounter.
“My Chia Pudding Is Too Thin and Watery”
This happens when the ratio is off or the seeds haven’t absorbed enough liquid yet. First, give it more time – some batches need 6+ hours. If still thin after overnight, add 1 teaspoon chia seeds per serving, stir well, and refrigerate another hour. Next time, use slightly less liquid or more seeds.
“My Chia Pudding Is Too Thick and Gloopy”
Thick pudding is easy to fix. Simply stir in additional milk, one tablespoon at a time, until you reach your desired consistency. This usually happens with coconut milk or when using the 1:3 ratio. Remember that pudding continues to thicken slightly during storage.
“All My Seeds Sank to the Bottom in a Clump”
This is the most common beginner issue. The solution is the double-stir method mentioned earlier. If you already have clumps, break them up with a fork and stir vigorously. Using a blender bottle prevents this entirely.
“I Don’t Like the Texture of Chia Seeds”
If the gel-coated seeds bother you, try the blended method mentioned in the quick method section. This creates a smoother consistency while keeping all the nutrition. Alternatively, let it set longer – the seeds soften more with extended chilling.
Storage, Meal Prep, and Make-Ahead Tips
Refrigerator Storage
Store chia pudding in an airtight container in the refrigerator for up to 5 days. The texture is best for the first 3 days, after which it continues thickening. Mason jars work perfectly because they’re airtight and portable.
Meal Prep Strategies
Make a big batch on Sunday and portion into individual jars for grab-and-go breakfasts. Keep toppings separate until serving to maintain freshness and texture. Prep toppings in small containers at the start of the week too.
For variety without extra work, make one large batch of plain pudding, then customize each serving with different toppings throughout the week. This prevents breakfast boredom without requiring multiple recipes.
Can You Freeze Chia Pudding?
Yes, but with caveats. Frozen chia pudding lasts up to 1 month, but the texture changes upon thawing. It becomes slightly more watery and separates, requiring a good stir to reincorporate. Freeze in individual portions and thaw overnight in the refrigerator.
We don’t recommend freezing for beginners since fresh chia pudding is so easy to make and keeps well in the refrigerator. Save freezer space for other meal prep items.
Frequently Asked Questions
Is chia pudding good for a diabetic?
Chia pudding can be a good option for diabetics because chia seeds have a low glycemic index and high fiber content, which helps slow sugar absorption. However, choose your sweetener carefully. Skip the honey or maple syrup and use a small amount of stevia or monk fruit, or rely on fresh berries for natural sweetness. Always consult your healthcare provider about specific dietary changes.
Do chia seeds lower triglycerides?
Research suggests that chia seeds may help reduce triglycerides and improve heart health markers due to their high omega-3 fatty acid content. Studies have shown modest improvements in blood lipid profiles when chia seeds are consumed regularly as part of a balanced diet. They’re not a replacement for medication, but they can be a heart-healthy addition to your meals.
What is the best liquid to make chia seed pudding?
The best liquid depends on your texture preference. For thick, creamy pudding, use canned coconut milk. For lighter results, choose almond milk. Oat milk offers a middle ground with natural sweetness. Dairy milk works perfectly if you don’t need a plant-based option. The key is using a 1:4 ratio of chia seeds to liquid regardless of which milk you choose.
How long does chia pudding take to thicken?
Chia pudding needs at least 2 hours to thicken, but overnight (6-8 hours) produces the best texture. The seeds continue absorbing liquid and softening during extended chilling. For beginners, we recommend making it the night before you plan to eat it. Quick methods using warm milk or blending can reduce this to 30-60 minutes with acceptable results.
Can chia pudding be frozen?
Yes, chia pudding can be frozen for up to one month, though the texture changes slightly when thawed. It may become more watery and require stirring to recombine. Freeze in individual portions and thaw overnight in the refrigerator. For best results, we recommend making fresh batches since it keeps for 5 days refrigerated and takes only 5 minutes to prepare.
Why didn’t my chia pudding thicken?
The most common reasons are insufficient chilling time (wait at least 4 hours), incorrect chia-to-liquid ratio (should be 1:4), or stale chia seeds that have lost their absorption ability. Try stirring again and giving it more time. If still thin after overnight, add more seeds and wait another hour. Old seeds should be replaced with a fresh batch.
Start Your Chia Pudding Journey Today
You now have everything you need to know about how to make chia pudding for beginners. Start with the basic recipe, master the 1:4 ratio, and remember to stir twice to prevent clumps. Once you nail the technique, the flavor possibilities are endless.
Make your first batch tonight and enjoy a healthy, ready-to-eat breakfast tomorrow morning. With 5 days of refrigerator storage, one prep session covers your entire work week. Welcome to the world of effortless, nutritious meal prep.